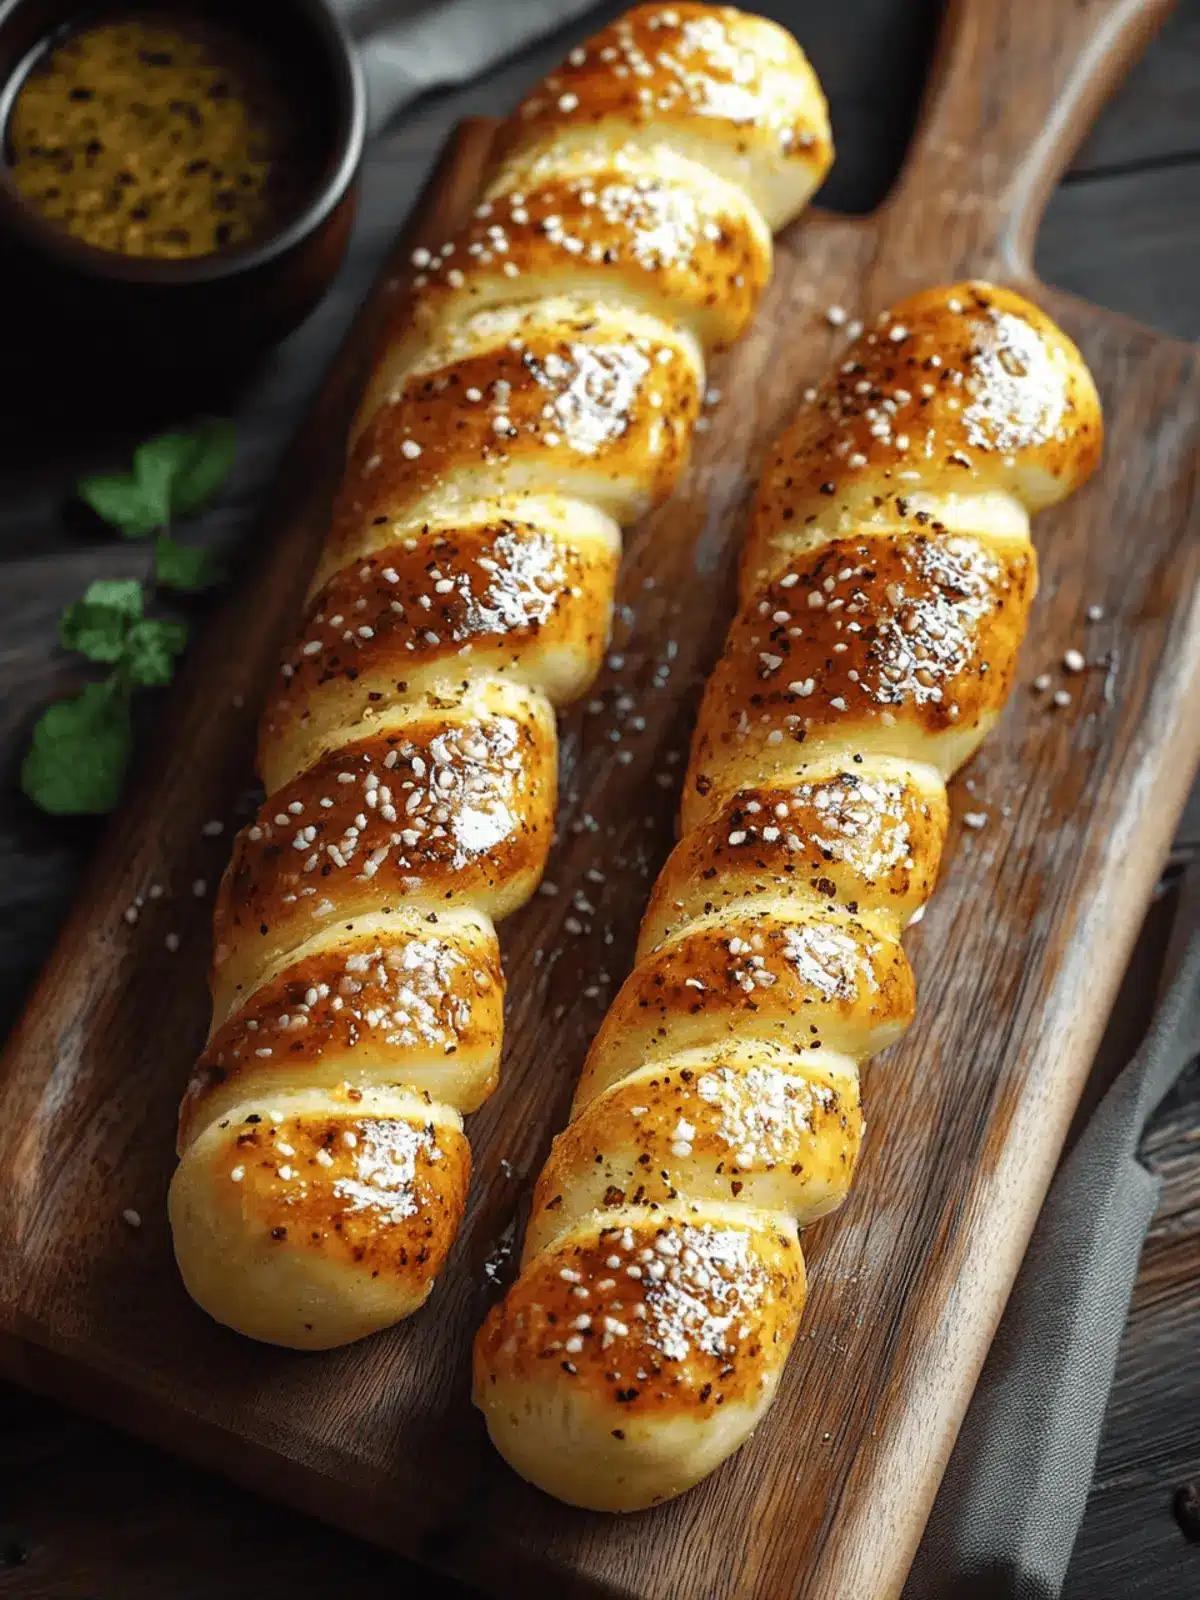
There’s something undeniably comforting about the sound of sizzling delights in the kitchen, especially when it comes to homemade snacks. Tequeños, the charming cheese-stuffed appetizers from Venezuela, are not just a culinary treat; they are a celebration of flavor and heritage in every crispy, golden bite. The moment you take a bite, the harmonious blend of the crunchy exterior and melted cheese filling sends your taste buds on an unforgettable journey.
I was searching for a crowd-pleaser to serve at my last gathering, and these delightful morsels turned out to be an effortless hit, evoking smiles and compliments from everyone. With just a 30-minute cooking time, this recipe showcases the simplicity and joy of cooking at home while allowing for a touch of personalization—feel free to experiment with fillings or even a gluten-free twist! So, roll up your sleeves, and let’s dive into the world of tequeños, where each bite whispers tales from Venezuela and brings family and friends together.

Why are Tequeños the ultimate snack?
Crispy, golden perfection: The crunchy outer layer is a delight to bite into, making each mouthful a satisfying experience.
Endless filling options: Explore creative variations with cheese blends, or try sweet surprises like chocolate or guava paste.
Gluten-free friendly: Easily customize these snacks to fit dietary needs without sacrificing taste.
Quick prep time: With only 30 minutes from start to finish, you can whip up a delicious crowd-pleaser in no time.
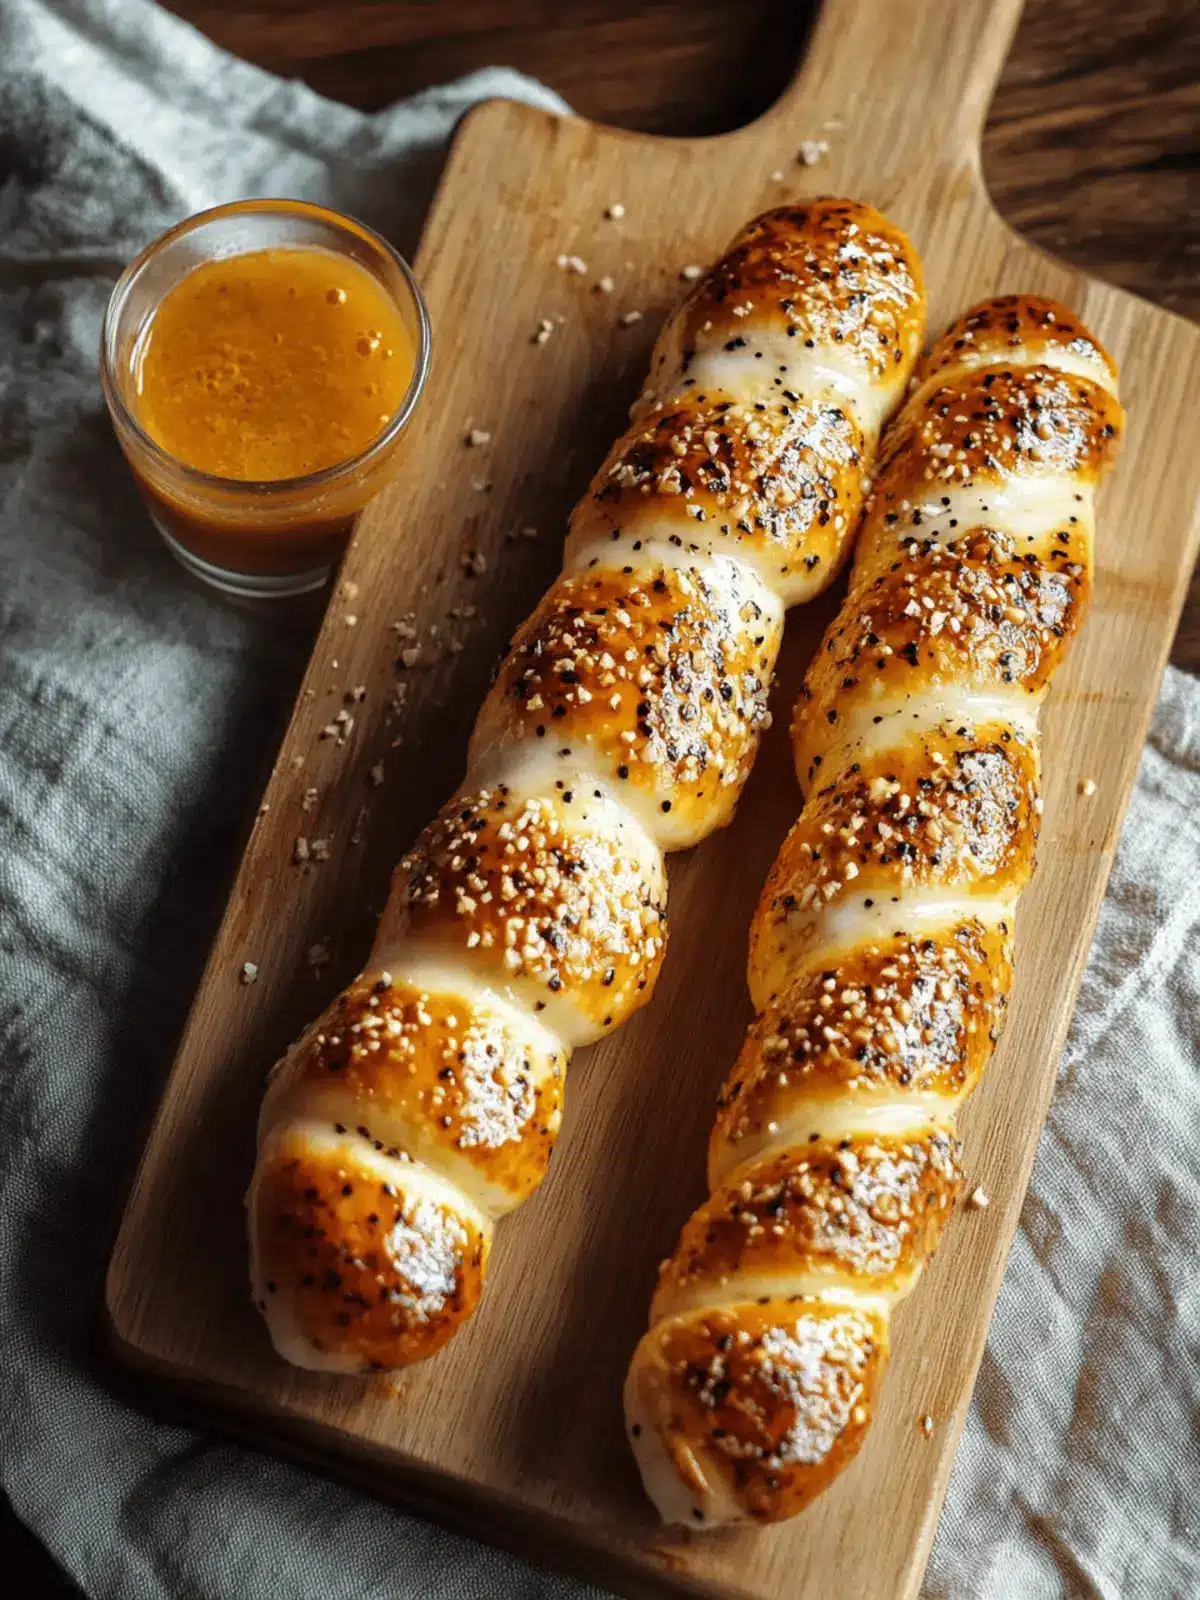
Perfect for gatherings: Impress your friends and family with these addictive treats that pair beautifully with dips like guasacaca or your favorite sauces.
Tequeños Ingredients
• Essential for the perfect cheese-filled delight.
For the Dough
- All-purpose flour – Provides the structure; for a gluten-free version, substitute with gluten-free flour.
- Cornstarch – Enhances crispiness; no substitution necessary for the best texture.
- Salt – Adds flavor; sea salt or kosher salt can also be used for subtle differences.
- Baking powder – Helps the dough rise; ensure it’s fresh to get that perfect puff.
- Sugar – Adds a hint of sweetness; this is optional but can enhance the dough’s flavor.
- Unsalted butter – Adds richness and flavor; feel free to substitute with margarine or a vegan alternative if desired.
- Warm water – Hydrates the dough; use a little less if working with very humid flour.
For the Filling
- Mozzarella cheese – Provides that gooey filling; try substituting with cheddar, queso blanco, or a mix for variety.
For Frying
- Vegetable oil – Used for frying to achieve that golden crisp; high-heat oils like canola or peanut oil work well here.
Let’s get cooking and enjoy these delightful tequeños, perfect for any gathering or cozy night in!
How to Make Tequeños
-
Mix the Dry Ingredients: In a large bowl, combine all-purpose flour, cornstarch, salt, baking powder, and sugar. This will create the perfect base for your crunchy tequeños!
-
Incorporate the Butter: Add softened unsalted butter to your mixture, stirring until the texture resembles coarse crumbs. This step adds incredible richness to your dough.
-
Form the Dough: Gradually pour in warm water, mixing until a dough forms. Knead gently for about 3-5 minutes until smooth and elastic—this will ensure a delightful chewiness.
-
Roll it Out: Roll the dough onto a floured surface into thin rectangles, about 4 inches wide. Make sure they’re thin enough to encase your cheese without breaking!
-
Prepare the Filling: Place your mozzarella cheese sticks on the center of each rectangle. Seal the edges tightly to keep that delicious cheese inside while frying.
-
Heat the Oil: In a frying pan, heat vegetable oil over medium-high heat until shimmering. Test the oil’s readiness by dropping a small piece of dough in; it should sizzle right away.
-
Fry the Tequeños: Carefully place a few tequeños in the hot oil, frying them in batches. Cook until golden brown and crispy, usually about 3-4 minutes, flipping halfway through for even cooking.
-
Drain and Serve: Once crisp, remove the tequeños with a slotted spoon and drain on paper towels. Serve warm and enjoy the delightful gooeyness of your freshly made snacks!
Optional: Serve with guasacaca or a blend of ketchup and mayo for a tasty dip.
Exact quantities are listed in the recipe card below.
What to Serve with Tequeños?
There’s nothing quite like pairing these crispy delights with delicious sides and dips to elevate your snacking experience.
-
Guasacaca Sauce: This traditional avocado sauce adds a creamy, zesty kick that perfectly complements the rich gooeyness of tequeños.
-
Fried Plantains: Sweet and savory fried plantains offer a delightful contrast to the crunchy texture, making every bite a flavor adventure.
-
Crispy Salad: A fresh salad with mixed greens, cherry tomatoes, and a light vinaigrette balances the richness of the tequeños, keeping your meal light.
-
Yuca Fries: These golden, crispy yuca fries bring a satisfying crunch and a hint of sweetness, enhancing the overall snacking experience.
-
Chimichurri Sauce: This vibrant, herby sauce adds brightness and depth, creating an exciting flavor contrast with the cheesy filling of your tequeños.
-
Mango Salsa: The tropical sweetness of mango salsa with a touch of lime elevates the savory tequeños, making them even more irresistible.
-
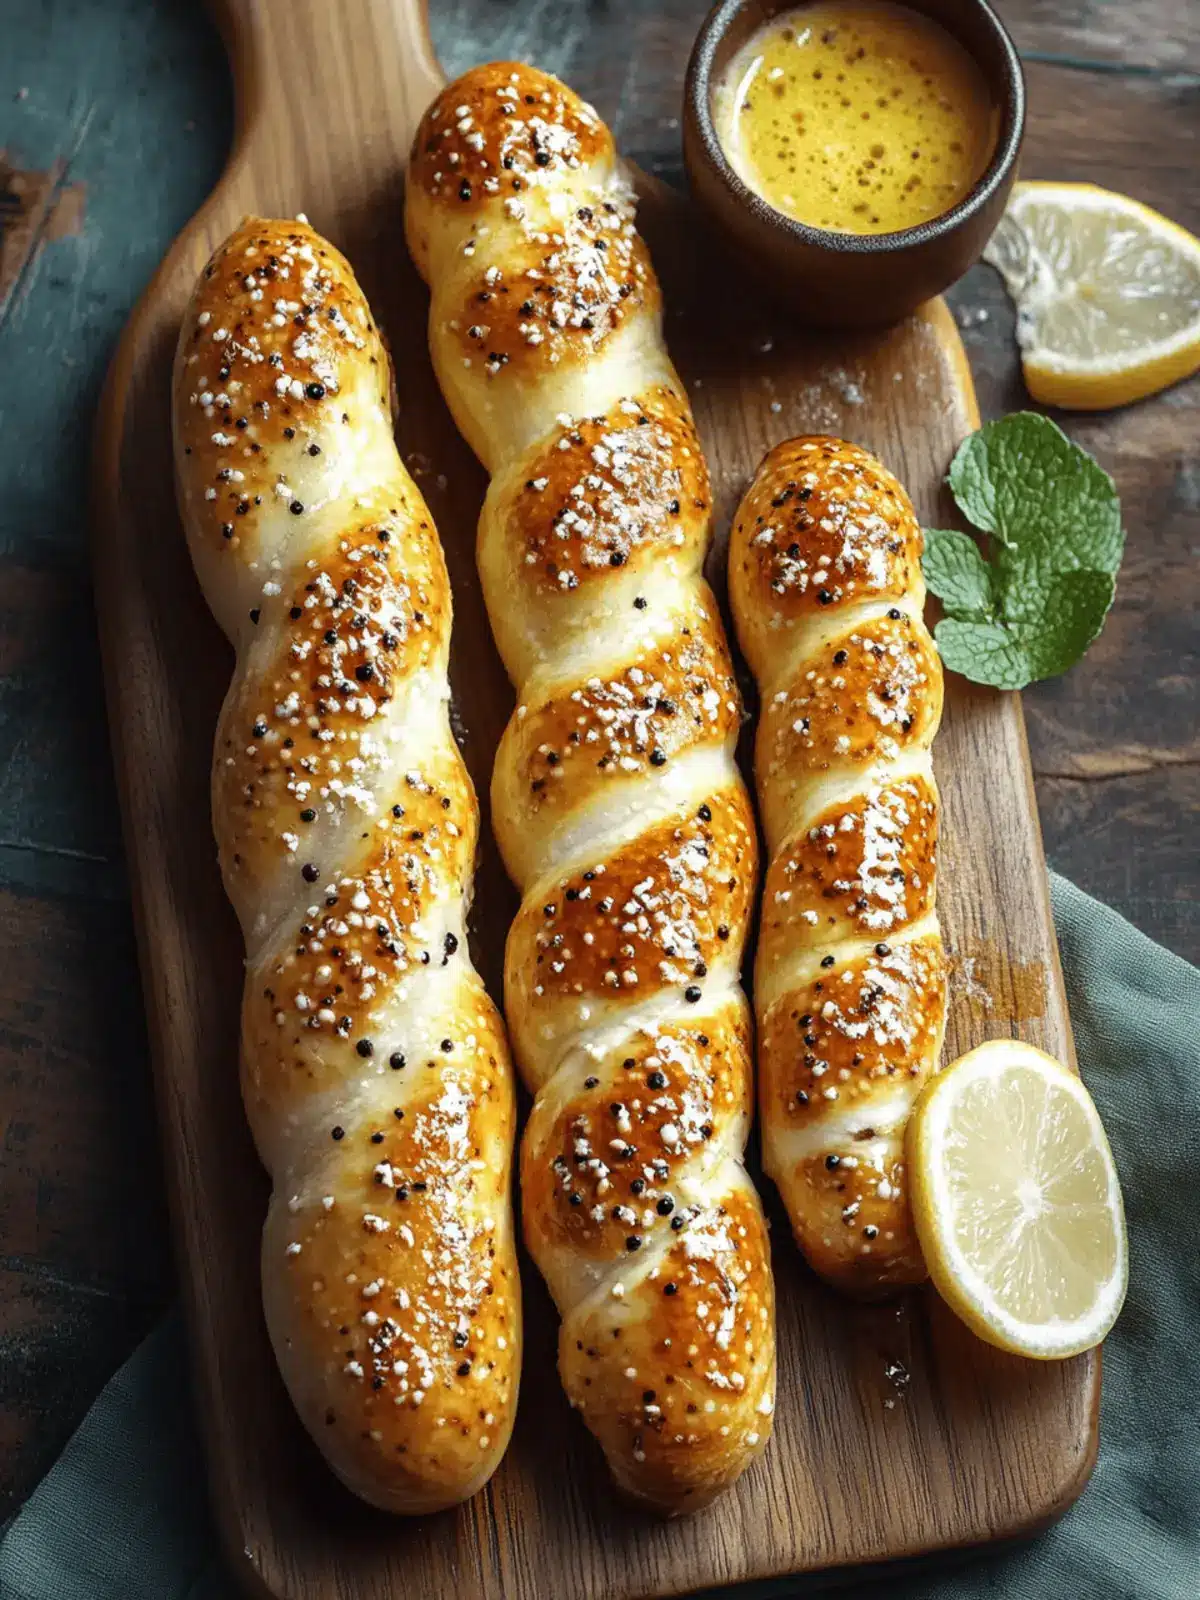
Cold Drinks: Pair with refreshing beverages like homemade lemonade or iced tea for a perfect, soothing counterpoint to the warm, crispy snacks.
-
Chocolate Dip: For a fun twist, serve a chocolate dipping sauce for those adventurous enough to try sweet tequeños with a hint of indulgence!
Expert Tips for Tequeños
-
Oil Temperature: Ensure your oil is hot before frying; test with a small dough piece. This prevents soggy tequeños and ensures the perfect crispy texture.
-
Don’t Overcrowd: Fry in small batches to avoid overcrowding the pan. This helps maintain the oil temperature, ensuring even cooking for all your tequeños.
-
Sealing Edges: Make sure to seal the edges of the dough tightly. If not done properly, the cheese may leak out during frying, creating a messy situation instead of the gooey delight you desire.
-
Dough Thickness: Roll the dough thin enough for crispy results but thick enough to hold the filling. Aim for about 1/8 inch to strike the perfect balance.
-
Fill with Care: Use cheese sticks that are not too soft, or freeze them for about 15 minutes before wrapping. This step prevents them from oozing out while frying, keeping your tequeños intact.
-
Experiment with Fillings: Don’t hesitate to explore various cheese blends or add spices to your filling. Tequeños are versatile, so have fun with different flavor combinations!
Tequeños Variations
Feel free to embrace creativity with homemade tequeños – it’s all about flavor and fun!
-
Cheese Blend: Mix mozzarella with cheddar or queso blanco for a zestier flavor. These cheeses create a deliciously gooey interior that tickles your taste buds.
-
Spicy Twist: Add jalapeños or a pinch of chili powder to the filling for a spicy surprise. Pair these with refreshing dip options to cool down the heat!
-
Herb Infusion: Incorporate fresh herbs like basil or cilantro into the cheese mixture for an aromatic lift. This earthy touch elevates the flavor profile, bringing a garden-fresh element to your tequeños.
-
Vegetable Surprise: Roll up some cooked spinach or sautéed mushrooms with your cheese. This not only adds nourishing veggies but also deepens the flavor, creating a hearty filling that everyone will enjoy.
-
Sweet Treat: Swap cheese for chocolate or guava paste for a delightful dessert version. The contrasting sweetness is a perfect end to a meal or a unique snack to impress your guests!
-
Gluten-Free Option: Use gluten-free flour instead of all-purpose flour to whip up a batch for your gluten-sensitive friends. Don’t worry; they’ll still be just as delicious!
-
Nutty Flair: Sprinkle ground nuts, like almonds or walnuts, into your cheese for crunchy texture. This adds another layer of deliciousness that balances perfectly with the softness of the cheese.
-
Fried vs. Baked: Try baking instead of frying for a healthier option. Brush the assembled tequeños with olive oil and bake until golden for a lighter twist on this cherished treat.
Make Ahead Options
Tequeños are an excellent choice for meal prep, allowing you to enjoy homemade snacks with minimal fuss during busy times! You can prepare the tequeños up to 24 hours in advance by assembling them completely before frying. Simply wrap your cheese sticks in the dough, then arrange them on a baking sheet lined with parchment paper. Cover them tightly with plastic wrap and refrigerate. When you’re ready to indulge, heat the oil and fry them directly from the fridge for a quick and easy treat just as delicious as freshly made! For longer storage, consider freezing un-fried tequeños for up to 3 months, ensuring they’re separated to prevent sticking. Just fry them for a few extra minutes from frozen, and enjoy that delightful crunch!
How to Store and Freeze Tequeños
Room Temperature: Keep cooked tequeños at room temperature for up to 2 hours if left out, covered with a clean kitchen towel to maintain some warmth.
Fridge: Store leftover tequeños in an airtight container in the refrigerator for up to 3 days. Reheat in the oven for a few minutes to regain their crispiness.
Freezer: Freeze uncooked tequeños on a baking sheet until firm, then transfer to a freezer-safe bag. They can be stored for up to 2 months. Fry them straight from frozen, adding a couple of extra minutes to the cooking time.
Reheating: For the best results, reheat tequeños in an oven at 375°F (190°C) for about 10 minutes to ensure a crispy texture while warming the cheese filling.
Tequeños Recipe FAQs
What type of cheese is best for tequeños?
I recommend using mozzarella cheese for that gooey, stretchy filling that tequeños are famous for. However, you can experiment with other cheeses like cheddar or queso blanco for a different flavor profile. Just ensure that the cheese is firm enough to maintain its shape during frying.
How should I store leftover tequeños?
You can keep cooked tequeños in an airtight container in the refrigerator for up to 3 days. To reheat, place them in the oven at 375°F (190°C) for about 10 minutes to restore their crispiness. If left out, cover them with a clean kitchen towel for up to 2 hours to maintain some warmth.
Can I freeze tequeños before frying them?
Absolutely! To freeze uncooked tequeños, arrange them on a baking sheet in a single layer and freeze until firm. Once firm, transfer them to a freezer-safe bag or container. They can stay fresh for up to 2 months. Fry directly from frozen, just add a couple of extra minutes to the cooking time for best results.
How do I prevent cheese from leaking while frying?
To avoid leaks, make sure to seal the edges of the dough tightly around the cheese sticks. If your cheese is too soft, you can freeze the cheese sticks for about 15 minutes before wrapping them. This helps them maintain their shape and prevents any gooey mess during frying.
Can I make gluten-free tequeños?
Yes, you can definitely make gluten-free tequeños! Simply substitute the all-purpose flour with a gluten-free flour blend of your choice. Be sure to check that any other ingredients, like baking powder, are also gluten-free to keep it safe for those with dietary restrictions.
What are some alternative fillings for tequeños?
Feel free to get creative with your fillings! You can try adding herbs or spices to the cheese mixture for an extra flavor kick. For a sweet twist, consider using chocolate or guava paste. A savory version can include sautéed spinach or mushrooms mixed in with the cheese. The possibilities are endless!
Delicious Tequeños: Discover the Crispy Cheese Delight
Ingredients
Equipment
Method
- Mix the Dry Ingredients: In a large bowl, combine all-purpose flour, cornstarch, salt, baking powder, and sugar.
- Incorporate the Butter: Add softened unsalted butter, stirring until the texture resembles coarse crumbs.
- Form the Dough: Gradually pour in warm water, mixing until a dough forms. Knead gently for about 3-5 minutes.
- Roll it Out: Roll the dough onto a floured surface into thin rectangles, about 4 inches wide.
- Prepare the Filling: Place mozzarella cheese sticks on the center of each rectangle and seal tightly.
- Heat the Oil: In a frying pan, heat vegetable oil over medium-high heat until shimmering.
- Fry the Tequeños: Carefully place a few tequeños in the hot oil, frying until golden brown, about 3-4 minutes.
- Drain and Serve: Remove tequeños with a slotted spoon and drain on paper towels. Serve warm.