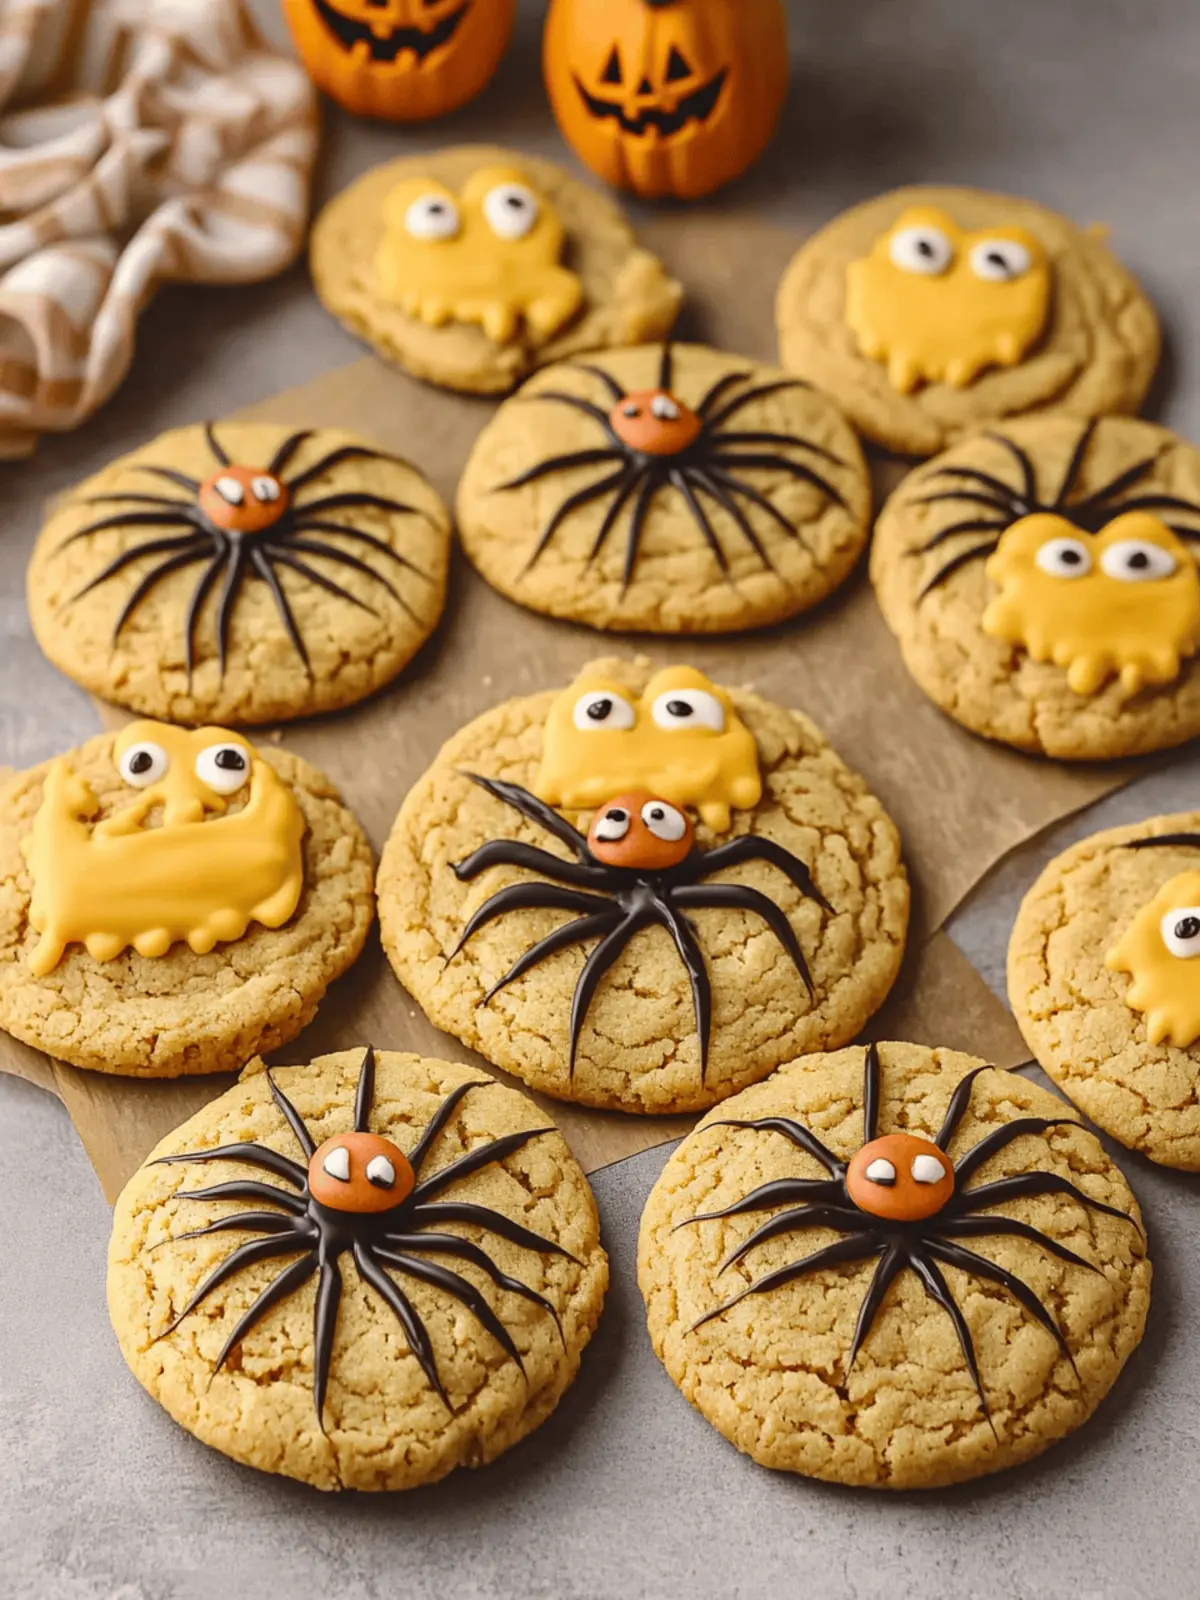
The season of spooky fun is upon us, and what better way to celebrate than by baking a batch of Peanut Butter Spider Halloween Cookies? As the leaves crunch beneath our feet and the air turns crisp, these adorably eerie treats bring a delightful mix of sweetness and whimsy to your Halloween festivities. The moment you take them out of the oven, the rich aroma of peanut butter fills your kitchen, inviting everyone to grab a spooky snack.
What makes these cookies uniquely irresistible is their combination of chewy texture and playful presentation, making them a fantastic project to tackle with the kids. Plus, with the flexibility to swap in your favorite candies for decoration, you can customize each batch to reflect your family’s tastes. So, roll up your sleeves and let’s get baking together—these are sure to become a beloved tradition in your home!

Why are Peanut Butter Spider Halloween Cookies a hit?
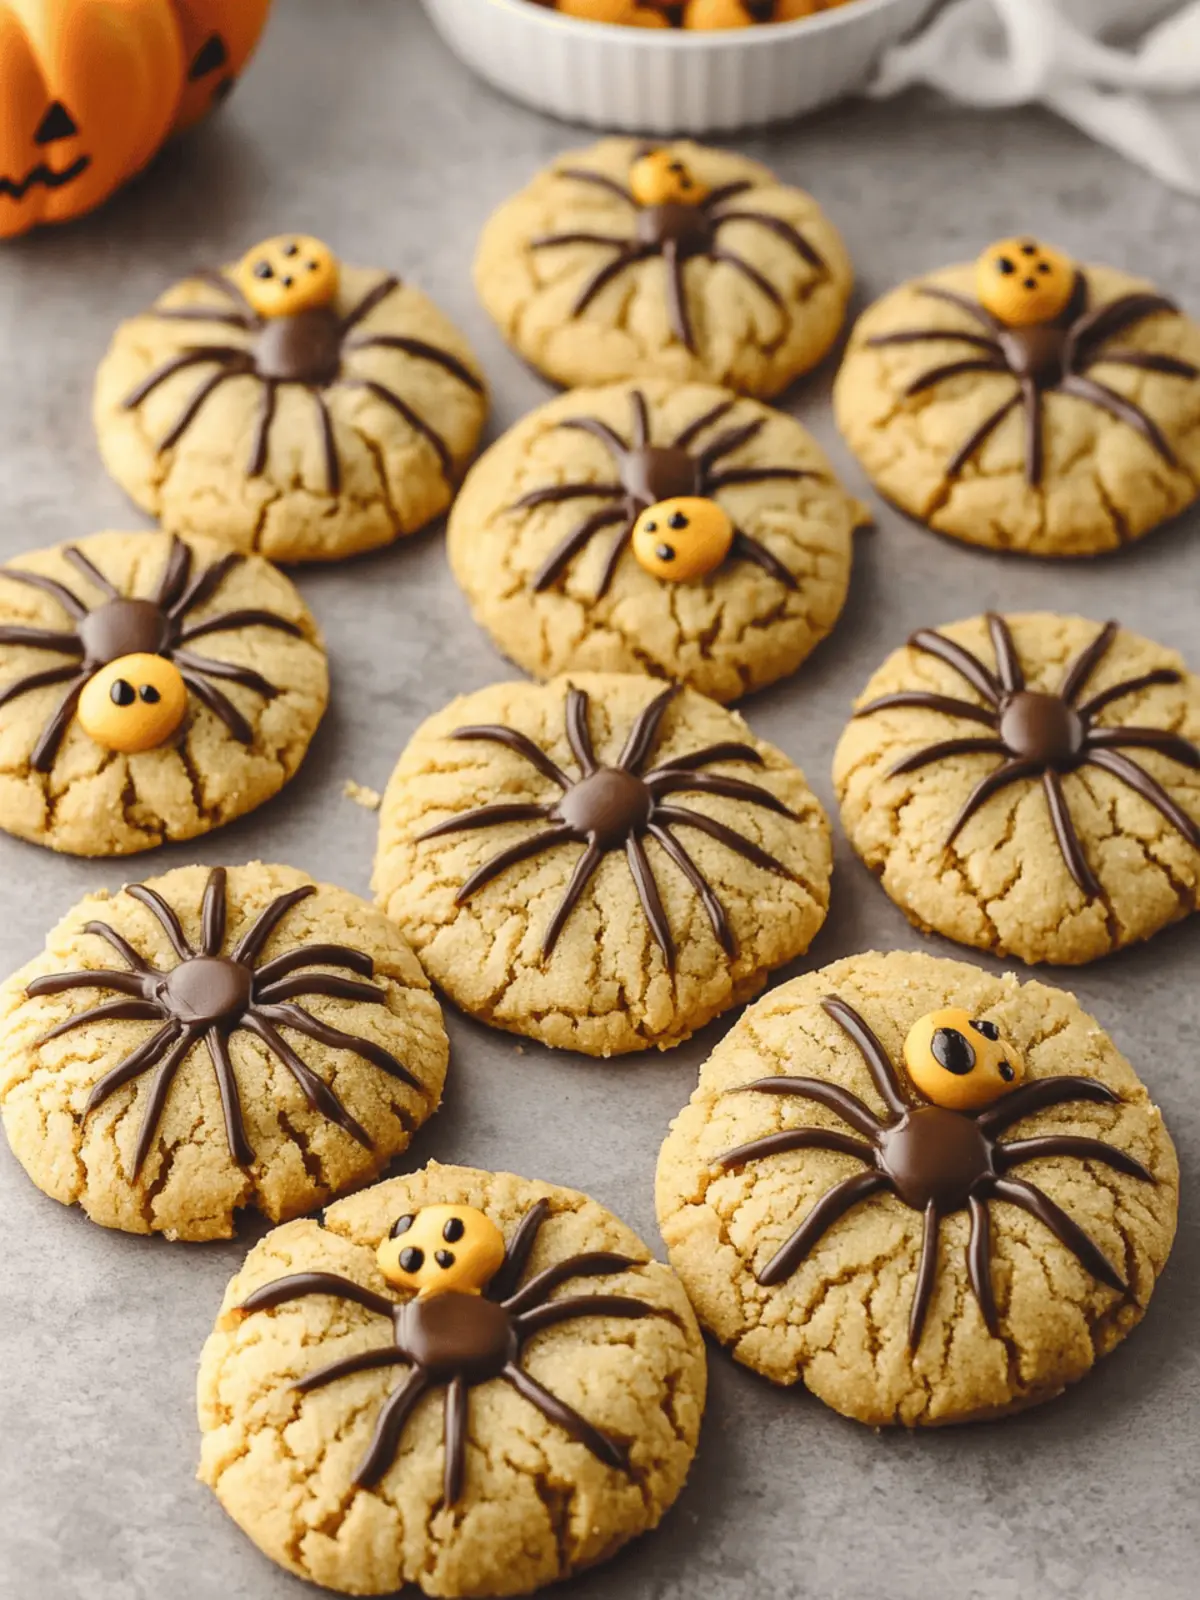
Delightful visual appeal: These cookies are not only tasty, but their spooky spider appearance with candy accents also creates a fun centerpiece for any Halloween gathering.
Chewy goodness: With a perfect balance of crispy edges and a chewy center, you won’t be able to resist reaching for seconds!
Family-friendly fun: Kids can help decorate their own spiders, making it a delightful baking activity to share together.
Customizable toppings: Use your favorite candies—swap Reese’s for Whoppers or get creative with chocolate-covered pretzels for legs!
Quick baking: Ready in just over an hour, you can whip up a batch in no time for last-minute festivities.
Nostalgic treat: Peanut butter cookies are classic favorites, rekindling memories while adding joy to your Halloween dessert table.
Peanut Butter Spider Halloween Cookies Ingredients
For the Cookies
• All-Purpose Flour – Adds structure to the cookies; you can use gluten-free flour for a gluten-free option.
• Baking Soda – Acts as a leavening agent for a lighter texture in your Peanut Butter Spider Halloween Cookies.
• Salt – Enhances flavor and balances sweetness.
• Unsalted Butter – Provides richness and moisture; ensure it’s at room temperature for easy creaming.
• Light Brown Sugar – Adds moisture and a slight caramel flavor; can be substituted with dark brown sugar for a deeper taste.
• Granulated Sugar – Sweetens the cookies and helps create that chewy texture.
• Smooth Peanut Butter – This is the key flavor component; use creamy peanut butter for the best results—crunchy may alter the texture.
• Egg – Binds the ingredients together and adds moisture to the cookies.
• Vanilla Extract – Brings depth of flavor to your delightful treats.
• Whole Milk – Helps achieve the desired dough consistency.
For Decoration
• Miniature Reese’s Peanut Butter Cups – Used as the “body” of the spider; substitute with Whoppers or Hershey Kisses if desired.
• Semi-Sweet Chocolate – For piping spider legs; chocolate chips can be used as an alternative.
• Candy Eyes – Essential for decoration and available at craft or baking stores.
Gather these ingredients and get ready to delight your family with these whimsical, tasty Peanut Butter Spider Halloween Cookies!
How to Make Peanut Butter Spider Halloween Cookies
-
Prepare Dough: Whisk together the all-purpose flour, baking soda, and salt in a bowl; set aside. In a separate bowl, cream the unsalted butter, light brown sugar, and granulated sugar until light and fluffy. Mix in the smooth peanut butter, egg, vanilla extract, and whole milk until well combined. Gradually add your dry ingredients to this wet mixture until just combined.
-
Chill Dough: Cover the cookie dough with plastic wrap and refrigerate for at least 30 minutes. Chilling is essential to keep those adorable cookies from spreading too much while baking!
-
Shape & Bake: Preheat your oven to 350°F (175°C). Once chilled, scoop tablespoon-sized mounds of dough onto baking sheets lined with parchment paper. Bake for 10-12 minutes until the cookies are golden brown but still slightly soft in the center.
-
Add Spider Features: Let cookies cool on the baking sheet for 3-5 minutes. Gently place a miniature Reese’s Peanut Butter Cup on top of each cookie as the spider’s body. Once cooled, pipe chocolate legs with a piping bag and attach candy eyes for that perfectly spooky look. Refrigerate briefly to let everything set.
Optional: Top with a sprinkle of sea salt for an irresistible flavor twist.
Exact quantities are listed in the recipe card below.

What to Serve with Peanut Butter Spider Halloween Cookies?
These spooky treats will steal the show, but a well-rounded spread can elevate your Halloween gathering to the next level.
- Chilled Milk: A classic pairing, nothing complements the rich peanut butter flavor like a refreshing glass of cold milk.
- Pumpkin Spice Latte: The warm spices in this cozy drink enhance the sweetness of the cookies and add a seasonal touch.
- Apple Slices with Caramel Dip: The crisp texture and tartness of apples balance the richness of the cookies, making a delightful contrast.
- Chewy Gummy Worms: These fun candies add even more whimsy to your treats, making them a hit among kids and adults alike.
- Chocolate-Covered Pretzels: The salty crunch pairs perfectly with the sweet, chewy cookies, adding an exciting texture to your Halloween spread.
- Spiced Hot Cider: Embrace the autumn vibes with this warm drink; the spices harmonize beautifully with the peanut butter flavor.
- Mummy Dogs: These adorable hot dogs wrapped in crescent roll dough bring savory balance to your dessert table and delightfully fit the theme.
- Pumpkin Chocolate Chip Bread: A slice of this moist bread will tie in seasonal flavors, creating an inviting harmony alongside the cookies.
- Fang-tastic Fruit Salad: Combine grapes, strawberries, and banana slices to create a refreshing, colorful dish that balances the sweetness of cookies.
Let these delightful accompaniments round out your Halloween experience, ensuring every bite is filled with joy and flavor!
Make Ahead Options
These Peanut Butter Spider Halloween Cookies are perfect for meal prep enthusiasts looking to save time during the busy Halloween season! You can make the cookie dough up to 24 hours in advance; just cover it tightly with plastic wrap before refrigerating to prevent it from drying out. Additionally, you can bake the cookies and store them in an airtight container at room temperature for up to 5 days. When ready to decorate, simply place the Reese’s on top and pipe chocolate legs, giving them a quick chill in the refrigerator to set. By prepping ahead, you’ll get to enjoy delightful, fresh cookies with minimal hassle, making your Halloween celebrations much easier!
Peanut Butter Spider Halloween Cookies Variations
Feel free to get creative with these delightful cookies to make them your own and savor every spooky bite!
-
Nut-Free: Use sunflower seed butter instead of peanut butter for a deliciously nut-free version that keeps the flavor rich and creamy.
-
Almond Butter: Swap peanut butter for almond butter for a lovely, nutty twist that will surprise your taste buds.
-
Vegan Upgrade: Replace the egg with flaxseed meal (1 tablespoon flaxseed mixed with 2.5 tablespoons water) and use dairy-free chocolate to make these cookies vegan-friendly.
-
Candy Bar Delight: Experiment with different candies like Milky Way or Snickers, which can create a fun variety of flavors and textures in each cookie.
-
Spooky Sprinkles: Add Halloween-themed sprinkles to the dough before baking for an extra festive touch that adds both color and crunch.
-
Textures Galore: Mix in some crushed graham crackers or oats into the cookie dough for a new texture that will make each bite even more interesting.
-
Chocolate Lovers: Use double the chocolate! Add some chocolate chips into the dough along with using chocolate for the legs to make a rich chocolate-peanut butter delight.
-
Heat Things Up: Sprinkle a pinch of cayenne pepper into the dough for a surprising heat that balances beautifully with the sweetness of the peanut butter.
These variations will not only personalize your Peanut Butter Spider Halloween Cookies but also add excitement to your festive baking!
Expert Tips for Peanut Butter Spider Halloween Cookies
-
Butter Temperature: Ensure your unsalted butter is at room temperature for easy mixing; this will contribute to a lighter cookie texture.
-
Chill Dough: Do not skip chilling the dough; it’s crucial to prevent spreading and achieve that chewy center in your Peanut Butter Spider Halloween Cookies.
-
Monitor Baking Time: For the best results, avoid over-baking. Remove cookies from the oven when they’re just golden and slightly soft in the center for the perfect chewiness.
-
Use Creamy Peanut Butter: Opt for smooth peanut butter to enhance the texture of the cookies. Crunchy varieties can affect the end result.
-
Decorate Creatively: Get the kids involved! Let them choose different candies for spider legs to make each batch uniquely festive and fun.
How to Store and Freeze Peanut Butter Spider Halloween Cookies
-
Room Temperature: Store your cookies in an airtight container at room temperature for up to 1 week to maintain their chewy goodness and freshness.
-
Fridge: If you prefer extra freshness, keep them in the fridge for up to 2 weeks. Just allow them to come to room temperature before enjoying.
-
Freezer: Freeze the cookies in a single layer on a baking sheet for about 1 hour, then transfer them to a freezer-safe bag for up to 1 month. Thaw before serving for a delightful home-baked taste.
-
Reheating: For a warm treat, reheat cookies in the microwave for 5-10 seconds or in a preheated oven at 300°F (150°C) for a few minutes until just warm.
Peanut Butter Spider Halloween Cookies Recipe FAQs
What is the best way to choose ripe ingredients for these cookies?
Absolutely! For the best Peanut Butter Spider Halloween Cookies, always use fresh ingredients. Ensure your butter is unsalted and at room temperature for better mixing. As for your peanut butter, choose a smooth variety for a creamier texture—creamy peanut butter yields the best results while crunchy can alter the cookie’s structure.
How should I store Peanut Butter Spider Halloween Cookies?
You can store your cookies in an airtight container at room temperature for up to 1 week, which will help maintain their delightful chewiness. If you’d like to keep them longer, feel free to refrigerate them, where they’ll stay fresh for up to 2 weeks. Just remember to allow them to come to room temperature before indulging!
Can I freeze these cookies, and how do I do that?
Definitely! Freezing is a great way to save some treats for later. Here’s how: First, place the cookies in a single layer on a baking sheet and freeze for about 1 hour. This prevents them from sticking together. After that, transfer them to a freezer-safe bag or container and store for up to 1 month. To enjoy, simply thaw them at room temperature or warm them up in the microwave for 5-10 seconds.
What can I do if my cookie dough is too sticky?
If you find your dough a bit too sticky to handle, don’t worry! Just sprinkle in a little extra flour, about 1 tablespoon at a time, while mixing until it reaches a workable consistency. Also, chilling the dough for at least 30 minutes is important, as it will help firm it up!
Are there any dietary considerations with these cookies for pets or allergies?
Great question! The primary concerns for allergens in Peanut Butter Spider Halloween Cookies are peanuts, eggs, and gluten, so be sure to check for any allergies your family or guests might have beforehand. Additionally, never share cookies made with chocolate with your pets, as it can be harmful to them.
Can I make these cookies dairy-free?
Very! To make dairy-free Peanut Butter Spider Halloween Cookies, substitute the unsalted butter with dairy-free butter or coconut oil, and use a non-dairy milk alternative, such as almond or oat milk. Enjoy these delightful treats without compromising on flavor!
Peanut Butter Spider Halloween Cookies You’ll Love to Make
Ingredients
Equipment
Method
- Whisk together the all-purpose flour, baking soda, and salt in a bowl; set aside.
- In a separate bowl, cream the unsalted butter, light brown sugar, and granulated sugar until light and fluffy.
- Mix in the smooth peanut butter, egg, vanilla extract, and whole milk until well combined.
- Gradually add your dry ingredients to this wet mixture until just combined.
- Cover the cookie dough with plastic wrap and refrigerate for at least 30 minutes.
- Preheat your oven to 350°F (175°C).
- Once chilled, scoop tablespoon-sized mounds of dough onto baking sheets lined with parchment paper.
- Bake for 10-12 minutes until the cookies are golden brown but still slightly soft in the center.
- Let cookies cool on the baking sheet for 3-5 minutes.
- Gently place a miniature Reese's Peanut Butter Cup on top of each cookie as the spider's body.
- Once cooled, pipe chocolate legs and attach candy eyes for decoration.
- Refrigerate briefly to let everything set.
- Optional: Top with a sprinkle of sea salt.