As the afternoon sun started its descent, casting a warm glow in my kitchen, I found myself craving something quick yet satisfying. This lovely shift in light always sparks my creativity, and that’s when I remembered a delightful discovery: Mini Lunchbox Pizzas. With just two simple ingredients—self-raising flour and Greek yogurt—I could whip up a batch that would not only please the kids but also fuel our busy afternoon with protein and flavor.
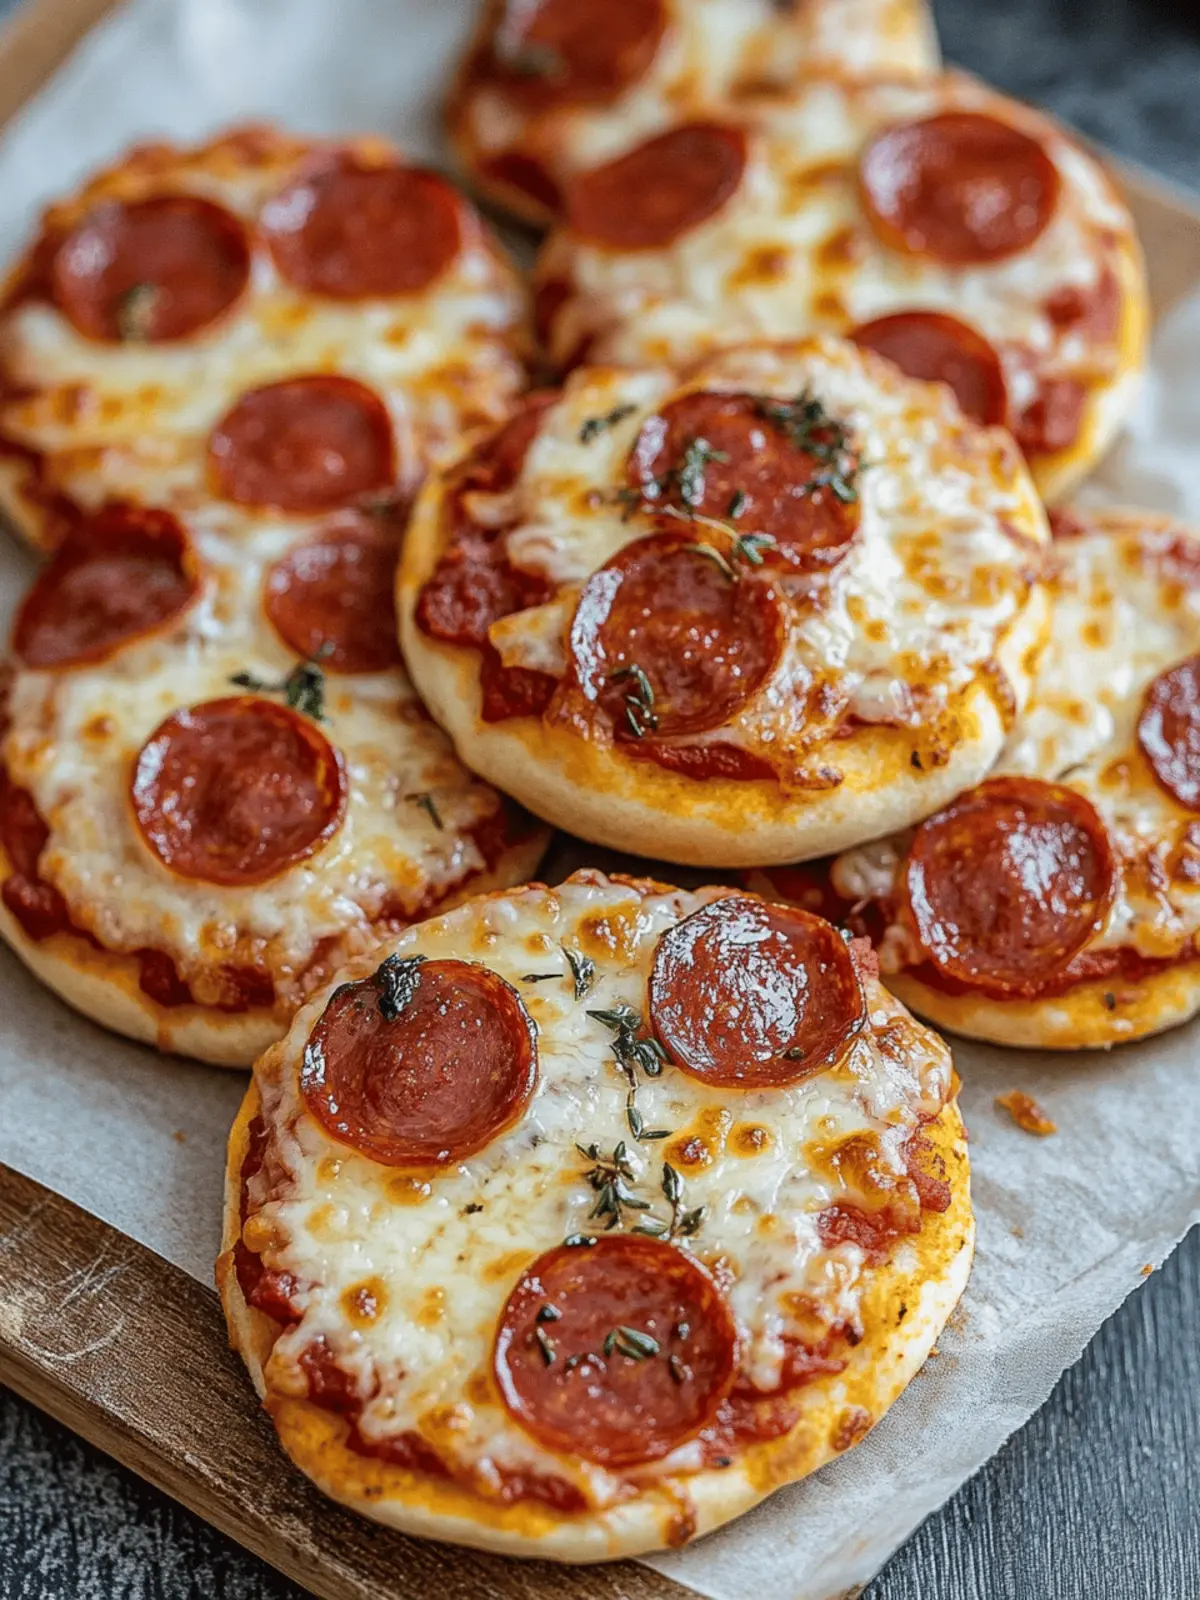
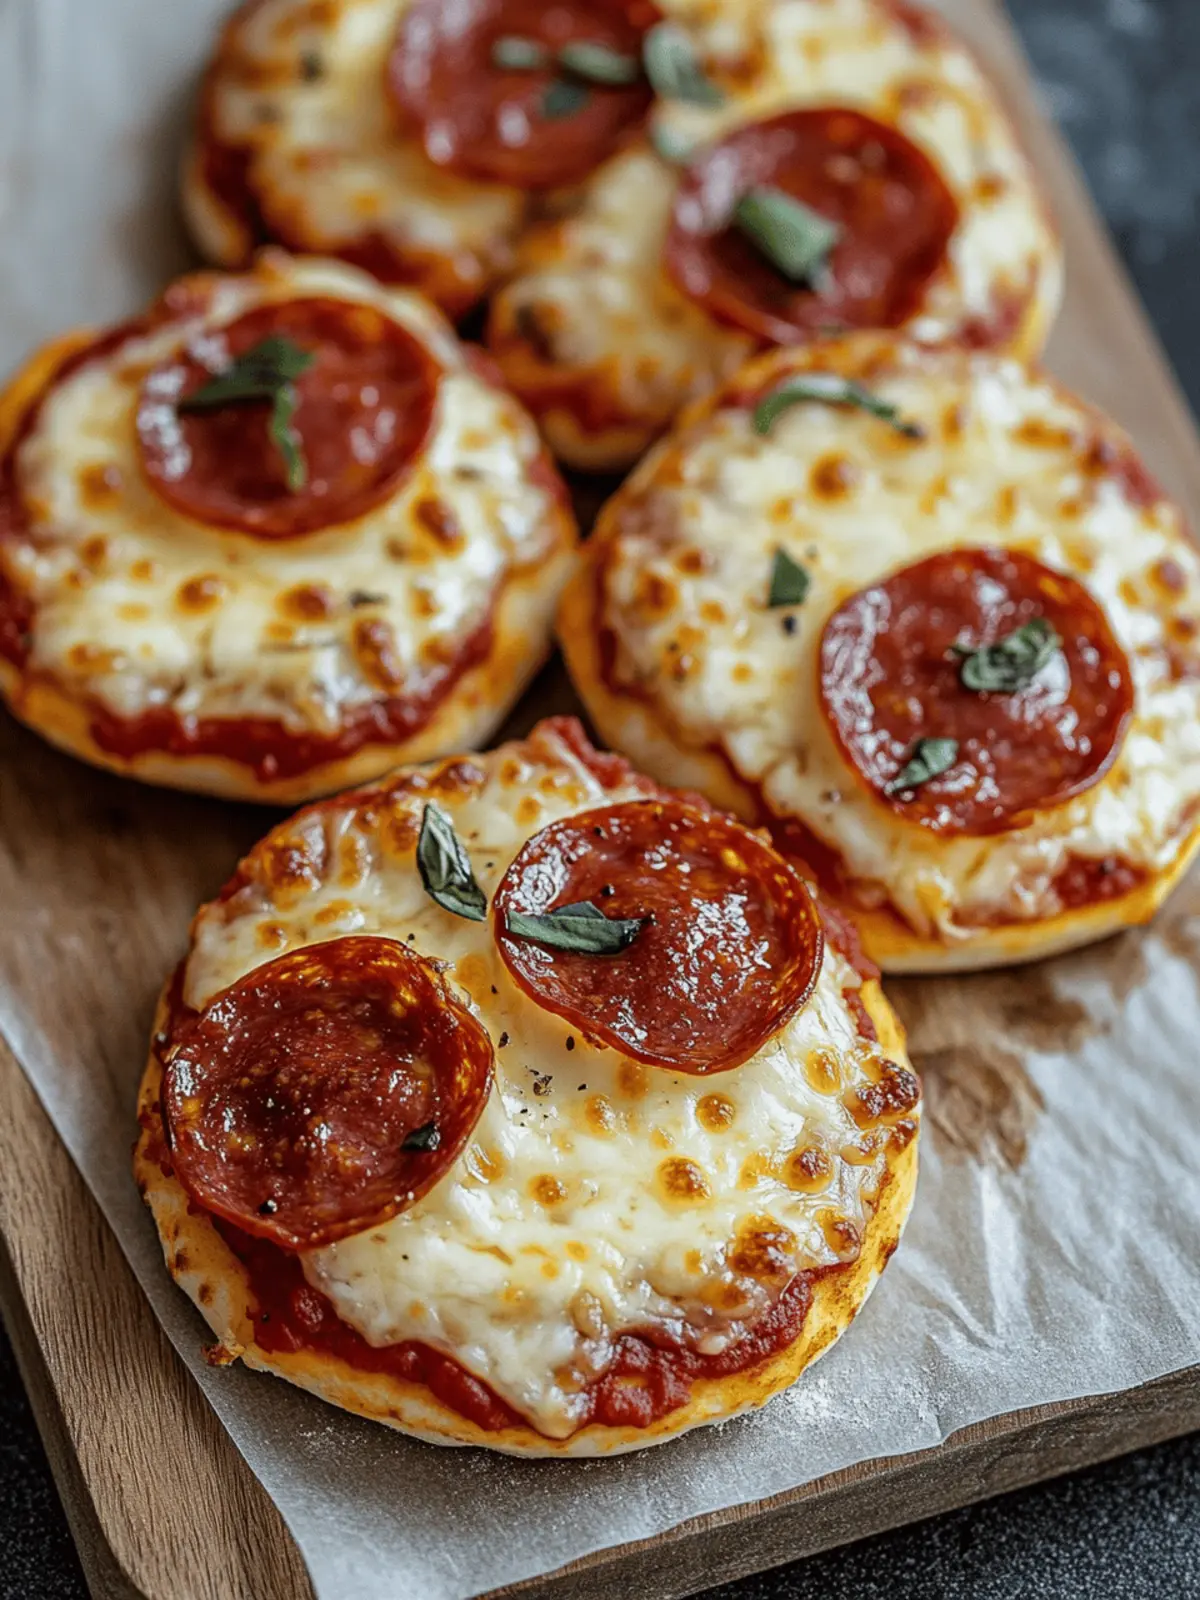
Imagine biting into a warm, fluffy dough topped with gooey mozzarella and savory pepperoni—just like the classic pizza you love, but made effortlessly at home! These mini wonders are perfect for school lunches, after-school snacks, or any time the hunger pangs strike. Plus, they’re freezer-friendly, so you can make a big batch and enjoy them whenever the mood strikes. Join me as I share the secrets to these customizable, kid-friendly Mini Lunchbox Pizzas—your new go-to snack that will turn any mundane day into a delicious culinary adventure!

Why are Mini Lunchbox Pizzas a Must-Try?
Quick and Easy: These pizzas come together in just 25 minutes, making them an ideal choice for busy weekdays or spontaneous snack cravings.
Kid-Friendly Fun: Little hands can help assemble their own, making meal prep a fun bonding experience.
Customizable: Use any toppings or sauces your family loves, ensuring everyone gets their favorite bites.
High-Protein Goodness: Packed with Greek yogurt, these pizzas are a nutritious option that keeps hunger at bay.
Freezer-Friendly: Bake a batch and freeze extras for those days when you need a quick meal—just reheat and enjoy!
Whether you’re looking for a delightful lunch or an afternoon snack, these Mini Lunchbox Pizzas will surely become a favorite in your home!
Mini Lunchbox Pizzas Ingredients
• Let’s gather up the essentials for these delightful, kid-friendly treats!
For the Dough
- Self-Raising Flour – Forms the base of our fluffy dough; can be substituted with all-purpose flour and baking powder (1 tsp per cup).
- Greek Yogurt – Adds moisture and protein to the dough, making it rich; plain yogurt or sour cream also works well.
For the Topping
- Tomato Paste – Serves as the tangy pizza sauce base; feel free to swap it out for regular pizza sauce or marinara if preferred.
- Mozzarella Cheese – Melts beautifully for that gooey top layer; you can also use cheddar, gouda, or any cheese that melts nicely.
- Pepperoni – Provides a savory flavor and a hint of spice; try substituting with cooked chicken, turkey, or veggies for a vegetarian twist.
These Mini Lunchbox Pizzas are not only easy to whip up but also a fantastic way to please the whole family! Enjoy mixing and matching your favorite ingredients!
How to Make Mini Lunchbox Pizzas
-
Preheat Oven: Begin by setting your oven to 200°C (400°F) or 180°C (350°F) if using a fan-forced setting. Don’t forget to line a baking tray with parchment paper for easy cleanup!
-
Dough Preparation: In a large bowl, mix together the self-raising flour and Greek yogurt until large flakes start to form. Knead the mixture until it transforms into a soft dough, which should only take about 1-2 minutes.
-
Shape Dough: On a lightly floured surface, roll out the dough until it’s roughly 1 cm (½ inch) thick. Use a mug or cookie cutter to cut out round shapes that will serve as your pizza bases.
-
Assemble Pizzas: Lay the dough rounds on your prepared tray. Spread a generous layer of tomato paste on each one, then sprinkle with mozzarella cheese and top with pepperoni slices.
-
Bake: Pop your tray into the preheated oven and bake for 12–14 minutes, or until the dough is golden brown and the cheese is bubbling and melted.
-
Cool: Once out of the oven, let your mini pizzas cool slightly on the tray so they’re easier to handle before serving.
Optional: For an extra touch, garnish with fresh basil or a sprinkle of oregano before serving.
Exact quantities are listed in the recipe card below.

How to Store and Freeze Mini Lunchbox Pizzas
Fridge: Store in an airtight container for up to 2 days. These Mini Lunchbox Pizzas taste best when enjoyed fresh, but refrigeration keeps them safe and tasty.
Freezer: Wrap completely cooled pizzas in plastic wrap or place them in an airtight freezer bag. They can be frozen for up to 2 months.
Reheating: Reheat directly from frozen in the oven at 180°C (350°F) for about 10–12 minutes, or thaw overnight in the fridge before reheating for a quick snack.
Cooling: Always let pizzas cool completely before storing to maintain their fluffy texture and prevent sogginess.
Mini Lunchbox Pizzas Variations & Substitutions
Feel free to tweak this recipe and make it your own with exciting flavors and alternatives!
- Dairy-Free: Use a plant-based yogurt and dairy-free cheese for a delicious vegan-friendly option.
- Whole Wheat: Swap half the self-raising flour for whole wheat flour to add a nutty flavor and extra fiber.
- Spicy Touch: Add a sprinkle of red pepper flakes on top for a kick that spice lovers will adore.
- Herb-Infused Dough: Mix in fresh chopped herbs like basil or parsley into the dough for an aromatic twist.
- Veggie Boost: Load up with chopped vegetables like mushrooms, zucchini, or onions for added nutrition and color.
- BBQ Flavors: Replace tomato paste with BBQ sauce and top with shredded chicken for a tangy barbecue pizza experience.
- Breakfast Variation: Use scrambled eggs, diced ham, and shredded cheese for a delightful breakfast version.
- Fruit Topping: For a sweet twist, try dessert Mini Lunchbox Pizzas using Nutella and sliced strawberries!
These variations can ignite your culinary creativity while ensuring every bite is filled with love and flavor!
What to Serve with Mini Lunchbox Pizzas?
These delightful pizzas are not just a snack; they are a canvas for a vibrant, wholesome meal!
- Crispy Green Salad: Crisp lettuce and veggies add a refreshing crunch, balancing the cheesiness of the pizzas.
- Fruit Skewers: Colorful fruits on skewers offer a sweet touch, making lunch not only nutritious but fun to eat!
- Garlic Breadsticks: Soft and buttery, these make an indulgent pairing—you can dip them into marinara sauce for extra flavor.
- Vegetable Sticks with Hummus: Crunchy carrots, cucumbers, and bell peppers dipped in hummus provide a healthy, satisfying crunch next to the soft pizzas.
- Mini Chocolate Chip Cookies: End the meal on a sweet note with these classic treats; their gooeyness is irresistible, and kids will eat them up!
- Smoothie: Blend up a fruity smoothie—rich in vitamins—to sip alongside, creating a nutritious balance to combat the cheese!
- Apple Slices with Peanut Butter: Sweet and creamy, this combo offers protein and healthy fats, boosting the meal’s satisfaction factor.
- Sparkling Water with Berries: A bubbly drink packed with flavor makes anything feel special and is a delightful alternative to sugary sodas!
Make Ahead Options
These Mini Lunchbox Pizzas are perfect for meal prep, allowing you to save valuable time during busy weeknights! You can prepare the dough and shape your pizza bases up to 24 hours in advance. Simply store the unbaked pizza rounds in an airtight container in the refrigerator to keep them fresh. Additionally, you can pre-assemble the pizzas with toppings (tomato paste, cheese, and pepperoni) and refrigerate them for up to 3 days. When you’re ready to enjoy your delicious creations, just bake them directly from the fridge or let them sit at room temperature for about 15 minutes before popping them in the oven. This way, you’ll have warm, gooey Mini Lunchbox Pizzas on the table with minimal effort!
Expert Tips for Mini Lunchbox Pizzas
- Dough Consistency: Ensure your dough is soft and not over-kneaded to keep it fluffy. Overworking it can lead to tough pizzas.
- Cutting Shapes: Use a sharp mug or cookie cutter to cut out even rounds, ensuring uniform cooking. Irregular shapes can bake unevenly.
- Cooling Time: Allow pizzas to cool a few minutes after baking; this helps the cheese set, making them easier to eat without spilling toppings.
- Crispy Edges: For a delightful crunch, bake for an extra minute or two while keeping a close eye to avoid burning.
- Freezing Tips: To freeze, let pizzas cool completely before placing them in an airtight bag. This helps retain their texture when reheated.
Enjoy these tips as you create your delicious and customizable Mini Lunchbox Pizzas!
Mini Lunchbox Pizzas Recipe FAQs
How do I choose the best self-raising flour for the dough?
Look for self-raising flour that is fresh and has no lumps. It should be stored in a cool, dry place. If it contains any dark spots or has a weird smell, it’s best to toss it out and buy a new bag.
What’s the best way to store leftover Mini Lunchbox Pizzas?
Store your Mini Lunchbox Pizzas in an airtight container in the fridge for up to 1-2 days. For optimal freshness, make sure they are completely cooled before sealing them up!
Can I freeze Mini Lunchbox Pizzas, and how should I do it?
Absolutely! First, allow them to cool completely. Then, wrap each pizza in plastic wrap or place them in an airtight freezer bag. They can be frozen for up to 2 months. When you’re ready to enjoy them, reheat directly from frozen at 180°C (350°F) for about 10–12 minutes.
What should I do if the dough turns out too sticky?
If your dough is too sticky, try adding a little more flour, one tablespoon at a time, until it reaches a manageable consistency. Remember to knead gently so that you don’t overwork the dough and make it tough!
Are there any allergy considerations for Mini Lunchbox Pizzas?
Definitely! If someone has a gluten intolerance, you can use a gluten-free self-raising flour blend. If you’re concerned about dairy, substitute Greek yogurt with a non-dairy alternative and choose dairy-free cheeses. Everyone deserves a taste of these delicious Mini Lunchbox Pizzas!
How can I make these pizzas healthier?
To boost the nutritional content, add finely chopped vegetables like bell peppers or spinach into the dough or as toppings. You could also opt for part-skim mozzarella or incorporate more protein by using cooked chicken or turkey instead of pepperoni. Enjoy customizing your Mini Lunchbox Pizzas to fit your family’s taste and dietary needs!
Mini Lunchbox Pizzas: Easy, Fun Snacks for Happy Kids
Ingredients
Equipment
Method
- Preheat oven to 200°C (400°F) or 180°C (350°F) for fan-forced. Line a baking tray with parchment paper.
- In a large bowl, mix self-raising flour and Greek yogurt until flakes form. Knead until a soft dough forms, about 1-2 minutes.
- On a floured surface, roll out dough to 1 cm thick. Cut out round shapes for pizza bases.
- Place dough rounds on tray. Spread tomato paste, sprinkle with mozzarella, and top with pepperoni.
- Bake for 12-14 minutes until golden brown and cheese is bubbling.
- Let cool on tray for easier handling before serving.