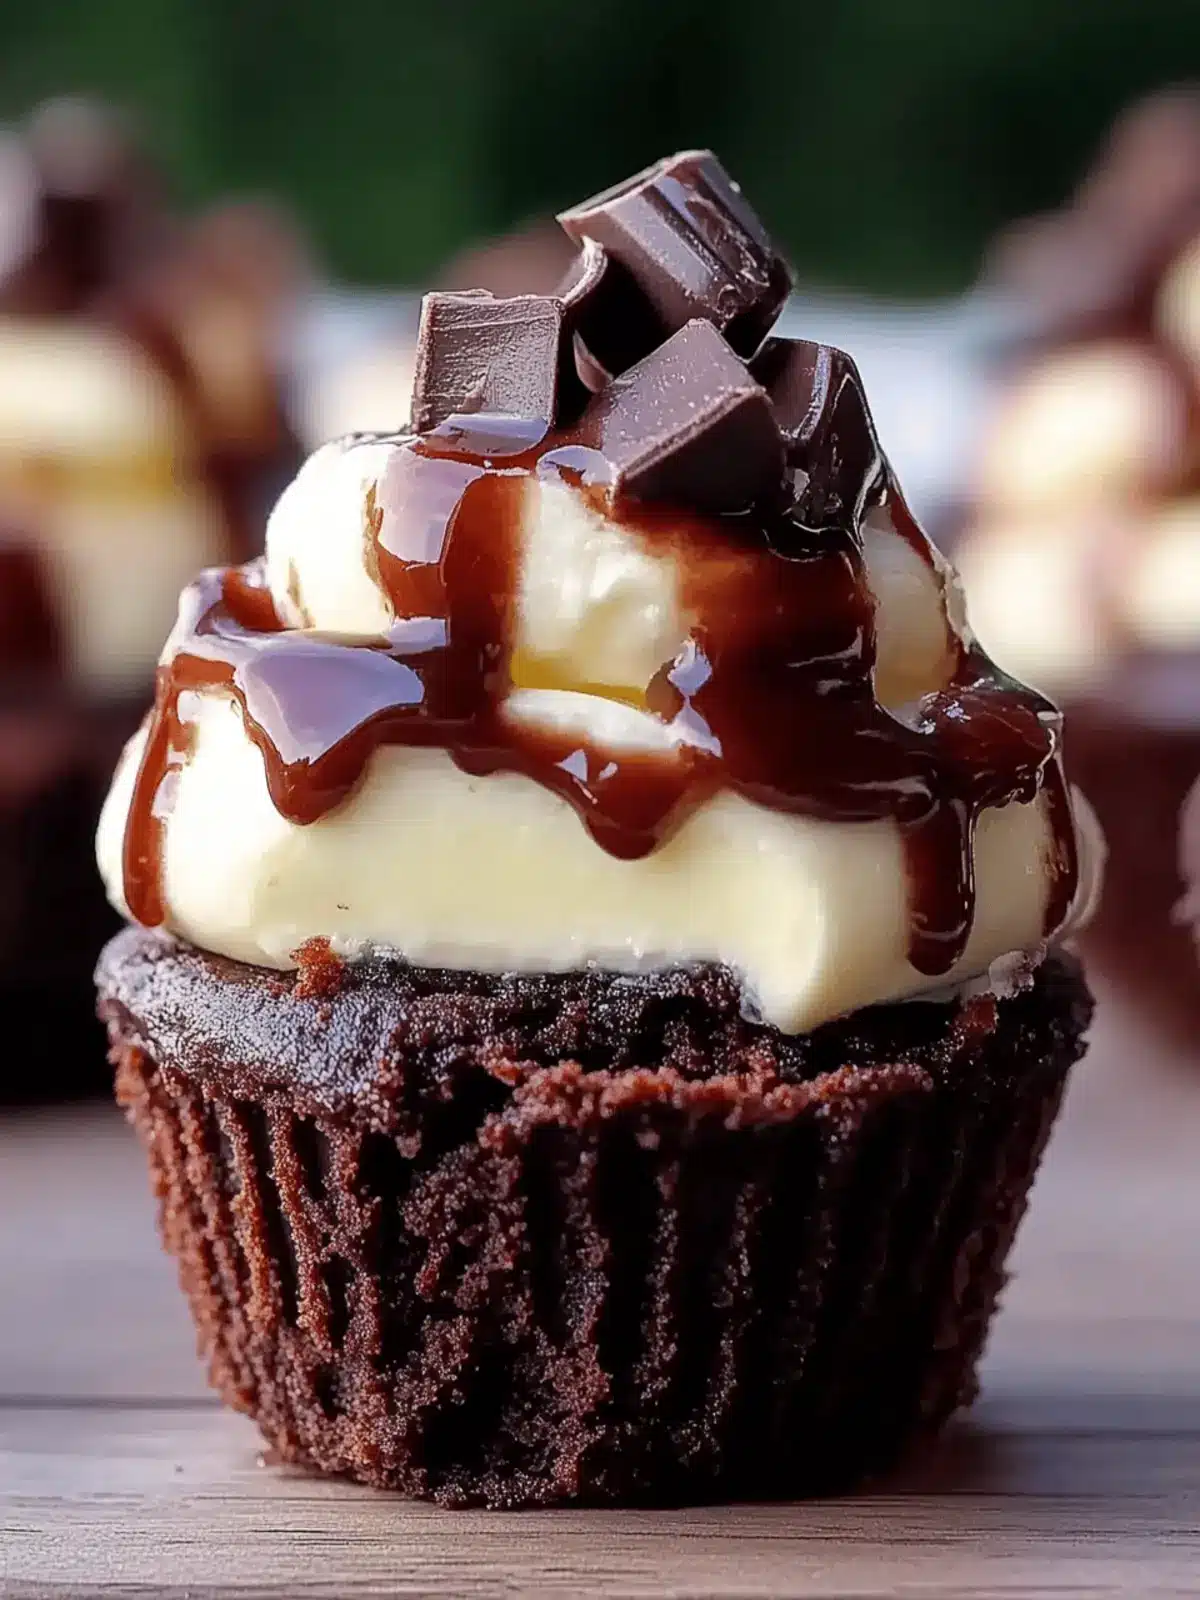
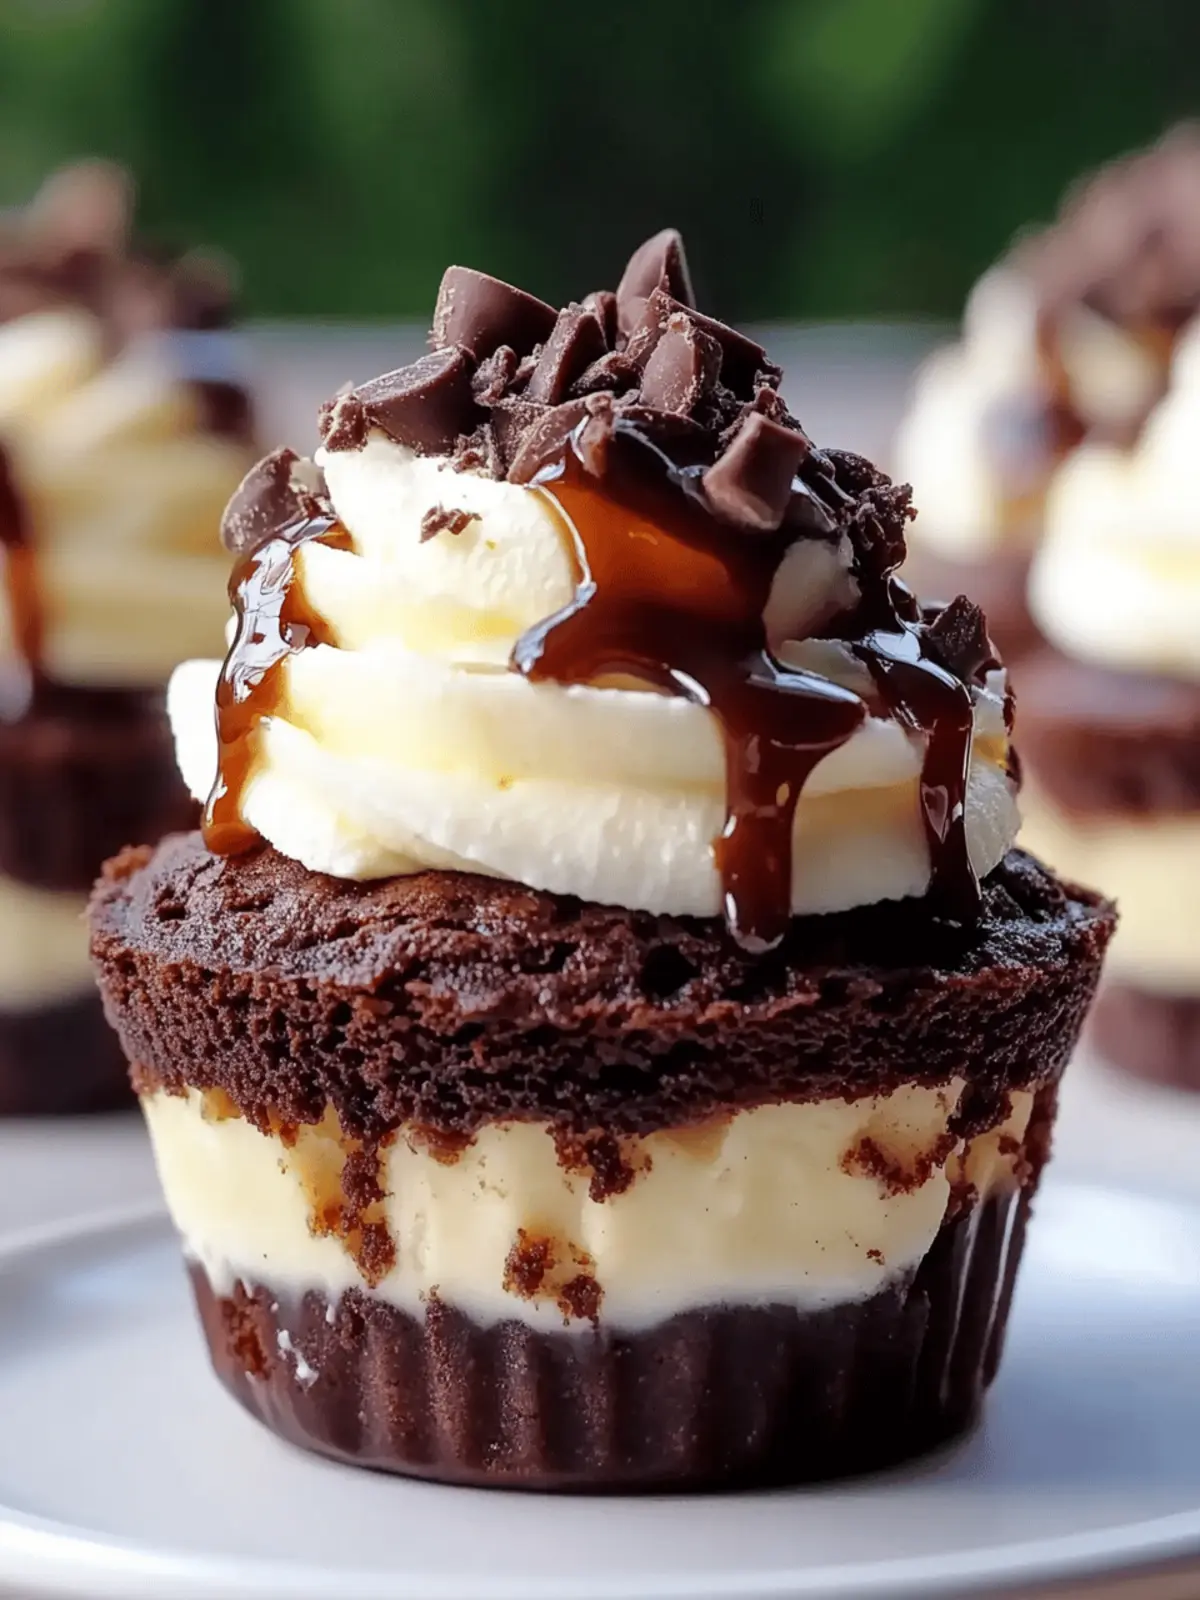
There’s something irresistible about the melt-in-your-mouth combination of brownie and cheesecake that makes these Loaded Brownie Cheesecake Cups an absolute must-try. Picture this: the warm, fudgy base cradles a luscious cream cheese filling that dances on your palate, creating a symphony of flavors and textures that you won’t be able to resist. I stumbled upon this delightful recipe during a weekend cooking session and instantly knew it would become a favorite for both family gatherings and cozy nights in.
What I love most about these cups is how quickly they come together—45 minutes from start to finish! They’re simple enough for a weeknight treat but elegant enough to impress your guests at a dinner party. Whether you’re a seasoned chef or just beginning your culinary journey, you’ll find joy in whipping up these decadent desserts that can be customized with your favorite toppings. Get ready to indulge yourself with these mini masterpieces that cater to every chocolate lover’s dreams!

Why are Loaded Brownie Cheesecake Cups so special?
Decadent flavors combine to create a dessert that truly satisfies. Each cup features a rich, fudgy base that complements the smooth creaminess of the cheesecake filling perfectly. Versatile topping options allow you to personalize each bite with your favorite flavors—think nuts, candy bars, or fresh fruit! Plus, the quick preparation time means you can whip these up in less than an hour, making them perfect for any occasion, from cozy movie nights to festive celebrations. If you’re looking for a delightful treat, these cups are a crowd-pleaser that will leave everyone asking for seconds!
Loaded Brownie Cheesecake Cups Ingredients
For the Brownie Base
• Brownie Mix – Provides a rich, chocolaty base; substitute with a homemade brownie recipe or gluten-free mix for variety.
For the Cheesecake Filling
• Cream Cheese – Gives a creamy texture to the filling; for a lighter version, use low-fat cream cheese.
• Granulated Sugar – Sweetens the cheesecake mixture; consider a sugar substitute for a low-calorie option.
• Egg – Acts as a binder, providing structure to the cheesecake filling; replace with a flax egg for a vegan alternative.
• Vanilla Extract – Enhances the flavor of the cheesecake; almond extract can be used for a unique twist.
For the Topping
• Whipped Cream – Adds a light, airy element on top; coconut cream works well for a non-dairy option.
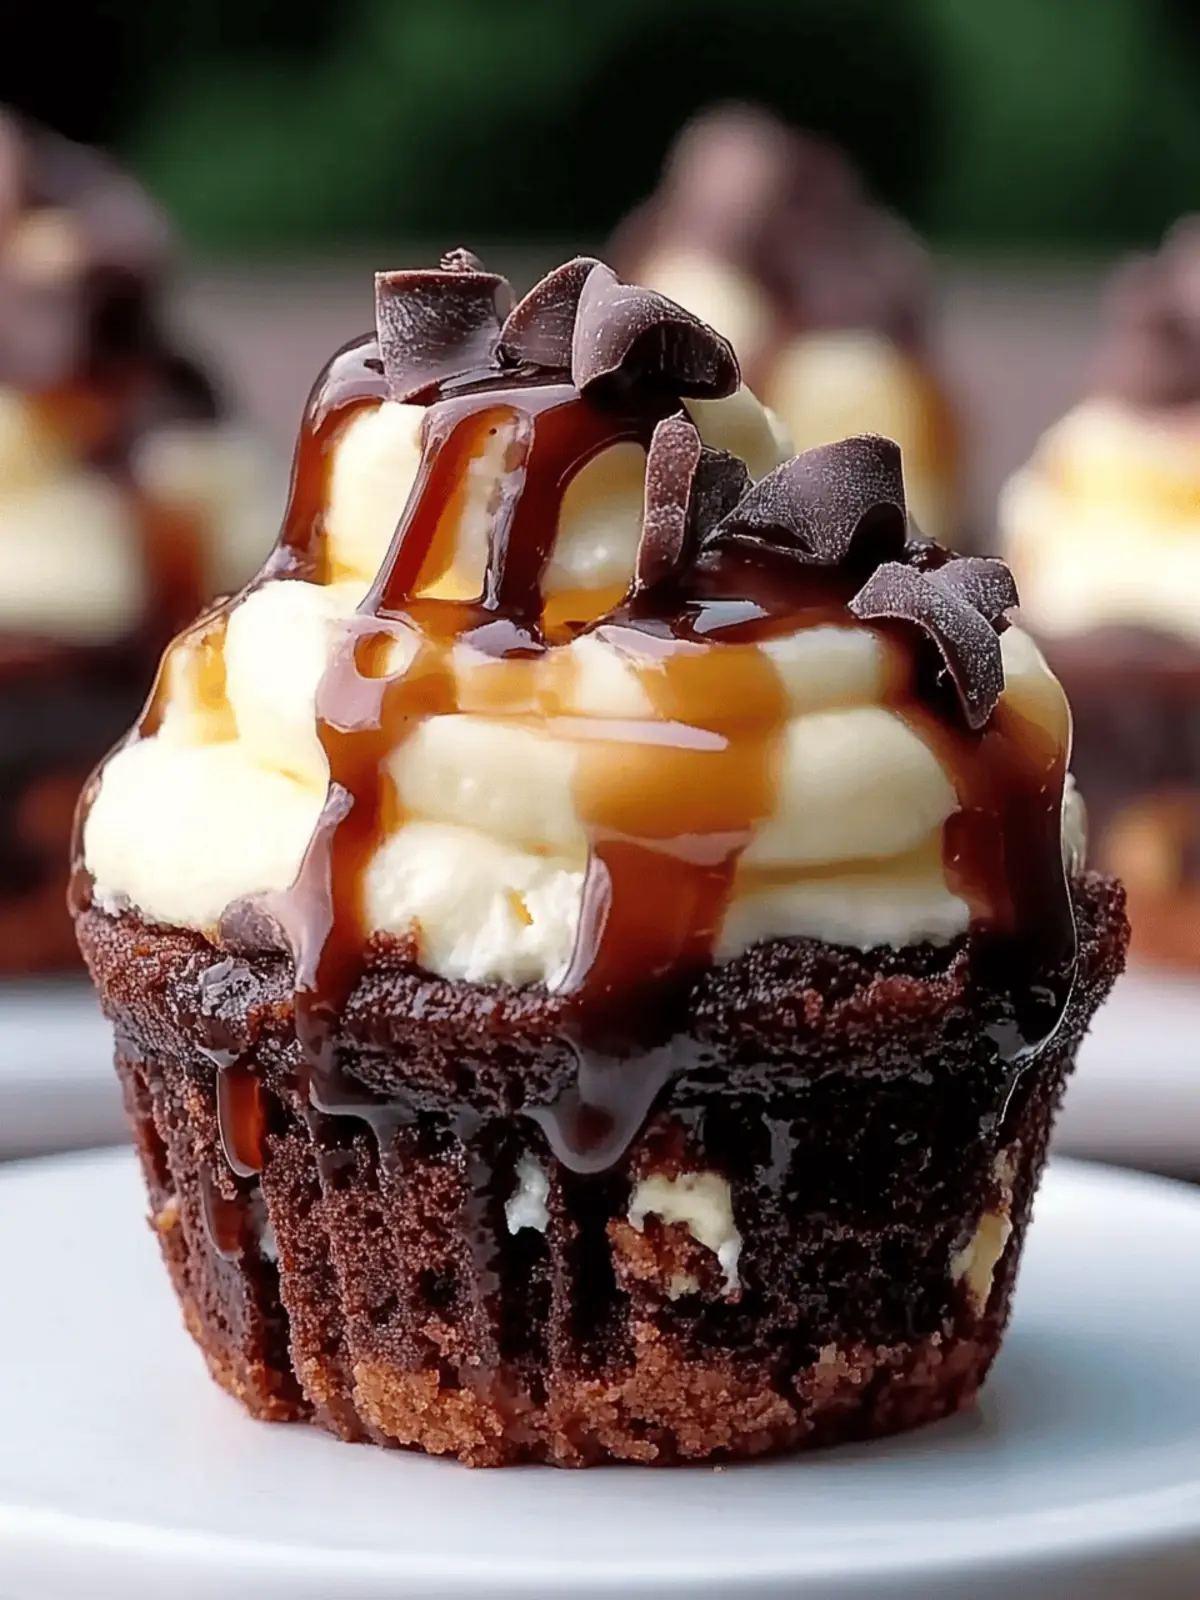
• Chocolate Sauce – Provides sweetness and visual appeal; switch to caramel or fruit sauce for something different.
• Chopped Candy Bars – Adds extra flavor and texture; choose your favorites or omit for a simpler topping option.
These Loaded Brownie Cheesecake Cups are sure to impress, and their delightful combination of flavors will keep you coming back for more!
How to Make Loaded Brownie Cheesecake Cups
-
Preheat the oven to 350°F (175°C). This ensures the brownies bake evenly and develop that wonderful texture everyone loves.
-
Grease a muffin tin with cooking spray or butter. This will prevent your delicious cups from sticking and make for easy removal once they’re done baking.
-
Prepare the brownie batter according to package instructions or your favorite homemade recipe. You’ll want a rich and chocolatey consistency for the base layer.
-
Fill the muffin cups halfway with brownie batter, ensuring each cup is evenly distributed. This gives plenty of room for the luscious cheesecake filling!
-
Mix together cream cheese, granulated sugar, egg, and vanilla extract in a mixing bowl until smooth. This is the creamy dreaminess that will elevate your cups!
-
Spoon 1–2 tablespoons of the cheesecake mixture into the center of each brownie cup. This layering creates that irresistible combination we’re after.
-
Cover each cheesecake dollop with a small amount of brownie batter, making sure not to overfill the cups. You want them to rise beautifully without spilling over!
-
Bake for 20–25 minutes until the centers are just set; a slight jiggle is perfectly fine here. The edges might look firmer, giving the perfect brownie texture.
-
Cool completely in the tin before removing. This step is crucial to prevent any breaks while you’re transferring them to a serving platter.
-
Top each cup with whipped cream, drizzling chocolate or caramel sauce on top. A sprinkle of chopped candy adds that final touch of indulgence!
Optional: Garnish with a few fresh berries for a pop of color and extra flavor.
Exact quantities are listed in the recipe card below.
Make Ahead Options
These Loaded Brownie Cheesecake Cups are perfect for busy home cooks looking to save time and effort! You can prepare the brownie batter and the cheesecake filling up to 24 hours in advance; simply refrigerate each component separately (this helps maintain their textures). When you’re ready to enjoy, fill the muffin cups and bake them fresh! To finish, allow the cups to cool completely before topping with whipped cream and your favorite drizzle. This way, you’ll have wonderfully fresh and indulgent desserts at your fingertips without the stress of last-minute preparation. Enjoy the delicious ease these make-ahead tips offer!
Expert Tips for Loaded Brownie Cheesecake Cups
-
Softened Cream Cheese: Ensure your cream cheese is at room temperature for easy blending. This creates a smooth, creamy filling that mingles beautifully with the brownie base.
-
Avoid Overfilling: Fill muffin cups only halfway with brownie batter before adding the cheesecake mixture. Overfilling can lead to messy, overflowing treats as the batter rises during baking.
-
Cooling Time is Key: Allow the Loaded Brownie Cheesecake Cups to cool completely in the tin. This prevents them from breaking apart and ensures a tidy appearance when served.
-
Customize Your Toppings: Feel free to get creative with toppings! From crushed nuts to crumbled cookies or even fresh fruits, personalizing each cup will delight your guests.
-
Perfect Baking Duration: Keep an eye on the baking time—remove the cups when the centers are just set, with a slight jiggle. This will guarantee a soft, fudgy texture.
How to Store and Freeze Loaded Brownie Cheesecake Cups
Fridge: Store leftover Loaded Brownie Cheesecake Cups in an airtight container in the refrigerator for up to 3 days. This keeps them fresh and ready for you to enjoy!
Freezer: For longer storage, freeze the cups by placing them in a single layer on a baking sheet, then transfer to a freezer-safe container after they are firm. They can last up to 2 months.
Reheating: To enjoy, simply thaw the cups in the fridge overnight, then reheat in the microwave for about 15-20 seconds until warm. This revives their fudgy texture and creamy filling beautifully.
Serving Tip: If you topped your cups with whipped cream, it’s best to add fresh cream just before serving, to maintain its light and airy texture.
Loaded Brownie Cheesecake Cups Variations
There’s no better way to enjoy these delightful cups than by personalizing them to suit your taste!
- Gluten-Free: Substitute regular brownie mix with a gluten-free version to cater to gluten-sensitive guests while keeping the rich flavor intact.
- Vegan Option: Use a vegan cream cheese alternative and replace the egg with a flax egg to create a completely plant-based treat.
- Nutty Twist: Mix in chopped walnuts or pecans into the brownie layer for an added crunch and depth of flavor.
- Minty Fresh: Incorporate a few drops of peppermint extract into the cheesecake filling for a refreshing twist that pairs beautifully with chocolate.
- Spiced Delight: Add a sprinkle of cinnamon or nutmeg to the brownie batter for a warm, comforting flavor that enhances the overall richness.
- Fruitful Addition: Top with fresh raspberries, strawberries, or banana slices for a fruity contrast that balances the chocolate decadence.
- Caramel Drizzle: Instead of chocolate sauce, opt for a rich caramel sauce drizzle to change things up and provide a unique sweetness.
- Coffee Infusion: Mix in a teaspoon of instant coffee granules to the brownie batter to elevate the chocolate experience with a hint of coffee flavor.
These variations will invite everyone to savor your creations while amplifying the enjoyment in every bite!
What to Serve with Loaded Brownie Cheesecake Cups?
Imagine indulging in sweet treats that elevate the joy of your meal, creating sweet memories for everyone at the table.
-
Fresh Berries: The tartness of strawberries or raspberries balances the rich chocolate, adding a refreshing pop of flavor to your dessert experience.
-
Vanilla Ice Cream: A scoop of creamy, cold vanilla ice cream enhances the decadent chocolate flavor, creating a delightful contrast with every bite.
-
Chocolate Drizzled Fruit Skewers: Assemble skewers of bananas, strawberries, and pineapple drizzled in chocolate. It’s like a mini dessert parade to accompany your cups!
-
Espresso or Coffee: A warm cup of espresso or coffee complements the rich flavors, heightening the dessert experience and providing a cozy finish to your meal.
-
Caramel Sauce: Drizzling warm caramel sauce over each cup brings a luscious sweetness that makes each bite even more indulgent and satisfying.
-
Chocolate-Covered Pretzels: The salty crunch of chocolate-covered pretzels adds an exciting texture that contrasts beautifully with the creamy cheesecake filling.
-
Milk or Almond Milk: Serve with a glass of ice-cold milk or almond milk for a classic touch that rounds out the sweet experience effortlessly.
With these pairings, your Loaded Brownie Cheesecake Cups create a perfect sweet symphony, ensuring everyone leaves the table smiling!
Loaded Brownie Cheesecake Cups Recipe FAQs
What type of brownie mix should I use?
I recommend using a regular brownie mix for that rich, chocolatey flavor! If you’re looking for a healthier alternative, you can opt for a homemade brownie recipe or a gluten-free mix.
How long do Loaded Brownie Cheesecake Cups stay fresh?
Store your delicious Loaded Brownie Cheesecake Cups in an airtight container in the refrigerator for up to 3 days. This keeps them fresh, ensuring you can enjoy their indulgence throughout the week.
Can I freeze Loaded Brownie Cheesecake Cups?
Absolutely! To freeze, place the cups in a single layer on a baking sheet until firm, then transfer them to a freezer-safe container. They can last up to 2 months. When you’re ready to indulge, simply thaw in the fridge overnight and enjoy!
What should I do if my cheesecake mixture isn’t creamy?
If your cheesecake mixture isn’t as smooth as you’d like, make sure your cream cheese is at room temperature before mixing! This will help it blend more easily. If it’s still lumpy, try using a hand mixer for a few more minutes until it’s creamy and smooth.
Are these Loaded Brownie Cheesecake Cups suitable for those with allergies?
These cups contain eggs and dairy, so they aren’t suitable for those with egg or dairy allergies. For a dairy-free and egg-free version, you can use a flax egg instead of a whole egg and non-dairy cream cheese.
What toppings can I use for these Loaded Brownie Cheesecake Cups?
The sky’s the limit! You can use whipped cream, chocolate or caramel sauce, and chopped candy bars. For a fruity twist, add fresh berries on top. Get creative with your favorite flavors and textures!
Decadent Loaded Brownie Cheesecake Cups You’ll Adore
Ingredients
Equipment
Method
- Preheat the oven to 350°F (175°C).
- Grease a muffin tin with cooking spray or butter.
- Prepare the brownie batter according to package instructions or your favorite homemade recipe.
- Fill the muffin cups halfway with brownie batter.
- Mix together cream cheese, granulated sugar, egg, and vanilla extract until smooth.
- Spoon 1–2 tablespoons of the cheesecake mixture into the center of each brownie cup.
- Cover each cheesecake dollop with a small amount of brownie batter.
- Bake for 20–25 minutes until the centers are just set.
- Cool completely in the tin before removing.
- Top each cup with whipped cream, drizzle chocolate or caramel sauce on top, and sprinkle with chopped candy.