There’s nothing quite like the satisfying crunch of a perfectly cooked chicken nugget, especially when it’s homemade! Picture this: the moment you bite into a crispy nugget, the seasoned panko crust gives way to tender, juicy chicken, leaving you craving more. The allure of Homemade Chicken Nuggets goes beyond mere nostalgia; they’re a deliciously wholesome alternative to fast food that will have both kids and adults cheering for seconds. Whether you’re looking for a fun weeknight meal, a snack for a gathering, or just something comforting after a long day, these nuggets come together with ease and bursting flavor. Get ready to roll up your sleeves and dive into a recipe that’s not just a treat; it’s a culinary adventure waiting to happen!

Why are Homemade Chicken Nuggets a Must-Try?
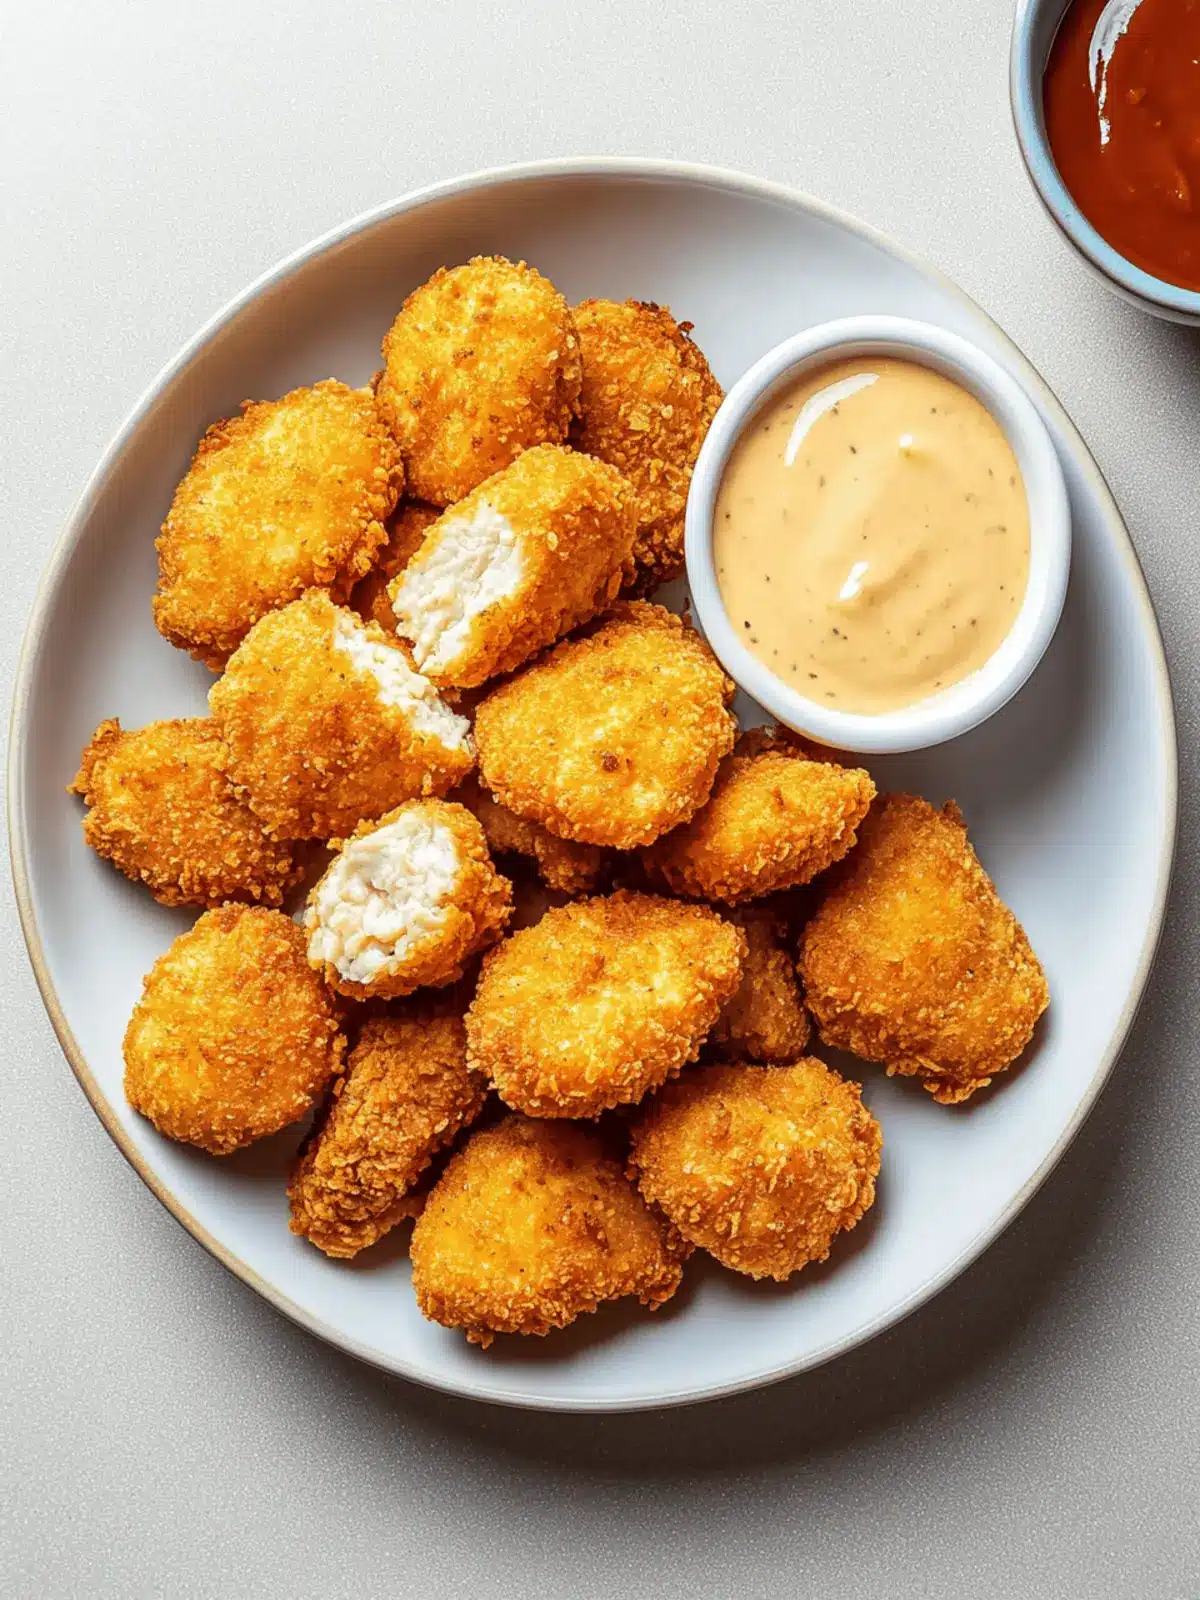
Crispy texture: The seasoned panko crust offers an irresistible crunch that surpasses any store-bought version.
Juicy chicken: Every bite is filled with tender, flavorful chicken, ensuring satisfaction for all ages.
Quick preparation: With just a few simple steps, you can whip these up in no time—perfect for busy weeknights!
Versatile serving options: Pair with your favorite dipping sauces for a fun twist or serve them as a main dish.
Healthier alternative: Made with skinless chicken and baked, these nuggets let you indulge without the guilt.
For more delicious snack ideas, check out my popular snack recipes.
Homemade Chicken Nuggets Ingredients
For the Chicken
- Boneless Skinless Chicken Breasts – Cut into 1-inch cubes to ensure even cooking and juicy bites.
For the Coating
- Panko Breadcrumbs – This light and airy breadcrumb creates a wonderfully crispy texture; gluten-free alternatives work just as well!
- Kosher Salt – Enhances the flavor of the chicken and crust; sea salt can be used if you prefer.
- Garlic Powder – Imparts a delicious savory depth; fresh minced garlic can also be a tasty alternative.
- Onion Powder – Adds a touch of sweetness and depth; you can substitute with finely grated fresh onions if desired.
- Smoked Paprika – Introduces a delightful smoky flavor; regular paprika or cayenne can replace it for varying spice levels.
- Ground Black Pepper – Offers a hint of mild heat; white pepper can be used for a different twist.
- Dried Parsley – Adds a pop of color and fresh flavor; feel free to swap with fresh parsley at a 3:1 ratio.
For the Binding
- Eggs – These help bind the coating to the chicken; for a vegan option, flaxseed meal works great!
- Milk – Aids in creating a smooth egg wash; non-dairy milk can serve as an easy substitute.
Now that you have everything ready, let the adventure of making crispy Homemade Chicken Nuggets begin!
How to Make Homemade Chicken Nuggets
-
Preheat the oven to 400°F (200°C). This ensures a perfectly cooked nugget with a nice, crispy exterior.
-
Toast panko breadcrumbs in a skillet over medium heat for about 30–60 seconds until they turn golden brown. This step enhances the crunchiness!
-
Combine the toasted panko with kosher salt, garlic powder, onion powder, smoked paprika, black pepper, and dried parsley in a mixing bowl. Stir until evenly mixed to ensure all your nuggets taste amazing.
-
Whisk together the eggs and milk in a separate bowl until smooth. This will create a lovely coating that helps the panko stick to the chicken.
-
Prepare your baking sheet by placing an oven-safe wire rack on top and spraying it generously with nonstick cooking spray. This prevents sticking and promotes even cooking.
-
Dip each chicken cube into the egg mixture, then coat it thoroughly with the panko mixture. Lay the coated nuggets on the wire rack, ensuring they are spaced apart for optimal crispiness.
-
Spray the coated nuggets lightly with olive oil. This extra touch ensures that they become beautifully golden and crispy while baking.
-
Bake for 15–20 minutes or until the nuggets are golden brown and have an internal temperature of 165°F (74°C). Keep an eye out for that lovely crispy color!
-
Serve hot with your favorite dipping sauces, such as BBQ, honey mustard, or ketchup, to elevate your snack experience to another level.
Optional: Garnish with fresh parsley for a pop of color.
Exact quantities are listed in the recipe card below.

Storage Tips for Homemade Chicken Nuggets
Fridge: Store leftover homemade chicken nuggets in an airtight container for up to 3 days. This helps maintain their delicious flavor and texture.
Freezer: Freeze cooked nuggets in a single layer before transferring them to an airtight container or freezer bag. They’ll keep well for up to 2 months.
Reheating: For the best texture, reheat nuggets in the oven at 375°F (190°C) for about 10–15 minutes until heated through and crispy again.
Make-Ahead: You can prepare and coat the chicken nuggets ahead of time; just refrigerate them for up to 1 day before baking. Enjoy freshly baked homemade chicken nuggets when you’re ready!
What to Serve with Homemade Chicken Nuggets?
There’s nothing like pairing your crispy nuggets with a few delightful sides to create a complete meal experience.
-
Creamy Macaroni and Cheese: This comforting classic adds a cheesy richness that beautifully complements the crunch of the nuggets. It’s a nostalgic pairing that kids and adults adore.
-
Fresh Veggie Sticks: Carrot, celery, and cucumber sticks provide a crisp contrast to the nuggets’ tender interior. Serve with ranch dressing for a refreshing touch.
-
Sweet Potato Fries: Their natural sweetness and slight crispiness offer a delightful balance to savory chicken nuggets. Plus, they’re a healthier alternative to regular fries!
-
Coleslaw: The tangy crunch of coleslaw brightens the palate while providing a cool complement to the hot, crispy nuggets. It’s a perfect bite while enjoying your meal.
-
Honey Mustard Dipping Sauce: This sweet and tangy concoction elevates the flavor of the nuggets, making each bite even more irresistible. A must-have for the ultimate dipping experience!
-
Sparkling Lemonade: Quench your thirst with a refreshing drink that adds zest and fizz, perfectly balancing the dish’s comforting flavors with its bright notes!
Each pairing not only enhances the meal but also creates a beautiful balance of flavors, textures, and colors on your plate. Dive in and enjoy!
Make Ahead Options
These Homemade Chicken Nuggets are perfect for busy home chefs looking to save time during the week! You can prepare and coat the nuggets up to 24 hours in advance and simply refrigerate them until you’re ready to bake. Start by following the recipe instructions to cut the chicken and coat it with the panko mixture, then arrange the nuggets on a baking sheet, cover with plastic wrap, and refrigerate. When you’re ready to serve, just preheat your oven and bake as directed. This make-ahead option ensures your nuggets retain their crispy texture and delicious flavor, giving you restaurant-quality results with minimal effort when you need them most!
Homemade Chicken Nuggets Variations
Feel free to get creative and tailor this recipe to your taste buds and dietary needs!
- Gluten-Free: Substitute panko breadcrumbs with gluten-free breadcrumbs or crushed gluten-free crackers for a delicious alternative.
- Spicy Kick: Add cayenne pepper or hot paprika to the coating mixture for a zesty, spicy flavor that elevates your nuggets.
- Herb-Infused: Mix in fresh herbs like thyme or rosemary to the panko for an aromatic twist that complements the chicken beautifully.
- Cheesy Crust: Stir in grated Parmesan cheese to the panko mixture for a rich, cheesy flavor that kids will adore.
- Kid-Friendly Flavors: Try adding a dash of ranch seasoning to the panko for a familiar and fun flavor that your little ones will love.
- Sweet and Savory: Mix a tablespoon of honey or maple syrup into the egg wash for a slightly sweet and deliciously unique nugget.
- Air-Fryer Option: For a healthier crunch, cook the nuggets in an air fryer at 375°F (190°C) for about 10–12 minutes, turning halfway through.
- Vegan Delight: Use chickpeas or tofu instead of chicken, coat with the same seasonings, and bake for a plant-based twist that’s equally tasty!
Tips for the Best Homemade Chicken Nuggets
• Crispiness Trick: Ensure to toast panko breadcrumbs first for that irresistible crunch. This simple step makes your Homemade Chicken Nuggets extra crispy!
• Spacing Matters: Place your nuggets well apart on the wire rack while baking. This allows hot air to circulate and prevents sogginess.
• Use a Thermometer: Avoid undercooking or overcooking by checking the internal temperature reaches 165°F (74°C). Juicy and safe nuggets await!
• Oil Spray: A light spray of olive oil enhances browning. Don’t skip this step if you want golden, crispy nuggets that are hard to resist.
• Make-Ahead Advantage: Feel free to prepare and coat the nuggets in advance. Refrigerate for up to a day and bake them fresh when you’re ready!
Homemade Chicken Nuggets Recipe FAQs
How do I select the best chicken for my nuggets?
Absolutely! When choosing chicken breast, look for boneless, skinless pieces that are plump and without any dark spots or blemishes. Fresh chicken should feel firm to the touch and have a pale pink color. If you’re buying frozen chicken, ensure it’s properly sealed and has no signs of freezer burn.
What’s the best way to store leftover chicken nuggets?
For sure! Store your leftover homemade chicken nuggets in an airtight container in the refrigerator for up to 3 days. This keeps them fresh and ready for a quick snack or meal. I often use glass containers as they help maintain the nuggets’ flavor and texture much better than plastic.
Can I freeze homemade chicken nuggets?
Yes, indeed! To freeze, first, lay the cooked chicken nuggets in a single layer on a baking sheet. Freeze them for about 1-2 hours until solid. After that, transfer the frozen nuggets to an airtight container or freezer bag. They’ll be good for up to 2 months. When you’re ready to enjoy, just pop them in the oven straight from the freezer!
How can I ensure my chicken nuggets are crispy?
To maximize crispiness, ensure to toast the panko breadcrumbs before using them in the coating. This little step adds an extra crunch! Additionally, spray the coated nuggets with a light mist of olive oil before baking, and make sure they’re well spread out on the rack during cooking for even heat circulation.
Are there any dietary considerations I should be aware of?
Absolutely! If you’re making these homemade chicken nuggets for someone with dietary restrictions, consider using gluten-free breadcrumbs for a gluten-sensitive option. For those with egg allergies, flaxseed meal is an excellent substitute for eggs. Remember also to check any spices and seasonings for allergens, as some blends might contain unexpected ingredients.
How can I know when my chicken nuggets are fully cooked?
Very! The best way to ensure your chicken nuggets are adequately cooked is to use a meat thermometer. The internal temperature should reach 165°F (74°C). This guarantees that they’re juicy and safe to eat. If you don’t have a thermometer, look for a golden-brown exterior and ensure there’s no pink meat inside.

Crispy Homemade Chicken Nuggets for Ultimate Snack Time Fun
Ingredients
Equipment
Method
- Preheat the oven to 400°F (200°C).
- Toast panko breadcrumbs in a skillet over medium heat for about 30–60 seconds until golden brown.
- Combine the toasted panko with kosher salt, garlic powder, onion powder, smoked paprika, black pepper, and dried parsley in a mixing bowl.
- Whisk together the eggs and milk in a separate bowl until smooth.
- Prepare a baking sheet by placing an oven-safe wire rack on top and spraying it with nonstick cooking spray.
- Dip each chicken cube into the egg mixture, then coat thoroughly with the panko mixture.
- Lay the coated nuggets on the wire rack, ensuring they are spaced apart.
- Spray the coated nuggets lightly with olive oil.
- Bake for 15–20 minutes or until golden brown and internal temperature reaches 165°F (74°C).
- Serve hot with your favorite dipping sauces.