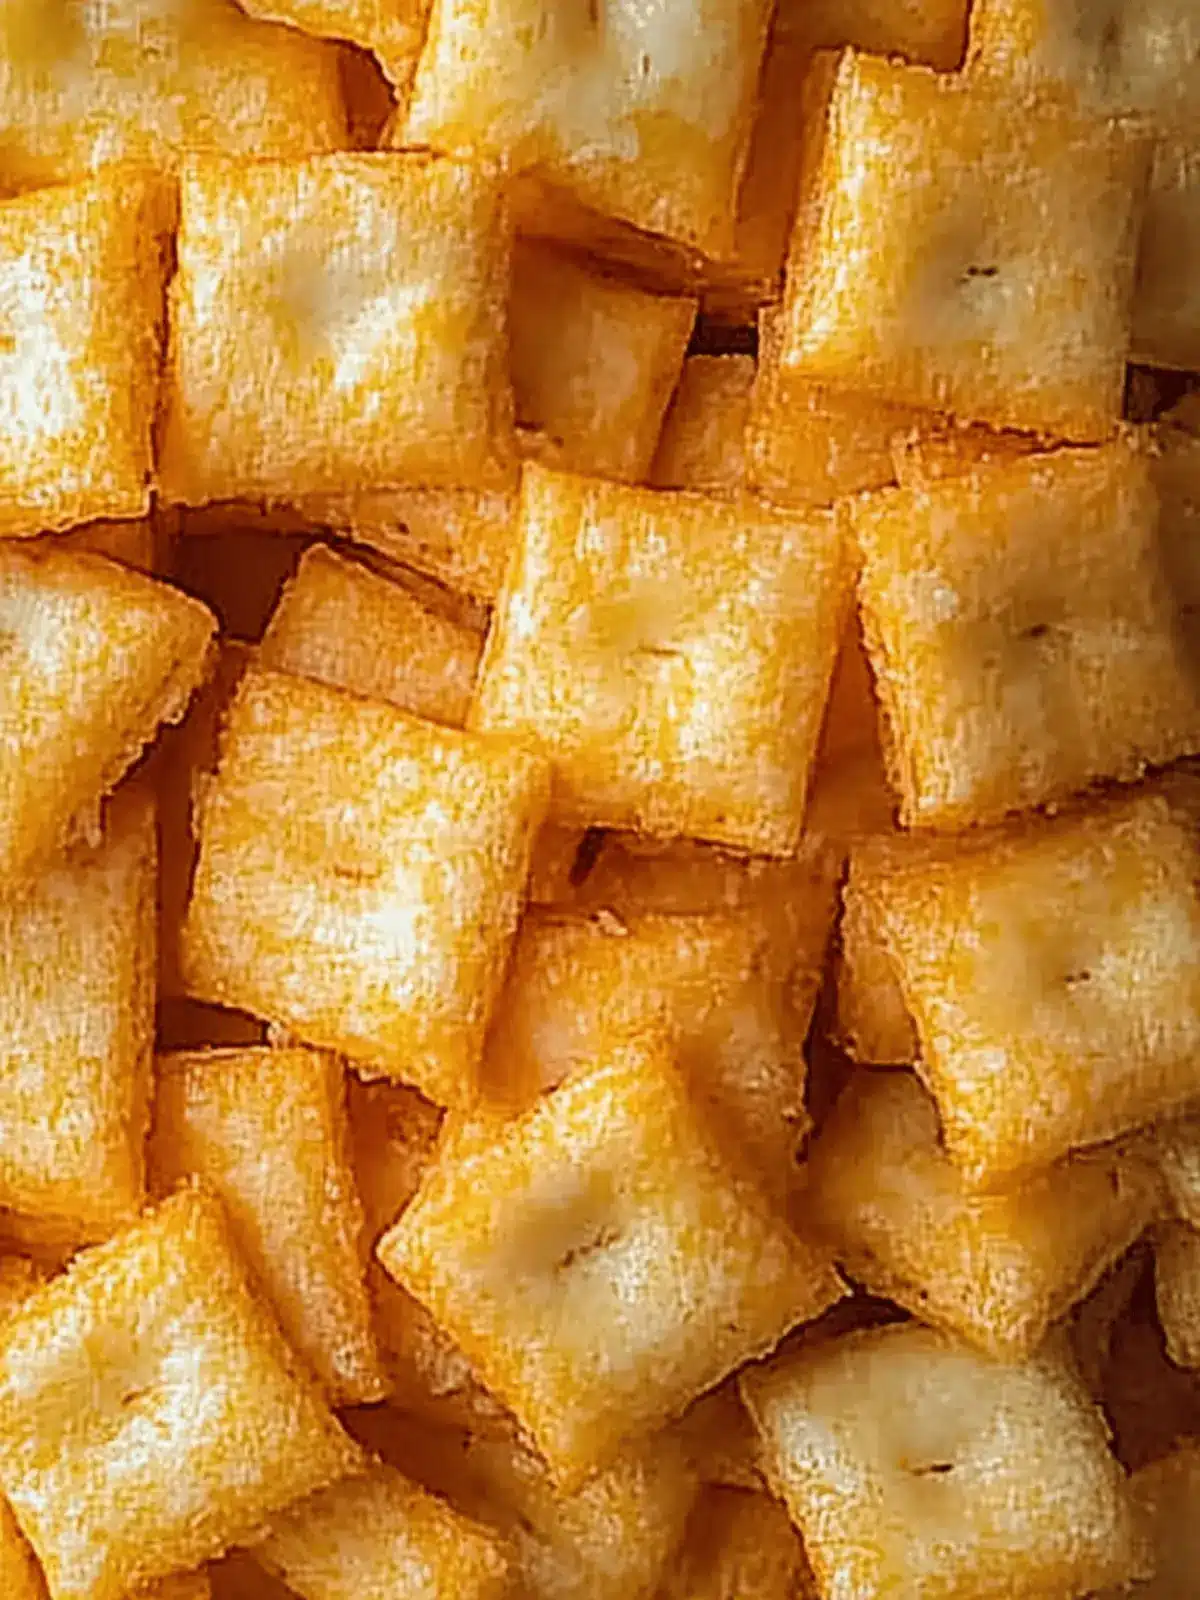
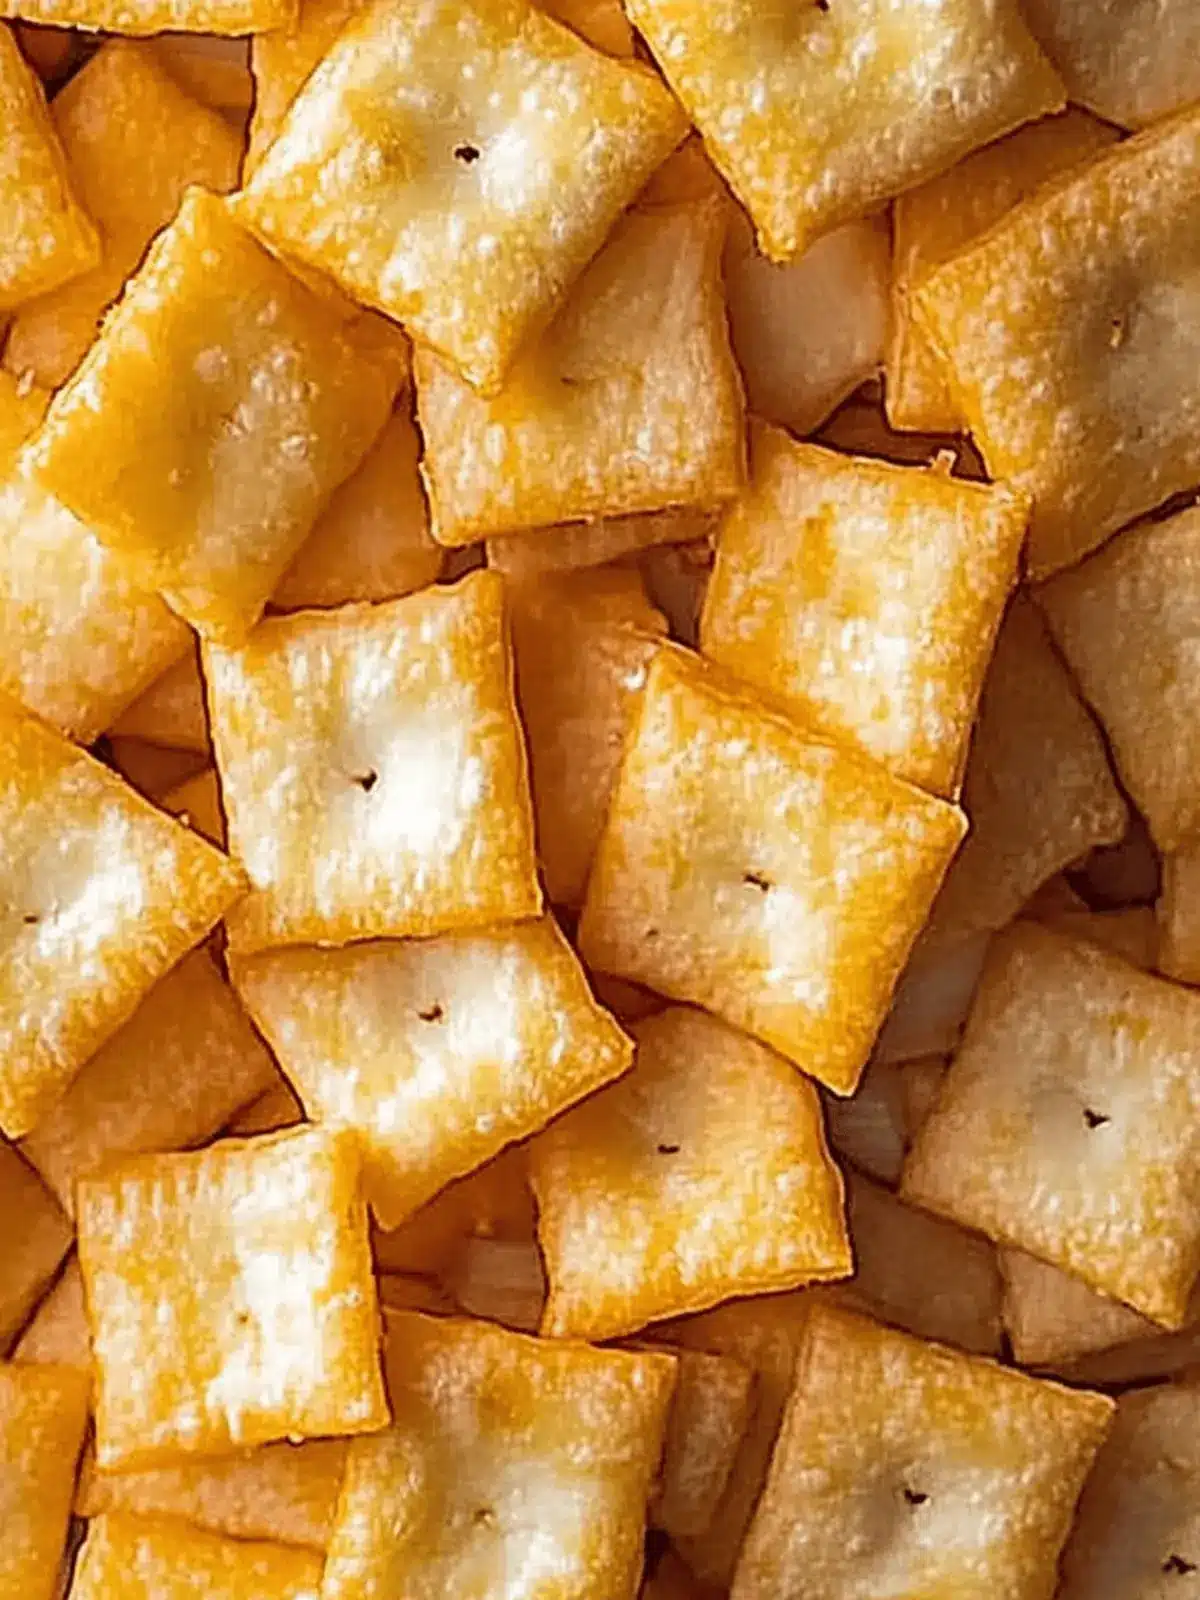
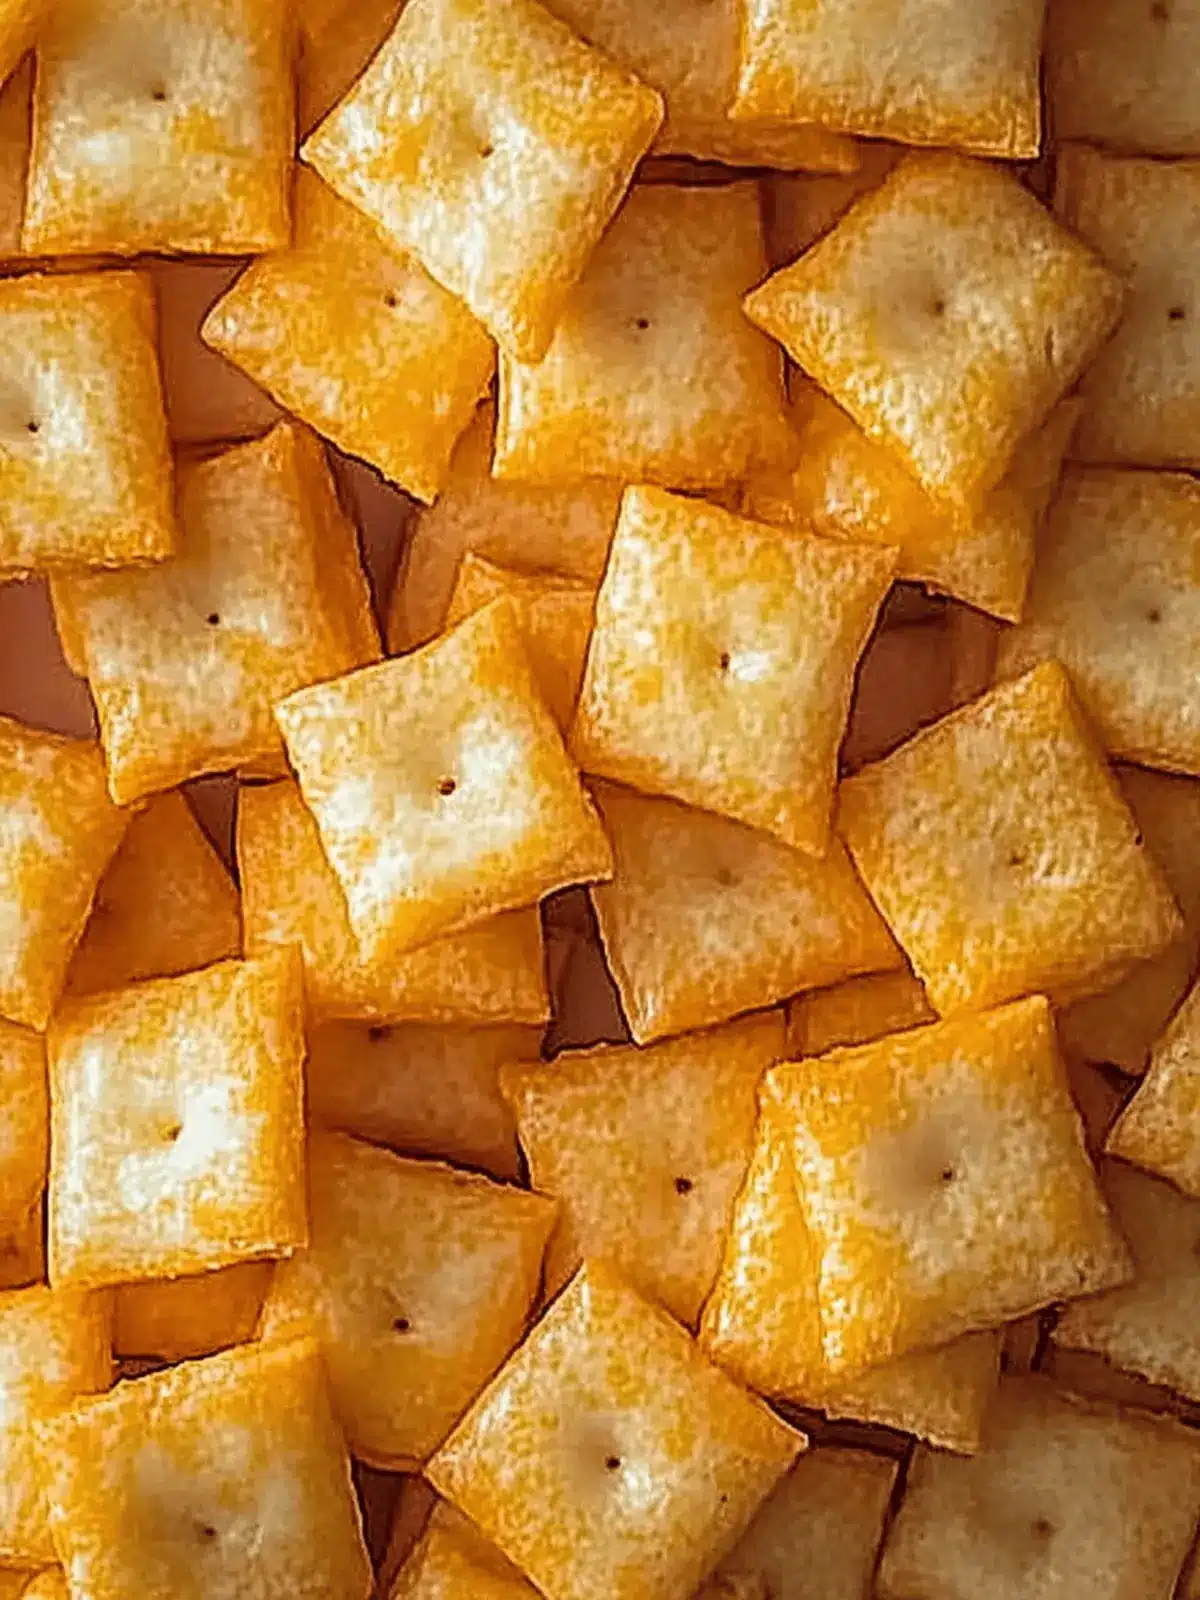
The moment I pulled a tray of golden-brown Homemade Cheeze-Its from the oven, the delightful aroma of melted cheddar filled my kitchen, sparking nostalgia for childhood snack times. There’s something truly special about the satisfying crunch of a freshly baked cracker; it’s a simple pleasure that never fails to bring joy. These crispy bites aren’t just your ordinary snack—they’re a customizable treat, easily tailored for gluten-free and keto diets, so everyone can enjoy their cheesy goodness.
Perfect for movie nights, tailgates, or casual get-togethers with friends, I love how effortlessly they can elevate any occasion. Plus, it feels incredible to swap out processed ingredients for wholesome, homemade alternatives that you can feel good about serving. Join me as we venture into this delightful kitchen project, where we’ll whip up a batch of Cheeze-Its that are not only tastier than their store-bought counterparts but also a fantastic way to unleash your creativity with flavors. Get ready to savor every crispy bite!

Why Love Homemade Cheeze-Its?
Homemade Cheeze-Its are the perfect snack experience! Deliciously versatile: Customize with your favorite cheeses, spices, or herbs to create unique flavors for every occasion. Quick and easy: This recipe takes minimal time and effort, making it ideal for busy schedules. Healthier choice: Ditch the additives found in store-bought snacks; these bites are crafted from wholesome ingredients. Crowd-pleaser: Whether for parties or family movie nights, they are sure to impress everyone! Dive into the joy of homemade snacks and elevate your snack game today!
Homemade Cheeze-Its Ingredients
For the Dough
- Sharp Cheddar Cheese – Provides a rich, cheesy flavor; substitute with Monterey Jack or Gouda for different taste profiles.
- All-Purpose Flour – Gives structure to the crackers; can be replaced with gluten-free flour blends for a gluten-free option.
- Butter – Adds richness and contributes to the flakiness; use unsalted butter for better control over salt levels.
- Salt – Enhances flavor; adjust according to taste or dietary needs.
- Paprika/Cayenne Pepper – Optional spices for added flavor and heat; you can adjust the quantity to suit your taste.
With every bite of these Homemade Cheeze-Its, you’ll be reminded of simple pleasures, while also exploring endless flavor possibilities!
How to Make Homemade Cheeze-Its
-
Prep the Dough: In a mixing bowl, combine sharp cheddar cheese, all-purpose flour, and salt. Stir until evenly mixed. Next, cut in the butter until the mixture resembles coarse crumbs, creating a grainy texture that will yield crisp crackers.
-
Form the Dough: Gradually add cold water, mixing until a dough forms. Gently knead until smooth, taking care not to over-knead to maintain the cracker’s light, airy texture.
-
Roll and Cut: Roll out the dough to approximately 1/8-inch thickness. Use a knife or cookie cutter to cut the dough into squares or your desired shapes, making sure they are evenly sized for consistent baking.
-
Bake: Place your cut pieces onto a baking sheet lined with parchment paper. Bake in a preheated oven at 350°F (175°C) for about 15 minutes, or until the edges turn golden brown and crispy.
-
Cool and Store: Once baked, let the Cheeze-Its cool on a wire rack. After cooling, store them in an airtight container at room temperature to keep them fresh and crunchy.
Optional: Sprinkle with extra cheese or herbs for added flavor before baking!
Exact quantities are listed in the recipe card below.
Make Ahead Options
These Homemade Cheeze-Its are perfect for busy home cooks looking to save time! You can prepare the dough up to 24 hours in advance by mixing the cheddar cheese, flour, and salt, then incorporating the butter until it’s crumbly. Once formed, wrap the dough tightly in plastic wrap and refrigerate. When you’re ready to bake, simply roll out the chilled dough, cut it into your desired shapes, and bake as directed. This advance prep not only makes the process quicker but also leaves you with that fresh, just-baked flavor. Remember to check for crispness while baking, as refrigerating might affect the baking time slightly! Enjoy your delightful, homemade snacks with minimal stress.
Homemade Cheeze-Its Variations
Feel free to let your creativity fly with these delightful twists, enhancing each batch of your Homemade Cheeze-Its for a truly personal touch!
-
Gluten-Free: Use a gluten-free flour blend to enjoy these delicious snacks without the gluten.
-
Keto-Friendly: Swap traditional flour for almond flour to keep your crackers low in carbs and high in flavor.
-
Herbed Delight: Mix in dried herbs like rosemary or thyme for a garden-fresh aroma and taste that transports you to a sunlit herb garden!
-
Spicy Kick: Add a pinch of cayenne pepper or crushed red pepper flakes to ignite your taste buds with every cheesy crunch.
-
Cheese Medley: Combine different cheeses like Gouda, Parmesan, or even pepper jack for an eclectic, multi-layered flavor experience.
-
Savory Seeds: Sprinkle sesame or poppy seeds on top before baking for a delightful texture and nutty flavor boost.
-
Nutritional Yeast: Incorporate nutritional yeast for a cheesy flavor without any dairy, perfect for vegan or lactose-free diets!
-
Sweet Twist: For a fun surprise, try adding a dash of cinnamon and a touch of sugar or honey to create a sweet version—delightful with fruit!
Explore these variations to discover your new favorite flavor, ensuring every batch of Homemade Cheeze-Its feels fresh and exciting!
What to Serve with Homemade Cheeze-Its?
When your Homemade Cheeze-Its emerge from the oven, it’s time to think about how to create a memorable munching experience that will leave everyone wanting more.
-
Creamy Hummus: The smoothness of hummus balances the crunchiness of your Cheeze-Its, offering a delightful contrast that’s both delicious and healthy. Choose a flavor like roasted red pepper for an extra kick!
-
Savory Guacamole: This rich and creamy dip elevates your cheese crackers into a Mexican fiesta. The fresh avocado pairs beautifully with the cheesy flavors—perfect for gatherings!
-
Cheese Board: Create a small cheese platter featuring soft cheeses like Brie, along with your crispy Cheeze-Its. The combination of textures and flavors means every bite will be a taste sensation!
-
Spicy Salsa: A tangy, zesty salsa can add excitement to your snacking. Whether you prefer it mild or hot, the flavors will complement the richness of your Homemade Cheeze-Its beautifully.
-
Vegetable Crudités: Fresh-cut veggies such as carrots, celery, and bell peppers provide a refreshing crunch that contrasts fabulously with the cheesy bites. Perfect for a light, balanced snack!
-
Craft Beer: Pairing your Homemade Cheeze-Its with a light, refreshing beer enhances the overall snacking experience. The carbonation and flavor profile of the beer can highlight the richness of the cheese.
-
Chocolate Dipped Pretzels: For a sweet ending, serve chocolate-dipped pretzels alongside your Cheeze-Its. The salty-sweet combo will satisfy all cravings, making snack time a celebration.
Choosing the right pairings can transform your Homemade Cheeze-Its into a delightful spread that caters to every taste bud!
Expert Tips for Homemade Cheeze-Its
-
Chilled Ingredients: Use cold butter and cheese for a flakier texture. Chilling helps keep the crackers crispy as they bake.
-
Kneading Gently: Avoid over-kneading the dough; too much kneading can lead to tough crackers. Just mix until smooth for the best results.
-
Shape Uniformity: Cut the dough into evenly sized pieces for consistent baking. This ensures all crackers bake evenly without some becoming too crispy or undercooked.
-
Spice It Up: Don’t hesitate to mix in different spices or herbs with your homemade Cheeze-Its; experimenting can lead to unique and exciting flavor profiles!
-
Storage Secrets: Keep them in an airtight container to maintain crunch; they can also be reheated in the oven for a few minutes to refresh their texture.
Embrace these simple tips to elevate your Homemade Cheeze-Its and enjoy every delicious bite!
How to Store and Freeze Homemade Cheeze-Its
Room Temperature: Store your Homemade Cheeze-Its in an airtight container at room temperature for up to 1 week to maintain their crunchiness.
Fridge: For longer freshness, you can refrigerate the Cheeze-Its. They will stay good for up to 2 weeks if kept in an airtight container.
Freezer: To freeze, lay the cooled Cheeze-Its in a single layer on a baking sheet, freeze until solid, then transfer to a freezer-safe bag. They can last up to 3 months in the freezer.
Reheating: To revive crispiness after freezing, reheat in a preheated oven at 350°F (175°C) for about 5-7 minutes, and enjoy their crunchy goodness again!
Homemade Cheeze-Its Recipe FAQs
What type of cheese should I use for Homemade Cheeze-Its?
I highly recommend using sharp cheddar for a robust flavor, but you can mix it up! Monterey Jack or Gouda will work beautifully for a creamier taste. Feel free to combine different cheeses for a rich, complex flavor profile.
How should I store my Homemade Cheeze-Its to keep them fresh?
Keep your Cheeze-Its in an airtight container at room temperature for up to 1 week to ensure they stay crispy. If you want them to last longer, refrigerate them where they can retain freshness for up to 2 weeks.
Can I freeze my Homemade Cheeze-Its? If so, how?
Absolutely! To freeze, arrange your cooled Cheeze-Its in a single layer on a baking sheet and place them in the freezer until they are firm (about 1-2 hours). Then, transfer them to a freezer-safe bag, where they can last up to 3 months. When you’re ready to enjoy them again, simply reheat in a preheated oven at 350°F (175°C) for about 5-7 minutes until crispy.
What should I do if my Cheeze-Its are too tough or chewy?
If you find your Cheeze-Its are tough, it might be due to over-kneading the dough. Be gentle during mixing and ensure you don’t overwork the dough; you’ll want a smooth, pliable texture but still light. Also, ensure your butter and cheese were cold for flakiness!
Are these Homemade Cheeze-Its suitable for gluten-free or keto diets?
Yes! This recipe can easily be customized for gluten-free diets by substituting all-purpose flour with a gluten-free flour blend. For a keto-friendly version, consider almond flour as a low-carb alternative, and enjoy your crispy snack without worries!
Can I add spices to my Homemade Cheeze-Its?
Very much! Feel free to sprinkle in your favorite herbs or spices, such as Italian seasoning, garlic powder, or even cayenne pepper for a kick. The more the merrier! Just adjust the amount according to your taste preference, and enjoy your unique homemade creation!
All of these tips and tricks will make your journey with Homemade Cheeze-Its delightful and delicious!
Homemade Cheeze-Its: Crispy, Cheesy Perfection You’ll Love
Ingredients
Equipment
Method
- In a mixing bowl, combine sharp cheddar cheese, all-purpose flour, and salt. Stir until evenly mixed.
- Cut in the butter until the mixture resembles coarse crumbs.
- Gradually add cold water, mixing until a dough forms. Knead gently until smooth.
- Roll out the dough to 1/8-inch thickness and cut into squares.
- Place cut pieces on a baking sheet and bake in a preheated oven at 350°F for about 15 minutes.
- Let the Cheeze-Its cool on a wire rack and store in an airtight container.