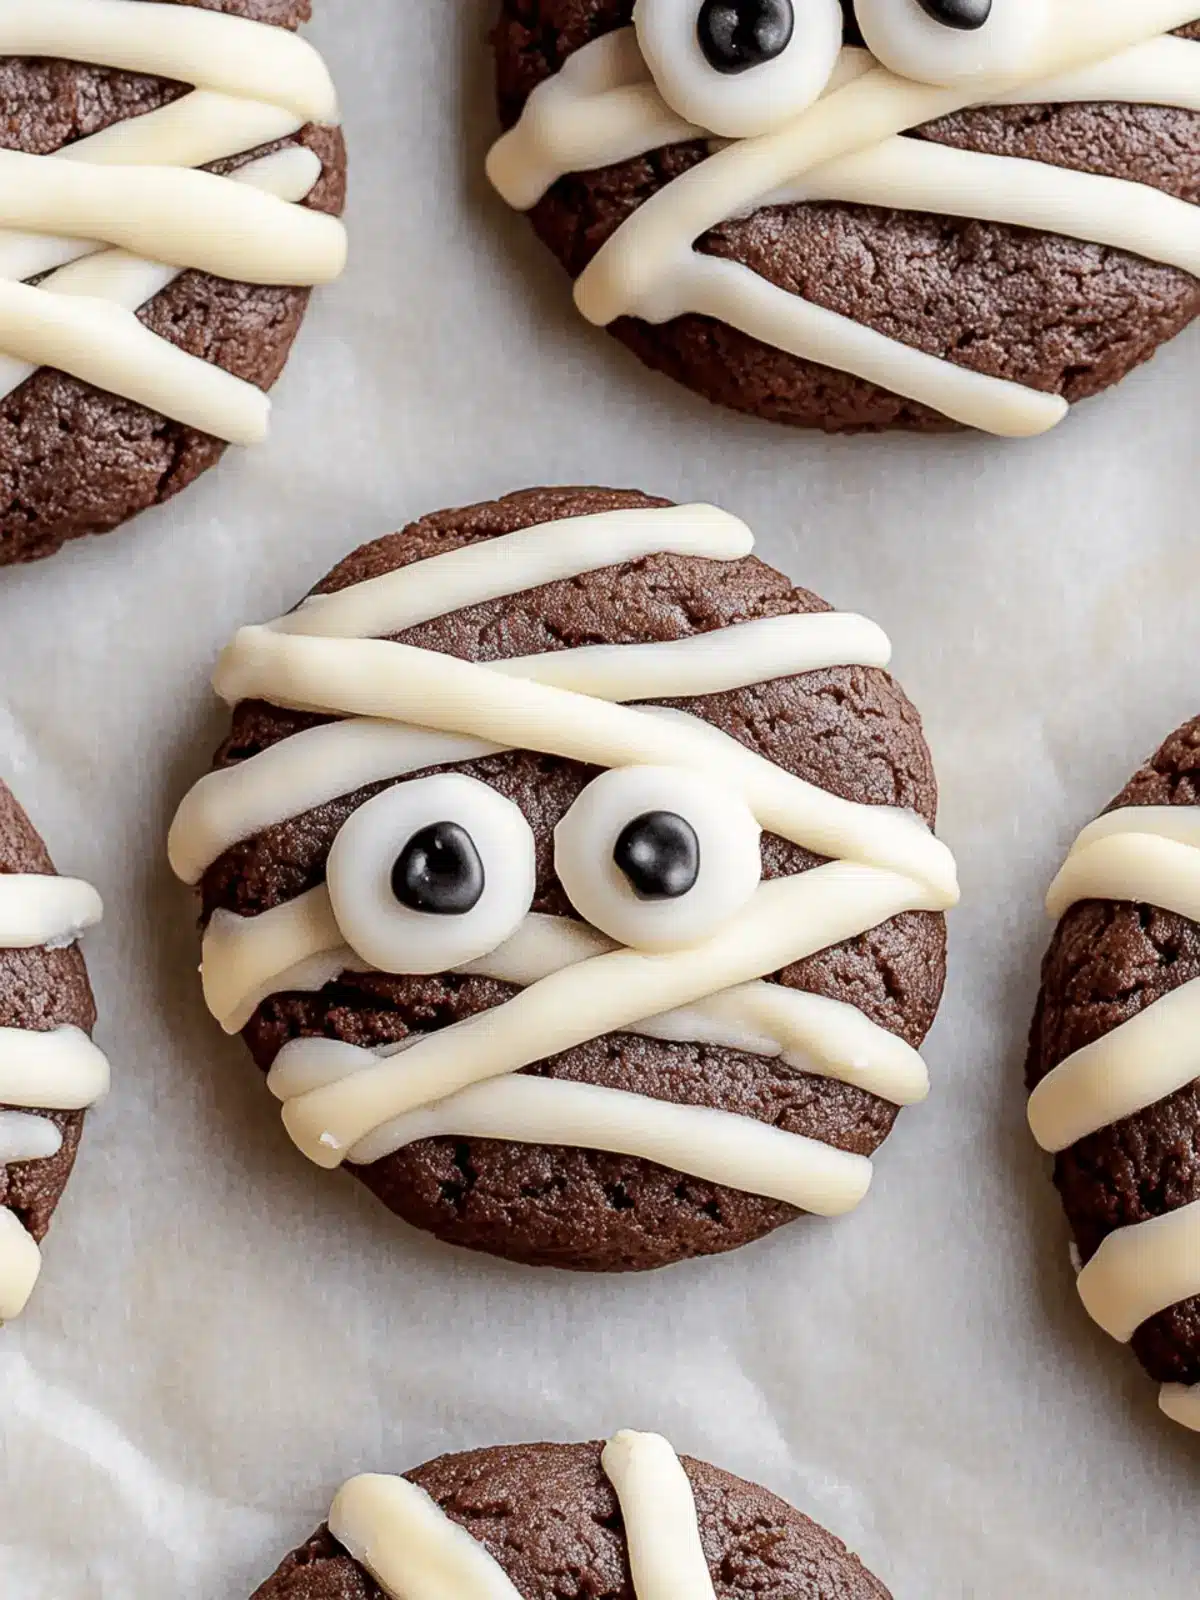
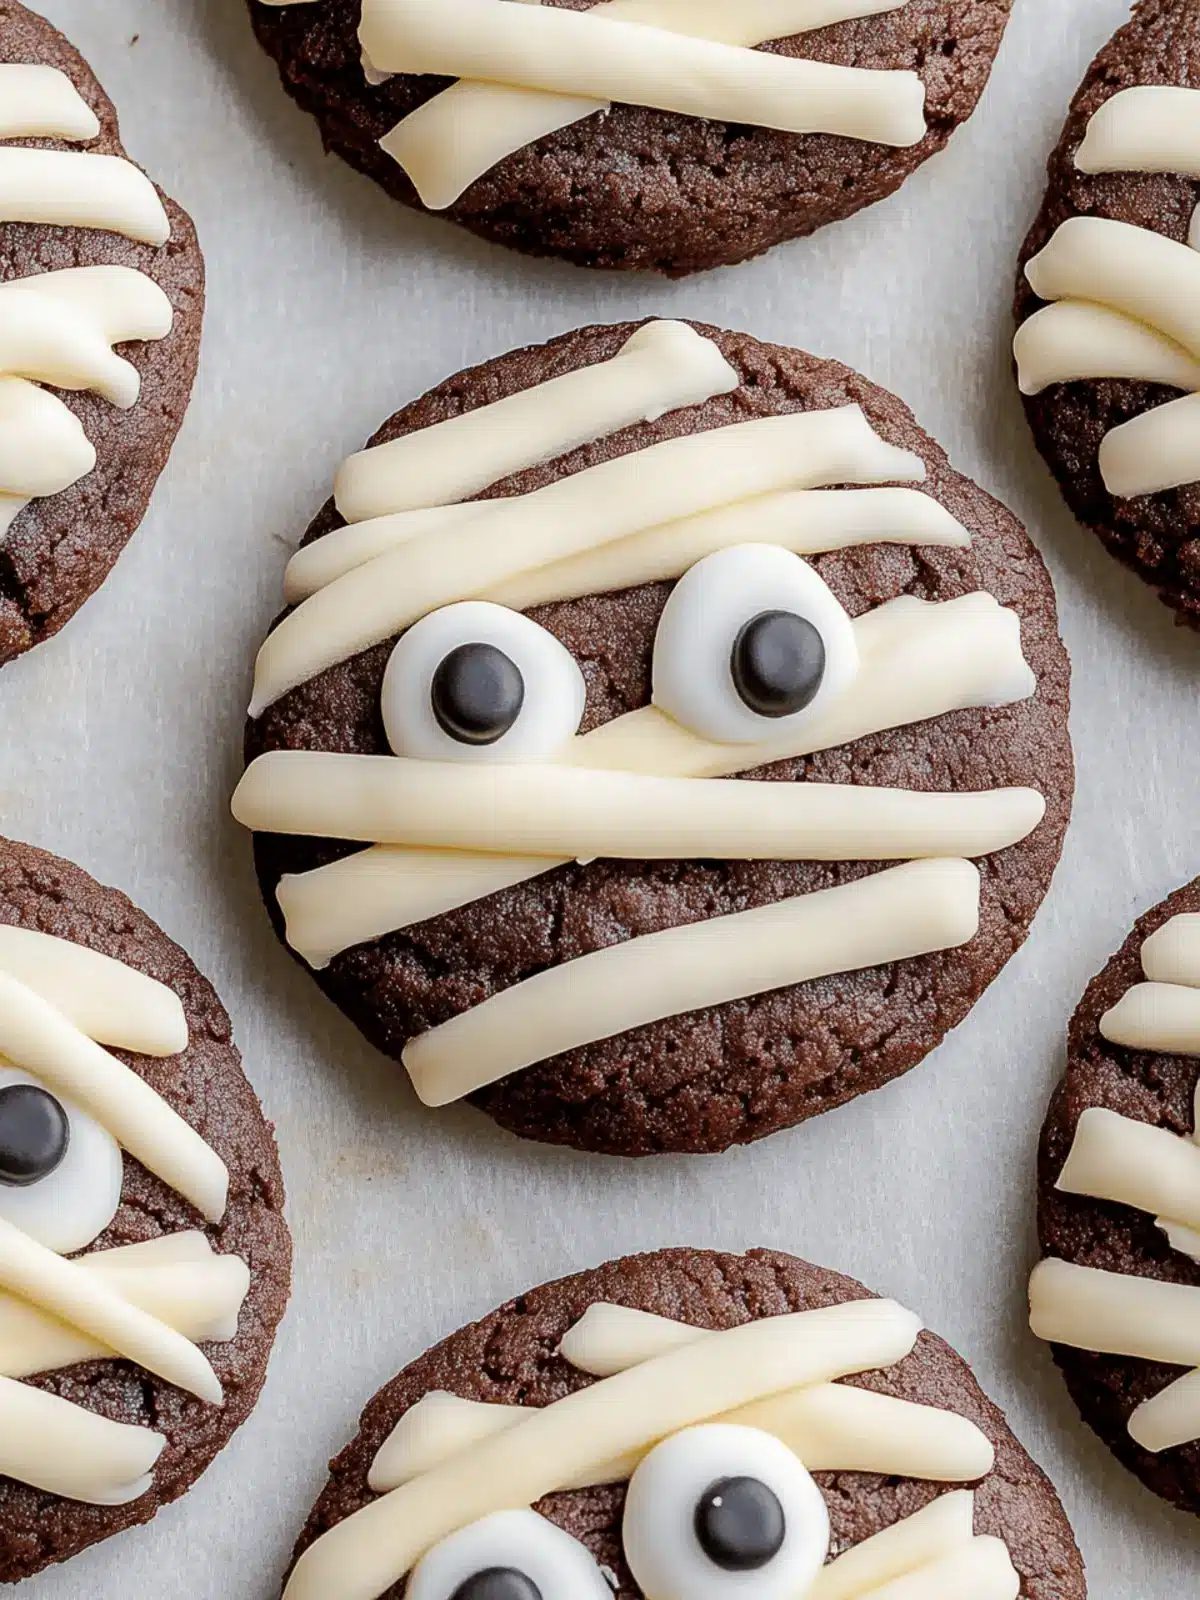
As the leaves begin to change and the air takes on that crisp autumn chill, I find myself drawn to the kitchen, eager to whip up something festive. While scrolling through some Halloween ideas, I stumbled upon these delightful Halloween Mummy Cookies that instantly captured my imagination. Picture this: rich, fudgy chocolate cookies, lavishly draped in creamy vanilla buttercream, and adorned with cute little candy eyes staring back at you.
These adorable treats are not just a feast for the eyes; they offer a heartwarming way to celebrate spooky season with family and friends. Whether you’re a seasoned chef or just looking to add a homemade touch to your Halloween festivities, these cookies will effortlessly bring joy to your table. Plus, the process of making these little mummies is a fun-filled activity for all ages, turning any ordinary day into a delightful baking adventure. Let’s get started on creating these playful and delicious Halloween Mummy Cookies that are sure to become a seasonal favorite!

Why are Halloween Mummy Cookies a must-try?
Festive Fun: These Halloween Mummy Cookies are not just a treat; they’re an exciting activity that brings families together during the spooky season.
Rich Chocolate Flavor: Each bite delivers a delightful fudgy chocolate taste, perfectly complemented by the creamy buttercream.
Adorable Design: Their playful mummy-like appearance makes them a hit at any Halloween gathering, ensuring smiles all around.
Versatile Options: Feel free to personalize them with different decorations or swap ingredients for dietary preferences; the creativity is endless!
Quick and Easy: With straightforward steps, you can whip up these delightful cookies in no time, making them an effortless addition to your holiday baking.
Don’t hesitate to elevate your spooky festivities and check out our tips for storage or make-ahead options to keep these cookies fresh for sharing.
Halloween Mummy Cookies Ingredients
• Get ready to bake these spooky delights!
For the Cookie Base
• Butter – Provides moisture and richness; use unsalted for better control over salt levels.
• Granulated Sugar – Sweetens the cookies and contributes to a chewy texture; can substitute with coconut sugar for a different flavor.
• Dark Brown Sugar – Adds depth and moisture; light brown sugar can be used if dark is unavailable.
• Egg – Binds the ingredients together; for an egg-free version, consider using a flax egg.
• Egg Yolk – Enhances richness and contributes to a tender texture.
• Vanilla Extract – Adds flavor; a great alternative is using vanilla paste for a more intense taste.
• All-Purpose Flour – The main structure component; for gluten-free options, use a 1:1 gluten-free flour blend.
• Cocoa Powder – Provides chocolate flavor and color; Dutch-processed cocoa can be used for a milder taste.
• Baking Powder – Helps the cookies rise; ensure it’s fresh for best results.
• Baking Soda – Works alongside baking powder for leavening, essential for a chewy texture.
• Salt – Enhances flavor; use kosher salt for a coarser texture.
For the Buttercream Frosting
• Powdered Sugar – Sweetens and thickens the buttercream; adds cornstarch for a fluffy texture.
• Milk – Adjusts the consistency of the frosting; non-dairy milk alternatives work as substitutes.
Prepare your ingredients and let’s create some delightful Halloween Mummy Cookies that are sure to impress!
How to Make Halloween Mummy Cookies
-
Prepare Butter: Melt your unsalted butter and let it cool to room temperature. This ensures a smooth blend with the sugars without cooking the egg.
-
Mix Wet Ingredients: In a large bowl, whisk together the granulated and dark brown sugars with the cooled melted butter. Then, add the egg, egg yolk, and vanilla extract, mixing until well combined.
-
Combine Dry Ingredients: In a separate bowl, whisk together the all-purpose flour, cocoa powder, baking powder, baking soda, and salt. This ensures even distribution of the leaveners and flavors.
-
Combine Mixtures: Gradually fold the dry ingredients into the wet mixture until just combined. Be careful not to overmix! Chill your dough for about 30 minutes in the refrigerator for the best texture.
-
Bake Cookies: Preheat your oven to 350°F (175°C). Scoop tablespoon-sized portions of dough onto a baking sheet, flattening them slightly. Bake for 9-10 minutes, until the edges are firm and the centers are soft. Allow them to cool on the tray for a few minutes before transferring to a wire rack.
-
Prepare Buttercream: In a mixing bowl, beat together the softened butter, powdered sugar, vanilla extract, and milk until fluffy and smooth. Transfer the buttercream to a piping bag for decorating.
-
Decorate: Once the cookies are completely cooled, pipe a generous amount of buttercream over the top and attach candy eyes to create the adorable mummy look.
Optional: Add sprinkles or crushed candy for a little extra festive flair!
Exact quantities are listed in the recipe card below.
What to Serve with Halloween Mummy Chocolate Cookies?
As you prepare these delightfully spooky treats, consider what will elevate your festive gathering.
-
Chilled Milk: A classic pairing that enhances the fudgy texture, making each cookie even more satisfying.
-
Pumpkin Spice Latte: This seasonal favorite complements the chocolate richness with cozy, aromatic spices that scream Halloween.
-
Candied Apples: The sweet and tart crunch of a candied apple brings a fun contrast that celebrates fall flavors beautifully.
-
Hot Cocoa: Creamy hot cocoa is a warm accompaniment that wraps you in comfort with each bite of those chocolatey mummies.
-
Vanilla Ice Cream: A scoop of creamy vanilla ice cream alongside your cookies creates a delightful contrast, balancing the sweetness perfectly.
Indulging in these combinations will transform your Halloween gathering into a memorable culinary celebration, warming hearts and delighting taste buds alike.
How to Store and Freeze Halloween Mummy Cookies
Room Temperature: Store cooled Halloween Mummy Cookies in an airtight container at room temperature for up to 3 days to maintain their fudgy texture.
Fridge: If you’d like to extend their freshness, you can refrigerate them for up to a week; just be sure to keep them in a tightly sealed container to prevent them from drying out.
Freezer: For longer storage, freeze the unbaked cookie dough wrapped in plastic wrap and then placed in a zip-top bag for up to 30 days. Bake from frozen, adding a couple of extra minutes to the baking time.
Reheating: If stored in the fridge, allow the cookies to come to room temperature before enjoying. For a delightful treat, warm them slightly in the microwave for about 10 seconds!
Make Ahead Options
These Halloween Mummy Cookies are perfect for busy home cooks looking to streamline their Halloween baking! You can prepare the cookie dough up to 24 hours in advance and store it in the refrigerator. Just scoop the dough into balls and chill for maximum flavor and texture. If you want to plan even further ahead, you can freeze the dough for up to 30 days; simply thaw it in the fridge overnight before baking. Once baked, these cookies can be decorated and stored in an airtight container at room temperature for up to 3 days. Just remember to let them cool completely before frosting to keep that fluffy buttercream just as delicious!
Tips for the Best Halloween Mummy Cookies
-
Butter Temperature Matters: Ensure your butter is cooled to room temperature to avoid cooking the eggs when mixed, which can lead to uneven texture.
-
Don’t Overmix: For cookies that are perfectly fudgy, mix until just combined. Overmixing can develop gluten, resulting in a tougher cookie.
-
Chill the Dough: Let the dough chill for 30 minutes before baking. This not only enhances the flavor but also helps prevent excessive spread during baking, giving you thick cookies.
-
Check Your Oven: Baking times can vary with different ovens. Keep an eye on your cookies; they should be soft in the center and set at the edges for that perfect Halloween Mummy Cookies texture.
-
Decorating Tip: Once you pipe the buttercream, work quickly to attach the candy eyes before the frosting sets, ensuring they stick well to your adorable mummies.
Halloween Mummy Cookies Variations
Feel free to get creative and make these Halloween Mummy Cookies your own; the possibilities are both fun and delicious!
-
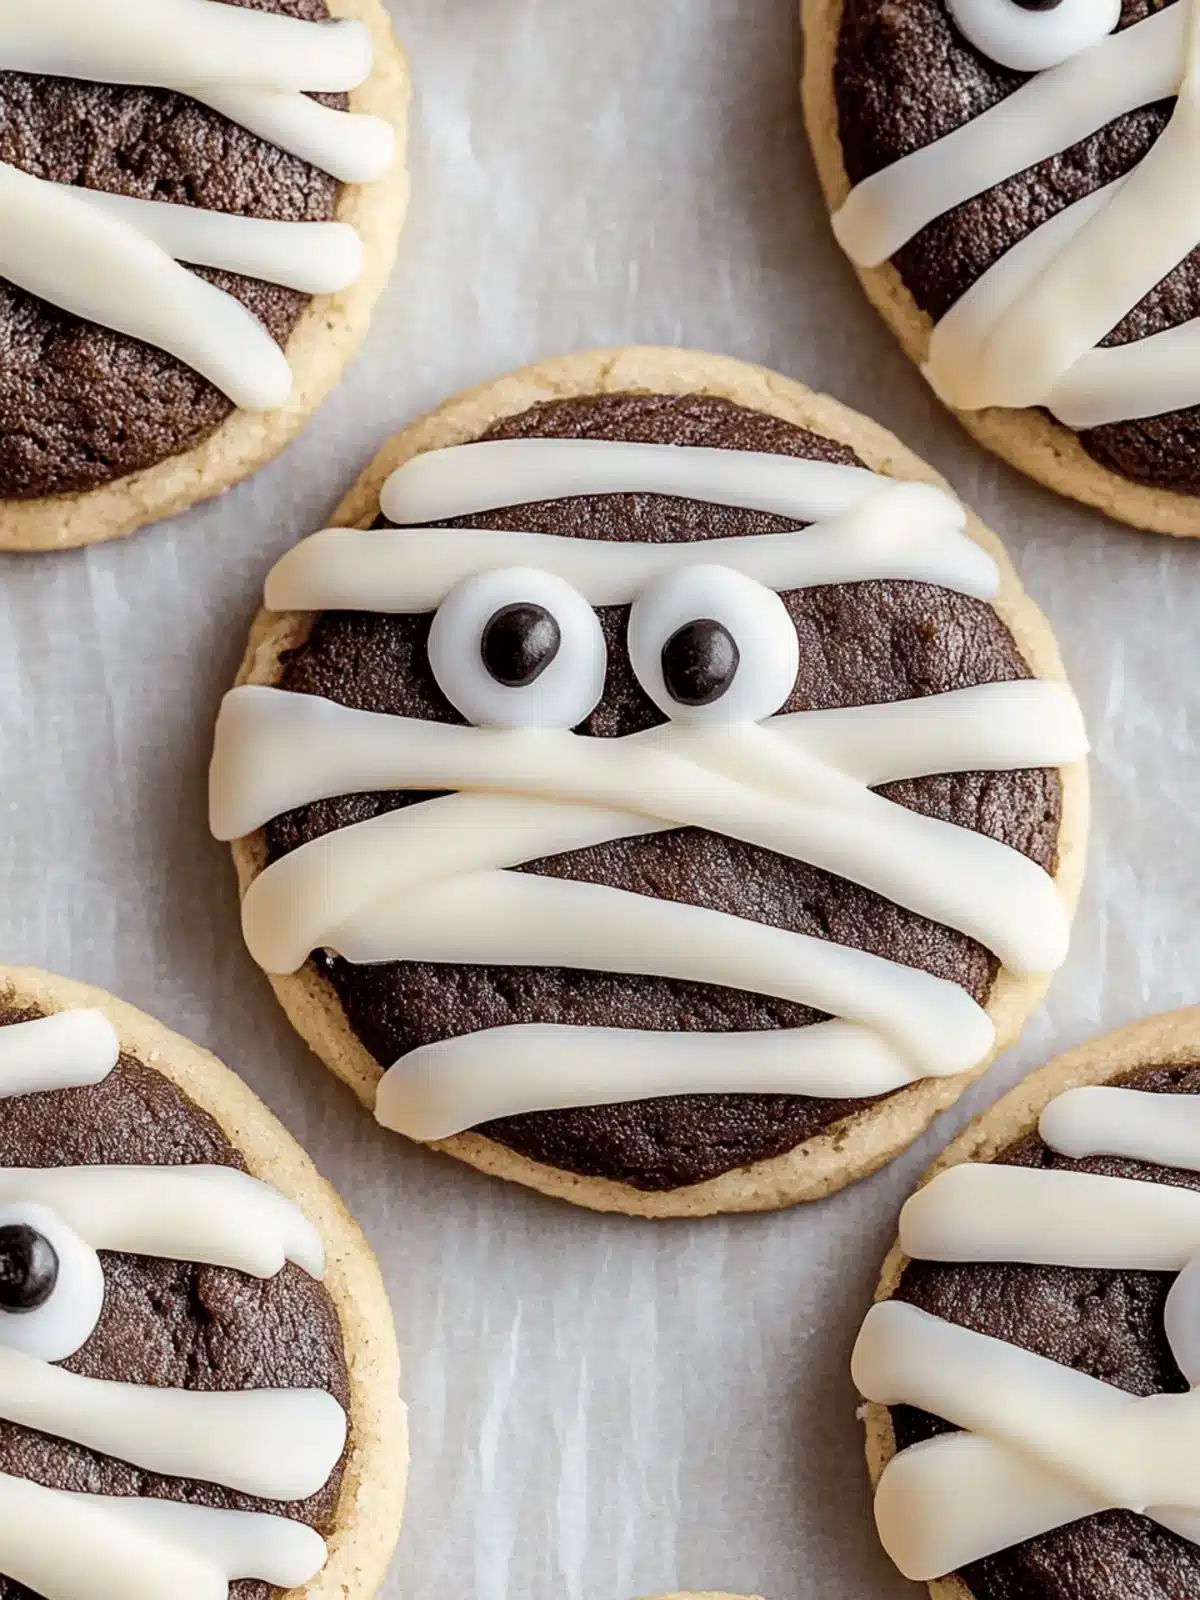
Vanilla Cookies: Swap chocolate for vanilla cookies to create a light and festive twist that still holds the Halloween spirit.
-
Frosting Flavors: Experiment with different flavored frostings like cream cheese or pumpkin spice, adding a seasonal kick to your mummies.
-
Add Nuts: For added texture, consider folding in chopped nuts like walnuts or pecans, enhancing the chewiness with a delightful crunch.
-
Sprinkles Galore: Make your mummies even more festive by topping them with colorful sprinkles or candy corn for a playful touch that kids will love.
-
Gluten-Free: Use a 1:1 gluten-free flour blend to cater to those with gluten sensitivities, so everyone can join in on the spooky fun!
-
Candy Bar Bits: Incorporate bits of your favorite chocolate candy bars into the dough for bursts of flavor in every bite, creating a chewy surprise.
-
Mini Mummies: Roll smaller balls of dough to create mini cookies, perfect for little hands and great for party platters.
Enjoy these delightful variations that will surely elevate your Halloween celebrations, bringing joy and flavor to your table!
Halloween Mummy Cookies Recipe FAQs
How do I select the right ingredients for Halloween Mummy Cookies?
Absolutely! When choosing ingredients, focus on freshness, especially for the baking powders and eggs, as they play key roles in the texture. Look for unsalted butter with a creamy texture, and opt for dark brown sugar for that rich flavor. If you notice dark spots on eggshells, it might indicate aging, so opt for fresh eggs without cracks.
How should I store leftover Halloween Mummy Cookies?
Very! To keep your cookies fresh, store them in an airtight container at room temperature for up to 3 days. If you refrigerate them, they can last for about a week. Just make sure the container is tightly sealed to avoid dryness!
Can I freeze Halloween Mummy Cookies for later enjoyment?
Absolutely! If you’d like to freeze your delicious cookies, first ensure they are completely cooled. Place them in a single layer on a baking sheet to freeze until solid, then transfer them to a zip-top bag, separating layers with parchment paper if needed. They can be stored for up to 3 months. When you’re ready to indulge, simply thaw and enjoy—or warm them slightly in the microwave for a freshly baked feel!
What can I do if my cookie dough is too sticky?
Very! If your dough feels overly sticky, don’t worry! You can simply add a sprinkle of flour while mixing until the consistency feels right. Make sure to chill your dough before rolling it out. This helps firm up the butter and makes it easier to handle!
Are there any dietary considerations for Halloween Mummy Cookies?
Of course! If you or your loved ones have dietary restrictions, you can definitely tweak the recipe. For a gluten-free version, use a 1:1 gluten-free flour blend. Additionally, for an egg-free option, a flax egg (1 tablespoon of ground flaxseed mixed with 2.5 tablespoons of water, let sit for 5 minutes) works wonderfully!
Can pets enjoy any part of Halloween Mummy Cookies?
It’s best to keep these cookies away from pets. The chocolate in the cookies can be toxic to dogs and cats, so it’s safer to share a plain treat designed for pets instead. Always prioritize their health and safety!
Fudgy Halloween Mummy Cookies to Thrill Your Family
Ingredients
Equipment
Method
- Melt your unsalted butter and let it cool to room temperature.
- In a large bowl, whisk together the granulated and dark brown sugars with the cooled melted butter. Then, add the egg, egg yolk, and vanilla extract, mixing until well combined.
- In a separate bowl, whisk together the all-purpose flour, cocoa powder, baking powder, baking soda, and salt.
- Gradually fold the dry ingredients into the wet mixture until just combined. Chill your dough for about 30 minutes in the refrigerator.
- Preheat your oven to 350°F (175°C). Scoop tablespoon-sized portions of dough onto a baking sheet, flattening them slightly. Bake for 9-10 minutes.
- In a mixing bowl, beat together the softened butter, powdered sugar, vanilla extract, and milk until fluffy and smooth.
- Once the cookies are completely cooled, pipe a generous amount of buttercream over the top and attach candy eyes.