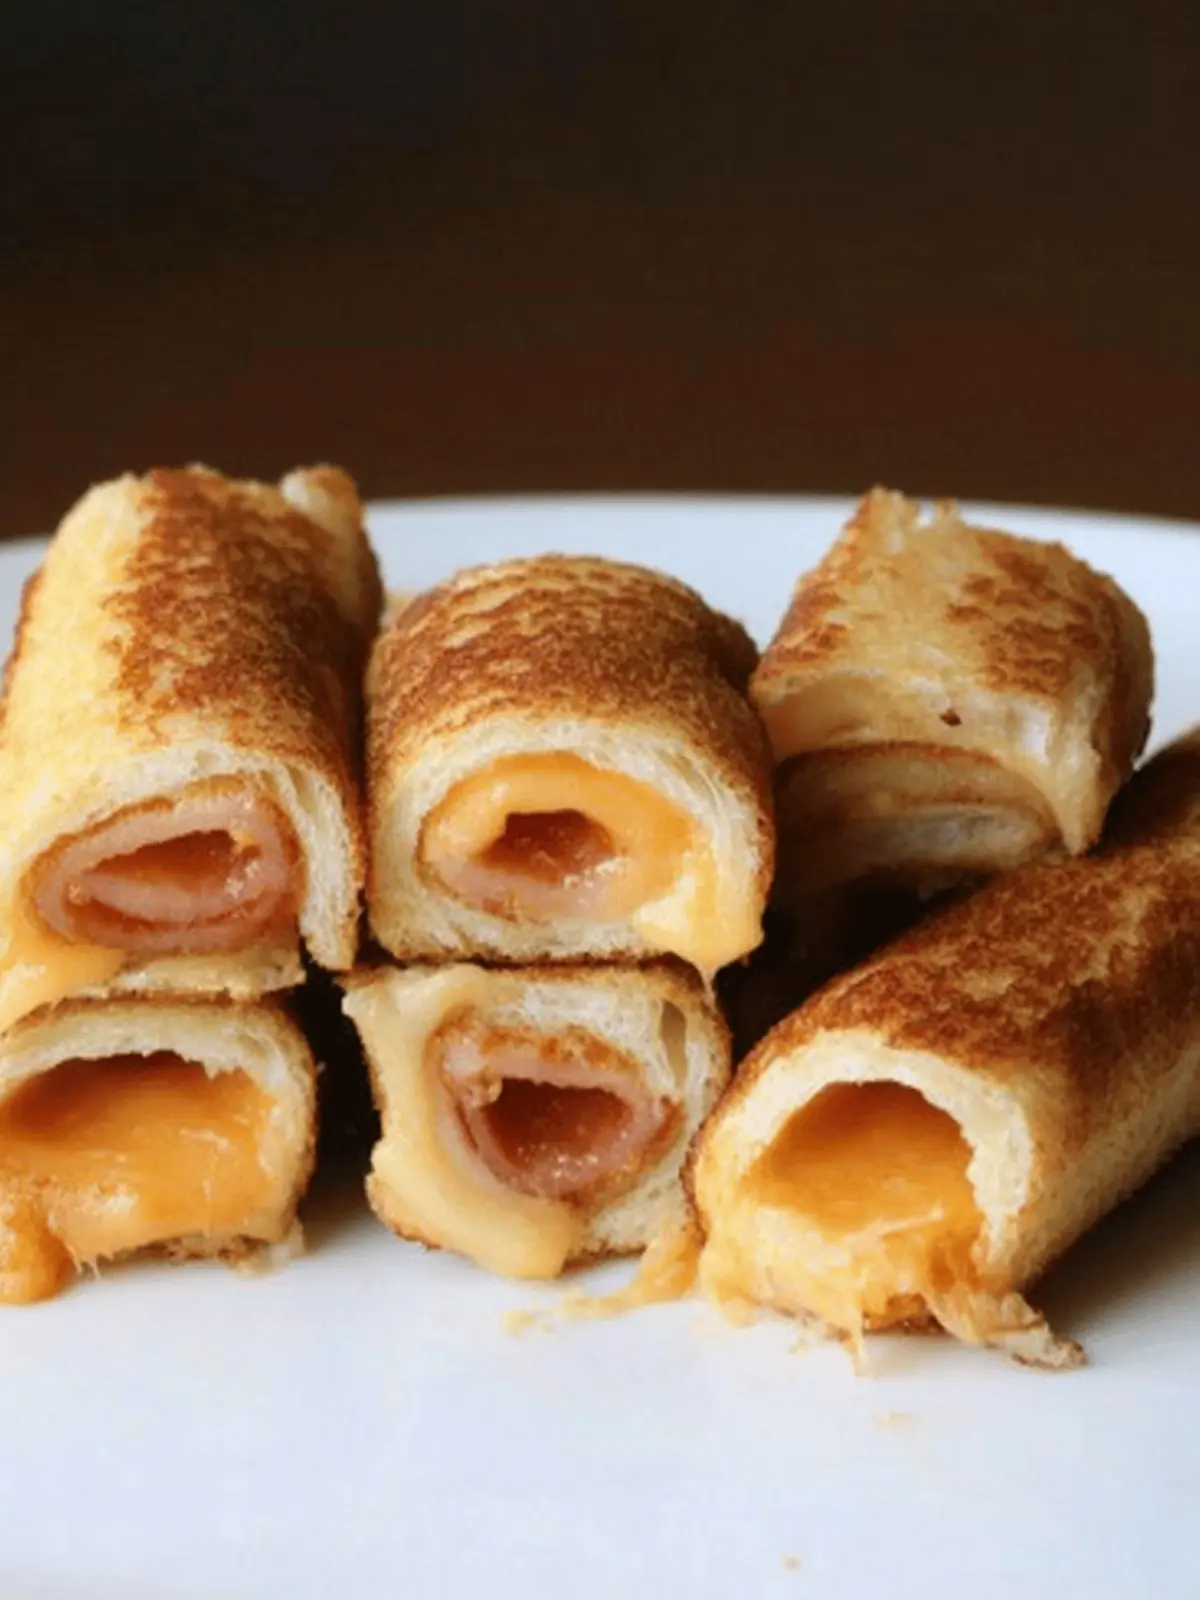
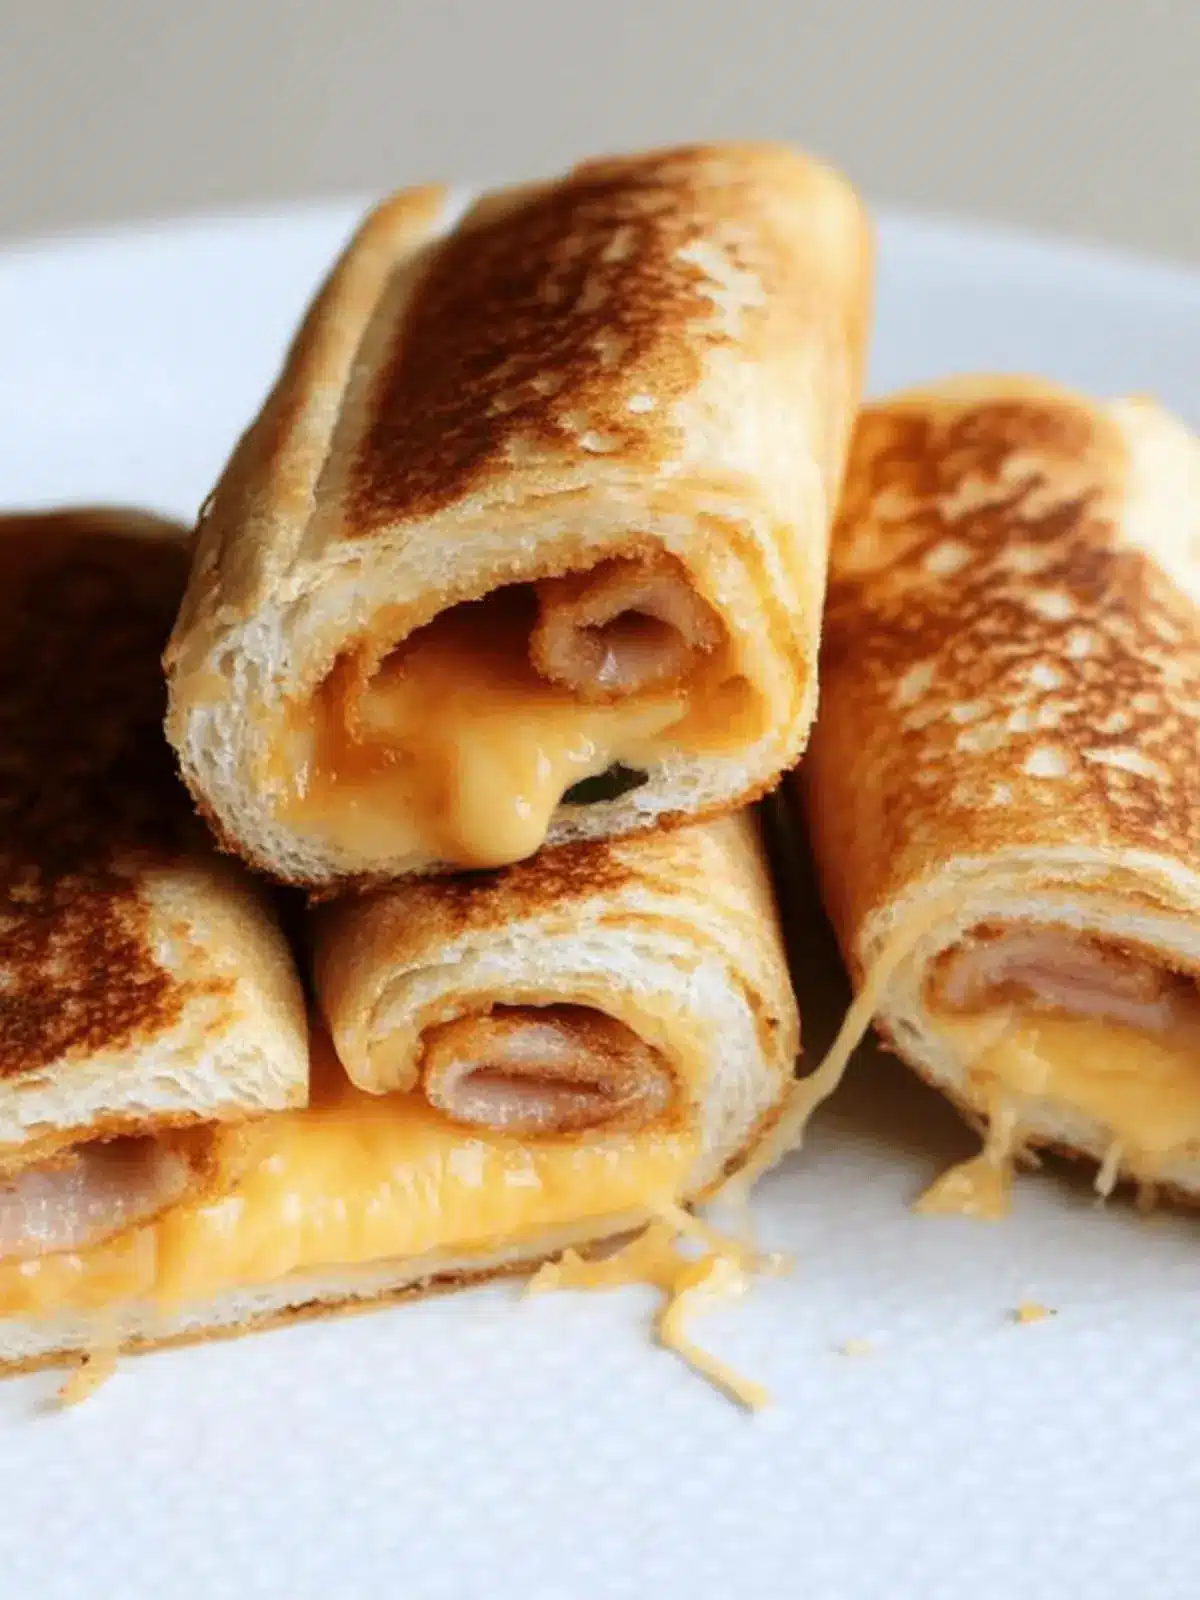
There’s a special joy in transforming a beloved classic into something playful and fun, and that’s exactly what these Grilled Cheese Roll-Ups deliver. Imagine the satisfying crunch of a crisp exterior as you bite into the warm, gooey center, filled with perfectly melted cheese. Let’s be honest—who wouldn’t want to dive into a stack of these cheesy delights during game day or while hosting a cozy board game night?
After a busy day, this recipe serves as the perfect antidote to the predictable fast-food routine. Utilizing simple ingredients, you can whip up these roll-ups in no time, making them an ideal choice for the kids or as an appetizer for unexpected guests. If you’re looking to elevate your snack game, keep reading to discover how to create these crispy, cheesy wonders that promise to be the star of any gathering.

Why are Grilled Cheese Roll-Ups a must-try?
Fun and Playful: Bring a whimsical twist to a classic favorite. These roll-ups are sure to be a hit at any gathering!
Easy to Make: With only a handful of ingredients and straightforward instructions, you’ll have these delicious snacks ready in no time.
Kid-Friendly: Perfect for little hands, these roll-ups are easy for kids to enjoy, making them an excellent choice for family meals.
Versatile Option: Experiment with different cheeses, meats, or veggies—there’s no limit to the flavors you can create!
Crowd Pleaser: Ideal for game day or casual get-togethers, these cheesy bites will quickly disappear from the table.
Quick Prep Time: No need to spend hours in the kitchen! These roll-ups are the perfect solution for busy nights or last-minute snacks.
Grilled Cheese Roll-Ups Ingredients
For the Roll-Ups
- Sliced Bread – Soft, fluffy varieties like white or whole wheat are best for easy rolling.
- Thinly Shredded Cheese – Use cheddar for a sharp flavor or American cheese for that classic gooey melt.
- Thinly Sliced Ham (optional) – Adds a savory depth; ensure it’s thin for easy rolling.
- Butter – Essential for cooking; it creates a beautifully golden exterior while enhancing flavor.
For Serving
- Homemade Tomato Soup – A delicious dip that pairs perfectly with these Grilled Cheese Roll-Ups for that classic comfort food experience.
Get ready to delight your taste buds with these simple yet satisfying Grilled Cheese Roll-Ups!
How to Make Grilled Cheese Roll-Ups
-
Trim the Crusts: Start by trimming the crusts off each slice of bread. This step helps create a smoother roll, making it easier to enjoy these delicious bites.
-
Flatten the Bread: Using a rolling pin, gently roll out each slice of bread to flatten it. Aim for an even thickness; this helps in making the roll-ups more cohesive.
-
Add the Cheese: Sprinkle a generous amount of thinly shredded cheese evenly over the flattened bread. If you’re adding ham, layer it on top of the cheese for extra flavor.
-
Roll It Up: Carefully roll the bread tightly, starting from one end and working your way to the other. Ensure the filling stays inside; securing with a toothpick can help if needed.
-
Heat the Skillet: Place a skillet over medium-low heat and add a tablespoon of butter. Allow it to melt, coating the skillet evenly for a perfect golden finish.
-
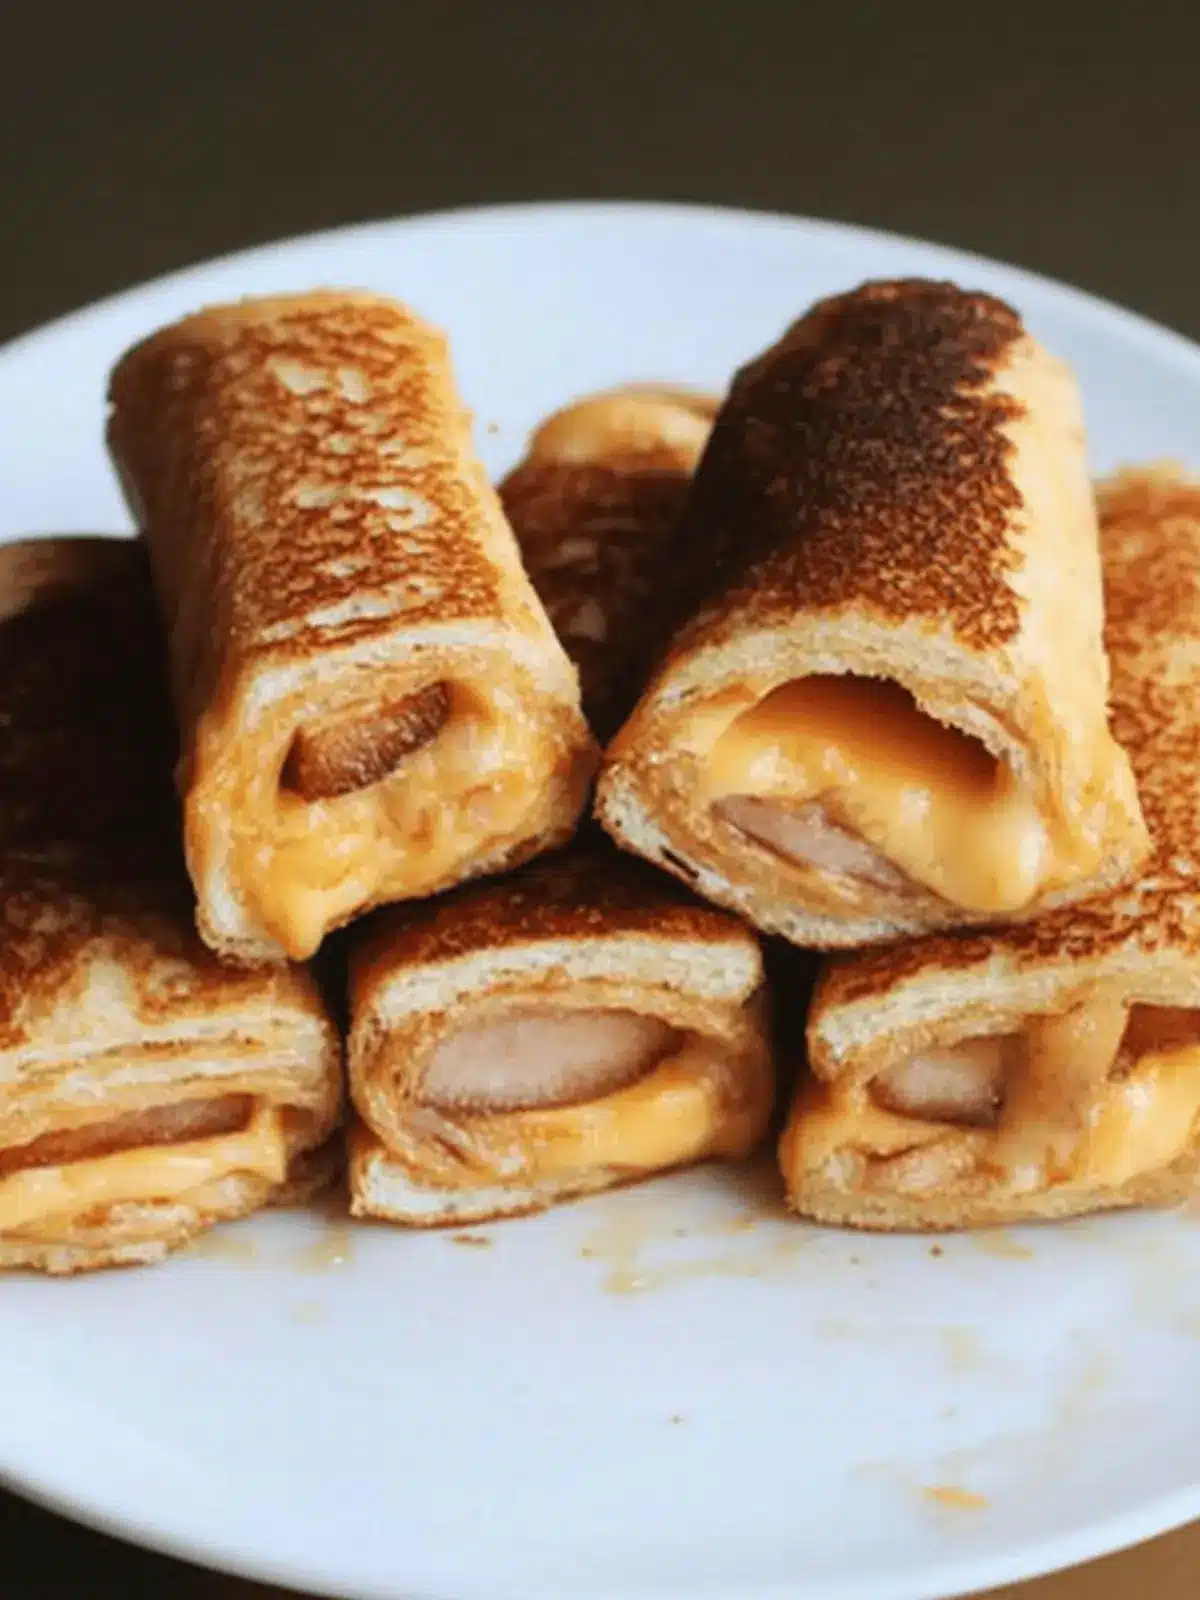
Cook the Roll-Ups: Place the roll-ups in the skillet, cooking for 5-8 minutes. Turn them occasionally until they are golden brown and the cheese has melted, creating that irresistible gooey center.
-
Serve and Enjoy: Remove the toothpicks if used, slice the roll-ups in half, and serve them hot. They’re delightful as appetizers or as a main snack!
Optional: Garnish with fresh herbs like parsley for a pop of color.
Exact quantities are listed in the recipe card below.
Grilled Cheese Roll-Ups Variations
Elevate your Grilled Cheese Roll-Ups with delightful twists that cater to every palate!
-
Dairy-Free: Substitute traditional cheese with a dairy-free version for a creamy, lactose-free option that everyone can enjoy.
-
Spicy Kick: Add sliced jalapeños or pepper jack cheese to introduce a delightful heat that will excite your taste buds!
-
Veggie-Lovers: Swap ham for thinly sliced bell peppers, spinach, or sautéed mushrooms for a nutritious, veggie-packed twist.
-
Herby Delight: Mix in fresh herbs like basil or cilantro with the cheese for a flavor boost that brightens every bite.
-
Sweet & Savory: Spread a thin layer of fig jam or apple butter on the bread before adding cheese and ham for a delightful sweet contrast.
-
Crunchy Coating: Before cooking, roll the assembled roll-ups in crushed cornflakes or panko breadcrumbs for an extra crunchy texture.
-
Mini Fry: Slice the roll-ups into bite-size pieces and deep-fry them for a fun party appetizer that’s sure to wow your guests!
-
Savory Swap: Consider swapping American cheese with sharp cheddar or gouda for a richer, more complex cheesy experience.
Expert Tips for Grilled Cheese Roll-Ups
• Choose the Right Bread: Soft, fluffy bread rolls best; avoid dense types, which can crack while rolling and impact the overall texture.
• Cheese Shredding Matters: Use thinly shredded cheese to achieve an even melt; block cheese may not melt as nicely, leading to unappetizing clumps.
• Roll Tightly: Ensure you roll the bread tightly to keep the filling secure and prevent it from falling out during cooking; toothpicks offer added security if needed.
• Monitor Heat Levels: Cooking over medium-low heat is essential; too high, and the outside will burn before the cheese melts, resulting in uneven cooking.
• Experiment with Flavor: Feel free to get creative! Swap out the cheese, try different meats, or add vegetables to customize your Grilled Cheese Roll-Ups to your taste.
What to Serve with Grilled Cheese Roll-Ups?
Elevate your snack experience with delicious sides that perfectly complement these crispy, cheesy delights!
-
Homemade Tomato Soup: A warm, rich dip that brings comfort to your roll-ups, enhancing each bite with traditional flavors. The creamy, tangy notes of the soup create a delightful pairing with the cheesy filling.
-
Pickles: Their crunch and tanginess provide a refreshing contrast, cutting through the richness of the cheese. A classic match to grilled cheese, they add a zesty kick that keeps every bite exciting.
-
Sweet Potato Fries: Crispy and slightly sweet, these fries bring a unique flavor balance that pairs beautifully with the savory roll-ups. They add a satisfying crunch and a touch of sweetness to your meal.
-
Veggie Sticks with Hummus: Fresh, crisp vegetables paired with creamy hummus add a dash of healthiness to your plate. This light option also brings a vibrant crunch that complements the cheesy goodness.
-
Fruit Salad: A refreshing medley of fruits adds a bright and juicy contrast, offsetting the warm, rich flavors of the roll-ups. The sweetness of fruits creates a delightful harmony with the savory cheeses.
-
Sparkling Lemonade: An effervescent drink that brightens up any meal, this citrusy twist is a fantastic refreshment alongside your cheesy snacks. Its zesty notes awaken the palate, making each bite even more enjoyable.
Make Ahead Options
These Grilled Cheese Roll-Ups are a fantastic option for meal prep! You can prepare the roll-ups up to 24 hours in advance by assembling them initially and storing them tightly wrapped in plastic wrap in the refrigerator to keep them fresh. This method also helps to prevent the bread from drying out. When you’re ready to cook, simply unwrap the roll-ups and heat them in a buttered skillet over medium-low heat for about 5-8 minutes, turning occasionally until golden brown and melty. The result? Irresistibly crunchy, cheesy treats that taste just as delicious as if they were made fresh!
How to Store and Freeze Grilled Cheese Roll-Ups
Fridge: Store leftover Grilled Cheese Roll-Ups in an airtight container for up to 3 days to maintain freshness and flavor.
Freezer: For longer storage, freeze the roll-ups before cooking. Place them in a single layer on a baking sheet until firm, then transfer to a freezer bag for up to 2 months.
Reheating: To reheat, place thawed roll-ups in a skillet over medium heat for 3-5 minutes or pop them in a preheated oven at 350°F (175°C) for about 10-12 minutes until golden and warm throughout.
Enjoy Fresh: Although these roll-ups can be stored or frozen, they’re most delightful when enjoyed fresh and hot, straight from the skillet!
Grilled Cheese Roll-Ups Recipe FAQs
What type of bread is best for Grilled Cheese Roll-Ups?
Absolutely! The bread you choose makes a big difference. I recommend soft, fluffy varieties like white or whole wheat. These types allow for easy rolling and result in a delightful texture. Avoid dense bread, as it might crack during the flattening process, which can affect the final outcome.
How should I store leftover Grilled Cheese Roll-Ups?
After enjoying your delicious roll-ups, store any leftovers in an airtight container in the fridge for up to 3 days. This helps maintain their freshness and flavor. When reheating, I recommend using a skillet to revive that crispy exterior; it’ll taste almost as good as the day you made it!
Can I freeze Grilled Cheese Roll-Ups? What are the best freezing instructions?
Yes, you can freeze them! To do so, I suggest freezing them before cooking. Lay them out in a single layer on a baking sheet for an hour to firm up, then transfer to a freezer bag or airtight container. They can be stored in the freezer for up to 2 months. When ready to enjoy, thaw them overnight in the fridge and cook directly from there or bake at 350°F (175°C) for 10-12 minutes!
What should I do if my roll-ups fall apart while cooking?
If your roll-ups are falling apart, it usually means they weren’t rolled tightly enough. Try to roll them more securely next time, and using toothpicks can help hold everything together. Cooking them on low heat can also help ensure the cheese melts before the outside browns, making them less likely to break during cooking.
Are these roll-ups suitable for kids with allergies?
It depends on the specific allergies! The base recipe is quite flexible. For dairy allergies, consider using non-dairy cheese options. If gluten is a concern, you can substitute the bread with gluten-free bread. Always check labels for hidden allergens to be safe, and feel free to reach out for personalized variations!
Can I add other ingredients to my Grilled Cheese Roll-Ups? What are some variations?
The more, the merrier! You can certainly add a variety of ingredients like thinly sliced vegetables (think spinach or peppers), different types of cheeses, or even turkey instead of ham. Get creative—it’s a wonderful opportunity to make it your own!
Irresistible Grilled Cheese Roll-Ups Everyone Will Love
Ingredients
Equipment
Method
- Trim the crusts off each slice of bread.
- Using a rolling pin, gently roll out each slice of bread to flatten it.
- Sprinkle a generous amount of thinly shredded cheese evenly over the flattened bread. If adding ham, layer it on top.
- Carefully roll the bread tightly, starting from one end to the other.
- Place a skillet over medium-low heat and add a tablespoon of butter, allowing it to melt.
- Place the roll-ups in the skillet, cooking for 5-8 minutes until golden brown and cheese is melted.
- Remove toothpicks if used, slice the roll-ups in half, and serve hot.