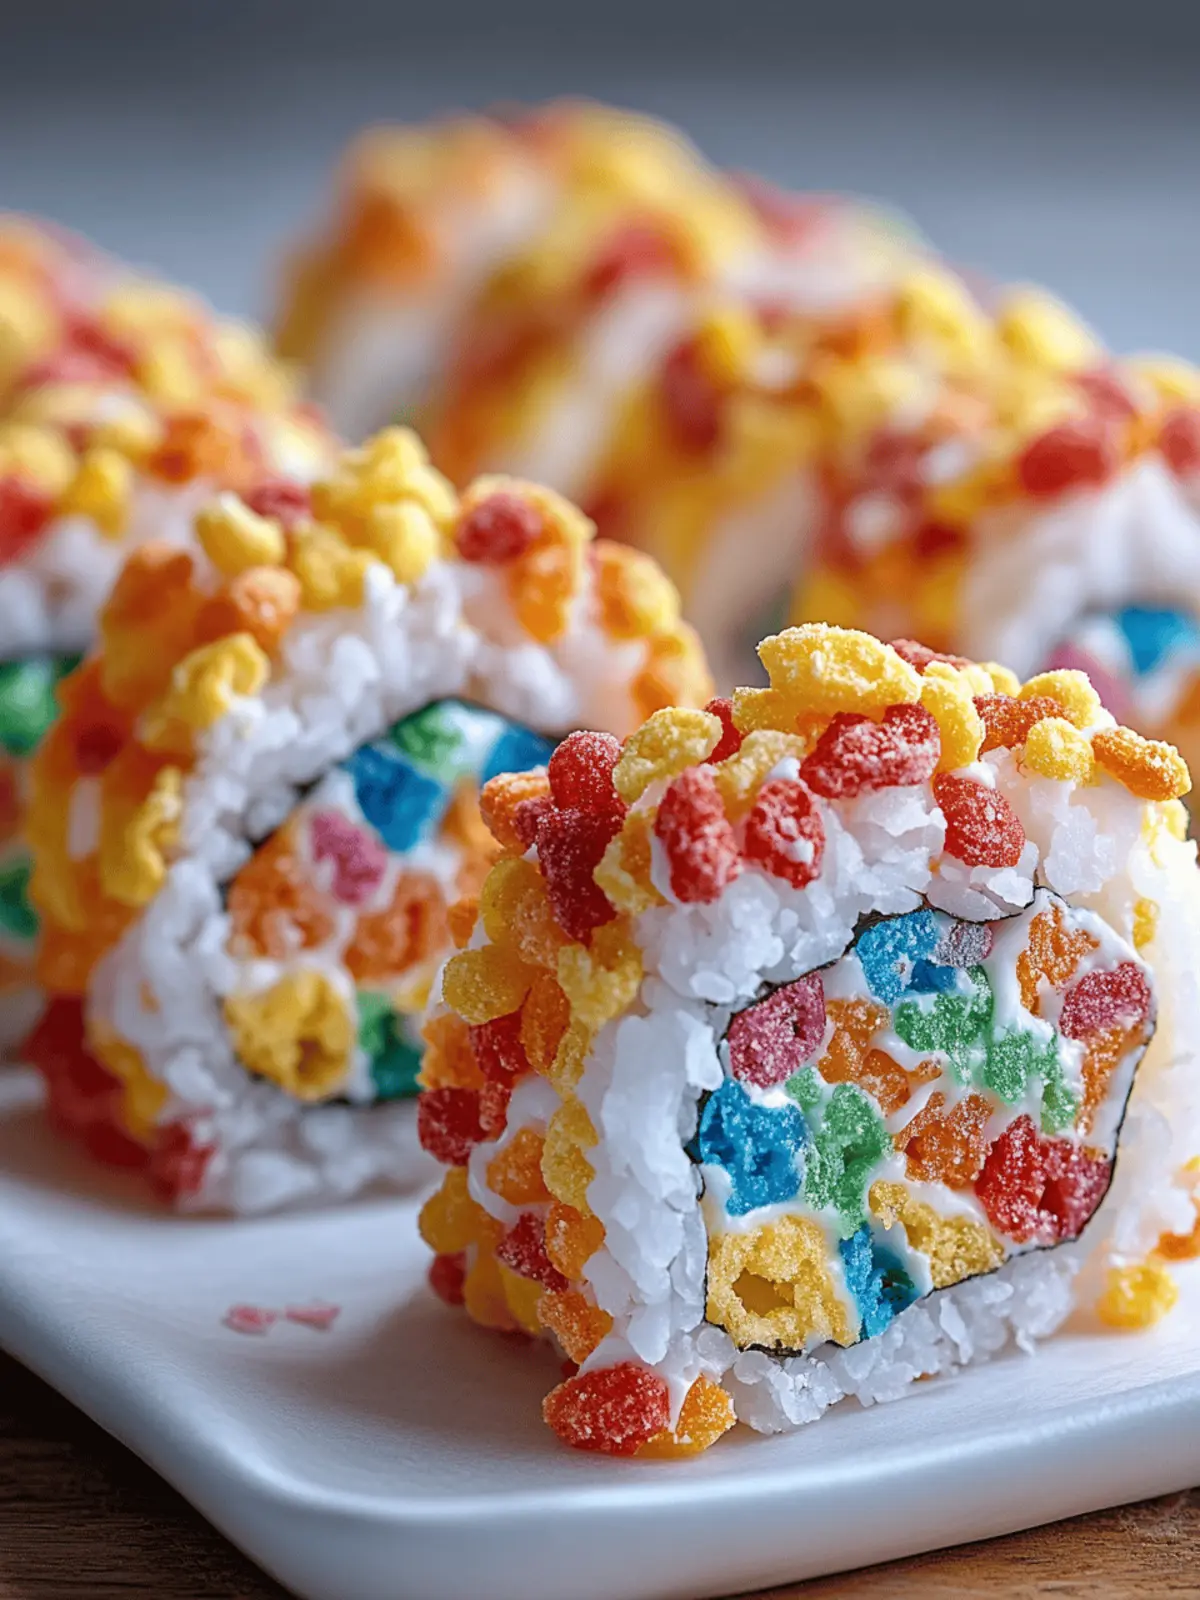
Snack time just got a deliciously colorful makeover with Fruity Pebbles Sushi! Picture this: a playful twist on classic crispy treats that will have both kids and adults grinning from ear to ear. With vibrant colors and creamy, fruity goodness, this no-bake dessert is not only easy to whip up but is also a fantastic choice for birthdays, potlucks, or whenever you need a sprinkle of joy in your day.
I stumbled upon this fun recipe during a rainy afternoon when I needed something light-hearted and creative to brighten the mood. As soon as I mixed the gooey marshmallows with crispy rice cereal and Fruity Pebbles, the kitchen filled with an aroma that promised adventure. Each bite is a delightful crunch bursting with nostalgia, evoking the joy of childhood breakfasts. So gather your little helpers and let’s roll up some happiness together!

Why is Fruity Pebbles Sushi a Must-Try?
Colorful Delight: This recipe transforms ordinary ingredients into a visually stunning dessert that’s sure to impress.
No-Bake Convenience: Skip the oven! This fun treat can be made in mere minutes, perfect for spontaneous cravings.
Kid-Friendly Fun: It’s a fantastic way to involve children in the kitchen, combining creativity with deliciousness.
Versatile Variations: From themed creations to alternative fillings, you can customize this treat to suit any occasion.
Nostalgic Flavor: Each bite is a nostalgic trip back to carefree childhood breakfasts, making it enjoyable for adults too!
Perfect for Gatherings: Serve this delightful sushi at parties or potlucks, and watch it disappear in no time!
Fruity Pebbles Sushi Ingredients
For the Base
- Marshmallows – Adds sweetness and gooey texture; substitute with vegan marshmallows for a dairy-free option.
- Butter – Provides richness and helps melt the marshmallows; use plant-based butter for a dairy-free version.
- Crispy Rice Cereal – The base for the sushi roll, providing crunch; swap with any gluten-free cereal for a gluten-free treat.
- Fruity Pebbles Cereal – Adds flavor and fun colors; can be replaced with similar fruity cereals.
For the Filling
- Cream Cheese (softened) – Creates a creamy filling; use vegan cream cheese for a dairy-free alternative.
- Powdered Sugar – Sweetens the cream cheese mixture; can replace with a sugar substitute for a lower-sugar option.
- Vanilla Extract – Enhances flavor; consider using almond extract for a different taste.
For the Coating and Assembly
- Fruit Roll-Up – Acts as a colorful outer layer; choose any fruit-flavored chewy candy or fruit leather.
- Extra Fruity Pebbles – For coating the sushi rolls, adding crunch and color; essential for that vibrant finish!
How to Make Fruity Pebbles Sushi
-
Melt Butter and Marshmallows: In a saucepan over low heat, melt the butter. Add the marshmallows and stir until smooth, about 5 minutes. The mixture should be gooey and creamy.
-
Mix Cereal: Remove from heat, then gently fold in the crispy rice cereal and ½ cup of Fruity Pebbles until evenly coated. It should look colorful and well combined.
-
Shape Base: Press the mixture onto a sheet of wax paper to form a flat rectangle. Allow it to cool slightly for about 5 minutes, making it easier to handle.
-
Prepare Cream Cheese Mixture: In a mixing bowl, beat together the softened cream cheese, powdered sugar, and vanilla extract until creamy and smooth. It should be spreadable and delicious.
-
Assemble Sushi: Spread the cream cheese mixture over the cooled cereal base, then top it with the fruit roll-up. The layers should look vibrant and inviting!
-
Roll: Carefully roll the sushi using the wax paper to guide you, twisting the ends to seal. Chill for 10-15 minutes if needed for firmness, making it easier to slice.
-
Slice and Coat: Unwrap the rolled sushi and roll it in extra Fruity Pebbles for that nice crunch and color. Slice into pieces and serve to delight everyone!
Optional: Serve with whipped cream or yogurt for dipping!
Exact quantities are listed in the recipe card below.
Fruity Pebbles Sushi Variations
Get ready to mix up your Fruity Pebbles Sushi with these fun and flavorful twists!
- Dairy-Free: Substitute cream cheese with vegan cream cheese and use plant-based butter for a delightful dairy-free treat.
- Gluten-Free: Swap crispy rice cereal with your favorite gluten-free alternative to keep it crunchy without the gluten.
- Sugar-Free: Use a sugar substitute in place of powdered sugar for a low-calorie treat without sacrificing sweetness.
- Chocolate Crunch: Add mini chocolate chips to the cereal mixture for a chocolatey surprise in every bite! This twist is a great way to blend flavors and create excitement.
- Tropical Twist: Incorporate dried fruits like pineapple or coconut flakes for a tropical vibe that transports you to a sunny beach. Each bite becomes a mini vacation!
- Seasonal Flavors: Choose fruity cereals that match different seasons, like pumpkin spice in the fall or berry flavors in summer, for a festive touch.
- Spicy Kick: Drizzle a hint of chili-infused honey over the finished sushi for an unexpected sweet heat that will tantalize your taste buds!
- Protein Boost: Mix in some powdered protein for a nutritious upgrade, perfect for those who want a little more than just a sweet treat.
Embrace your culinary creativity and make this no-bake dessert your own!
What to Serve with Fruity Pebbles Sushi?
Looking to create a memorable spread that elevates your colorful dessert?
-
Whipped Cream: A dollop of fluffy whipped cream adds a creamy contrast to the chewy texture of the sushi, creating a delightful balance. Perfect for dipping or a spreadable topping.
-
Fruity Yogurt: Serve with a side of your favorite fruity yogurt for an additional burst of flavor. The creamy consistency pairs beautifully with the crunchy sushi, enhancing every bite!
-
Fresh Fruit Skewers: Brighten up the table with easy-to-make fruit skewers. The natural sweetness of fruits complements the sugary sushi, adding freshness and vibrancy to your dessert table.
-
Chocolate Drizzle: A drizzle of melting chocolate can add a decadent touch to your Fruity Pebbles Sushi. Just a sprinkle can turn this playful dessert into a gourmet experience!
-
Ice Cream: Vanilla or cotton candy ice cream pairs perfectly, enhancing the dessert’s fun theme. Each bite becomes an adventure of sweet flavors, and the cold creaminess is heavenly against the sushi’s crunch.
-
Sparkling Punch: Serve with a refreshing, fruity sparkling punch. The bubbles and sweetness will make your gathering feel special, complementing the whimsical nature of the sushi.
-
Gummy Treats: Scatter some gummy candies around your dessert spread for a playful touch. Their chewy texture and fruity flavors echo the fun vibes of Fruity Pebbles Sushi!
Expert Tips for Fruity Pebbles Sushi
-
Cooling Time: Allow the base to cool adequately before handling. If it cracks while rolling, just gently press it back together to maintain that perfect shape.
-
Neat Slices: Use a sharp knife and wipe it clean between cuts to achieve neat edges. This keeps your Fruity Pebbles Sushi looking as festive as it tastes!
-
Storage Guidelines: Keep your delicious sushi in an airtight container at room temperature for up to 2 days. Enjoy best when fresh, but you can also refrigerate for added firmness.
-
Ingredient Substitutions: Don’t hesitate to use gluten-free cereal or vegan alternatives. This ensures everyone can enjoy your Fruity Pebbles Sushi without compromising on fun or flavor!
-
Creative Add-Ins: Experiment with mini chocolate chips, sprinkles, or different flavored fruit rolls to customize and spice up your sushi rolls for any occasion.
Make Ahead Options
Fruity Pebbles Sushi is perfect for meal prep enthusiasts! You can prepare the base mixture up to 24 hours in advance and simply refrigerate it in an airtight container. After cooling, shape the mixture into a rectangle and wrap it tightly in wax paper. For best quality, store the cream cheese mixture separately and spread it just before assembling. When you’re ready to enjoy the sushi, roll it up with the fruit roll-up, chill for 10-15 minutes if needed, and then slice it into fun pieces. By prepping ahead, you can have this colorful treat ready for any occasion with minimal effort, saving you time on busy days!
How to Store and Freeze Fruity Pebbles Sushi
Room Temperature: Store the sushi in an airtight container at room temperature for up to 2 days for the best taste and texture.
Refrigerator: If you want to keep it fresher longer, refrigerate the sushi for up to a week. Make sure it’s wrapped well to avoid drying out.
Freezer: For longer storage, you can freeze un-sliced logs of Fruity Pebbles Sushi wrapped tightly in wax paper and foil for up to 2 months.
Reheating: When ready to enjoy, allow the sushi to thaw in the fridge overnight. Slicing is easier when it’s chilled, ensuring perfect pieces!
Fruity Pebbles Sushi Recipe FAQs
How do I choose the right marshmallows for Fruity Pebbles Sushi?
Absolutely! Look for soft, fresh marshmallows without dark spots or a hard exterior, which indicates staleness. If you want a dairy-free version, vegan marshmallows are a great substitute—they work just as well and melt beautifully!
How should I store leftover Fruity Pebbles Sushi?
The more the merrier! Store your Fruity Pebbles Sushi in an airtight container at room temperature for up to 2 days for optimal freshness. If you want to keep it a bit longer, refrigerating it can extend its shelf life up to a week. Just ensure it’s well wrapped to prevent it from drying out.
Can I freeze Fruity Pebbles Sushi? If so, how?
Yes! Freezing is a fantastic option! To freeze, wrap un-sliced logs of your Fruity Pebbles Sushi tightly in wax paper and foil. This will protect it from freezer burn. It can be frozen for up to 2 months. When you’re ready to enjoy it, allow the sushi to thaw in the fridge overnight for the best texture when slicing.
What should I do if my sushi cracks while rolling?
Very easily fixed! If you find that your sushi mixture is cracking while you roll it, don’t worry! Simply press the edges back together gently and continue rolling. Make sure to allow your base to cool adequately before handling as a cooler mixture holds its shape better.
Are there any dietary considerations I should keep in mind?
Absolutely! If you’re serving Fruity Pebbles Sushi to those with dietary restrictions, consider using gluten-free crispy rice cereal and dairy-free versions of butter and cream cheese. This way, everyone can join in the fun and enjoy the colorful treat without any worries!
How can I make my Fruity Pebbles Sushi even more festive?
Get creative! You can customize your sushi by adding mini chocolate chips, sprinkles, or using seasonal fruit rolls to match any occasion. It’s a fun way to make this already playful treat even more delightful!
Fruity Pebbles Sushi: A Colorful No-Bake Delight for Everyone
Ingredients
Equipment
Method
- In a saucepan over low heat, melt the butter. Add the marshmallows and stir until smooth, about 5 minutes.
- Remove from heat, then gently fold in the crispy rice cereal and ½ cup of Fruity Pebbles until evenly coated.
- Press the mixture onto a sheet of wax paper to form a flat rectangle. Allow it to cool slightly for about 5 minutes.
- In a mixing bowl, beat together the softened cream cheese, powdered sugar, and vanilla extract until creamy and smooth.
- Spread the cream cheese mixture over the cooled cereal base, then top it with the fruit roll-up.
- Carefully roll the sushi using the wax paper to guide you, twisting the ends to seal. Chill for 10-15 minutes if needed.
- Unwrap the rolled sushi and roll it in extra Fruity Pebbles for that nice crunch and color. Slice into pieces and serve.