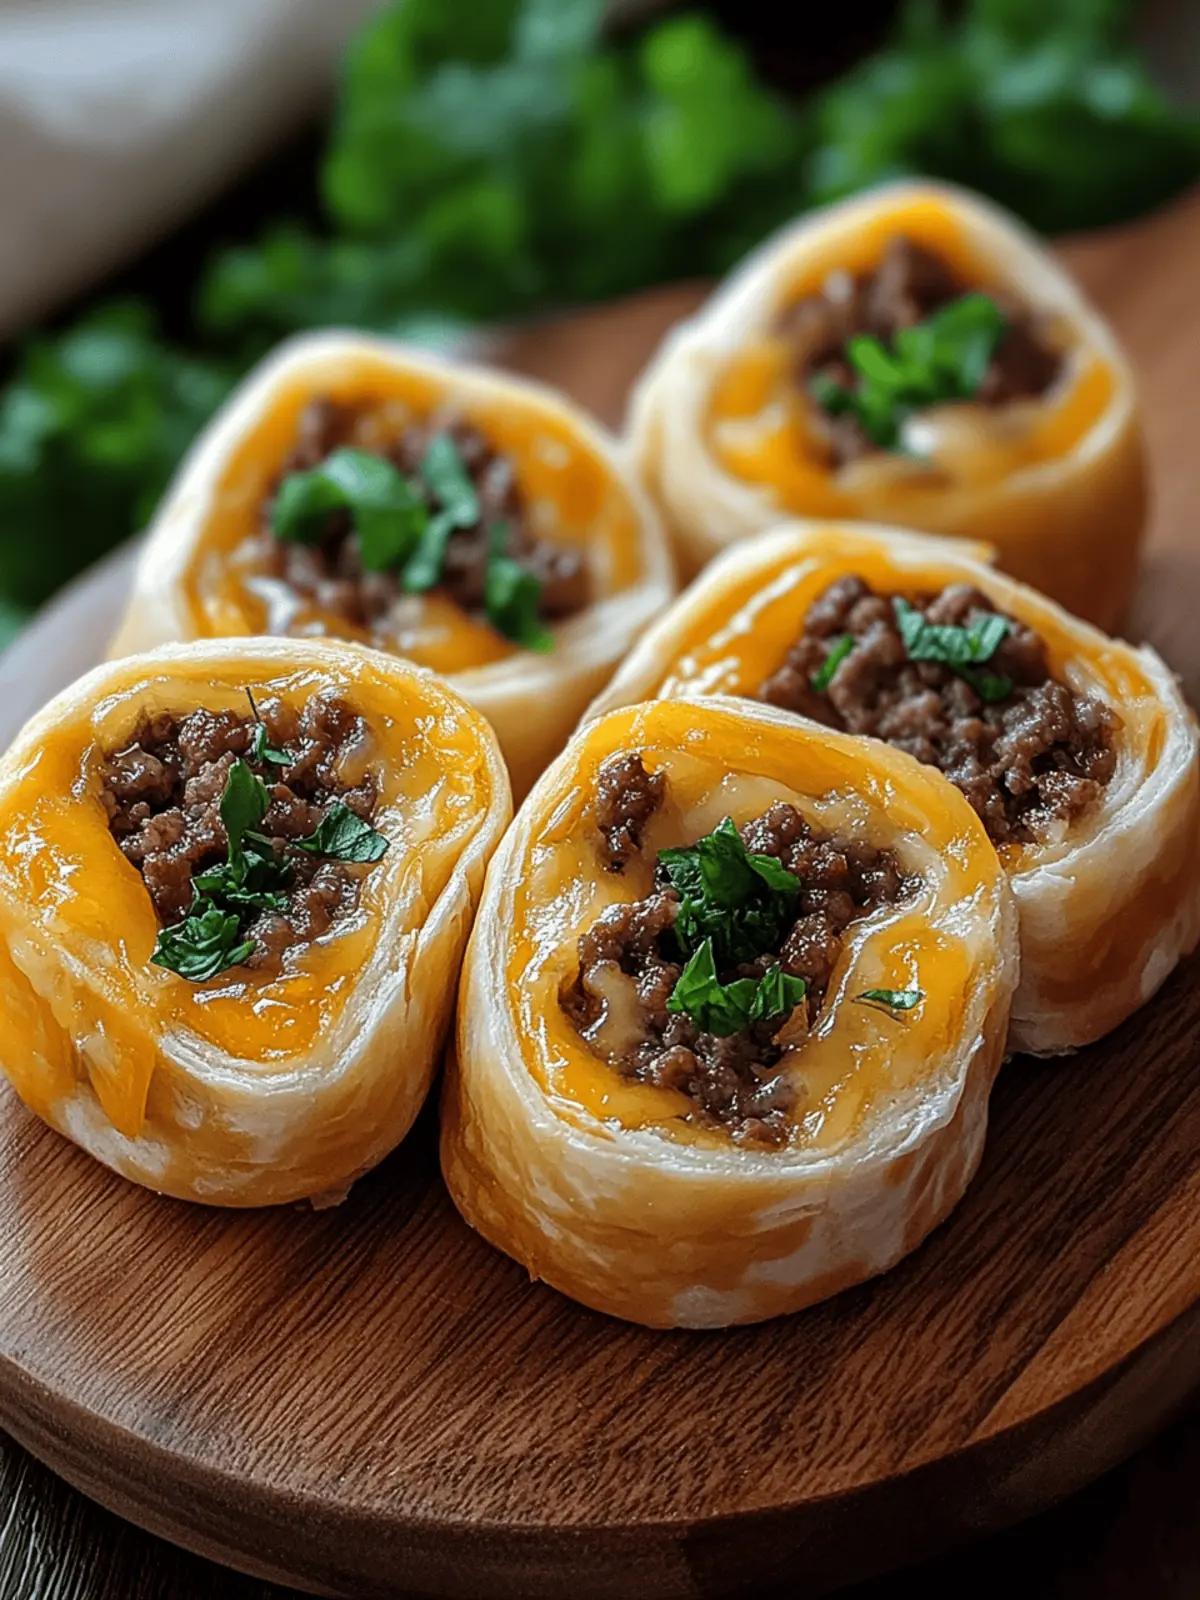
The moment I took that first bite, I discovered a delightful fusion of flavors wrapped in a cozy blanket of flaky dough. Garlic Butter Beef Cheeseburger Rollups have become my go-to for game days and casual gatherings alike. Imagine savory ground beef and gooey cheddar cheese peeking out from buttery crescents—these little rolls are impossible to resist!
What I love most is how easily customizable they are; you can spice them up with jalapeños, add tangy pickles, or even swap out cheeses for a twist that reflects your taste. After a long day, it’s such a relief that these hearty snacks come together in just about 15 minutes. Whether you’re hosting friends for the big game or simply craving something delicious, these rollups are sure to be a hit. Let’s dive into how to create this scrumptious, kid-friendly delight that’ll have everyone begging for more!

Why are Cheeseburger Rollups the Perfect Snack?
Easy to Make: These Cheeseburger Rollups come together in a flash, making them ideal for those busy weekday evenings or spontaneous gatherings.
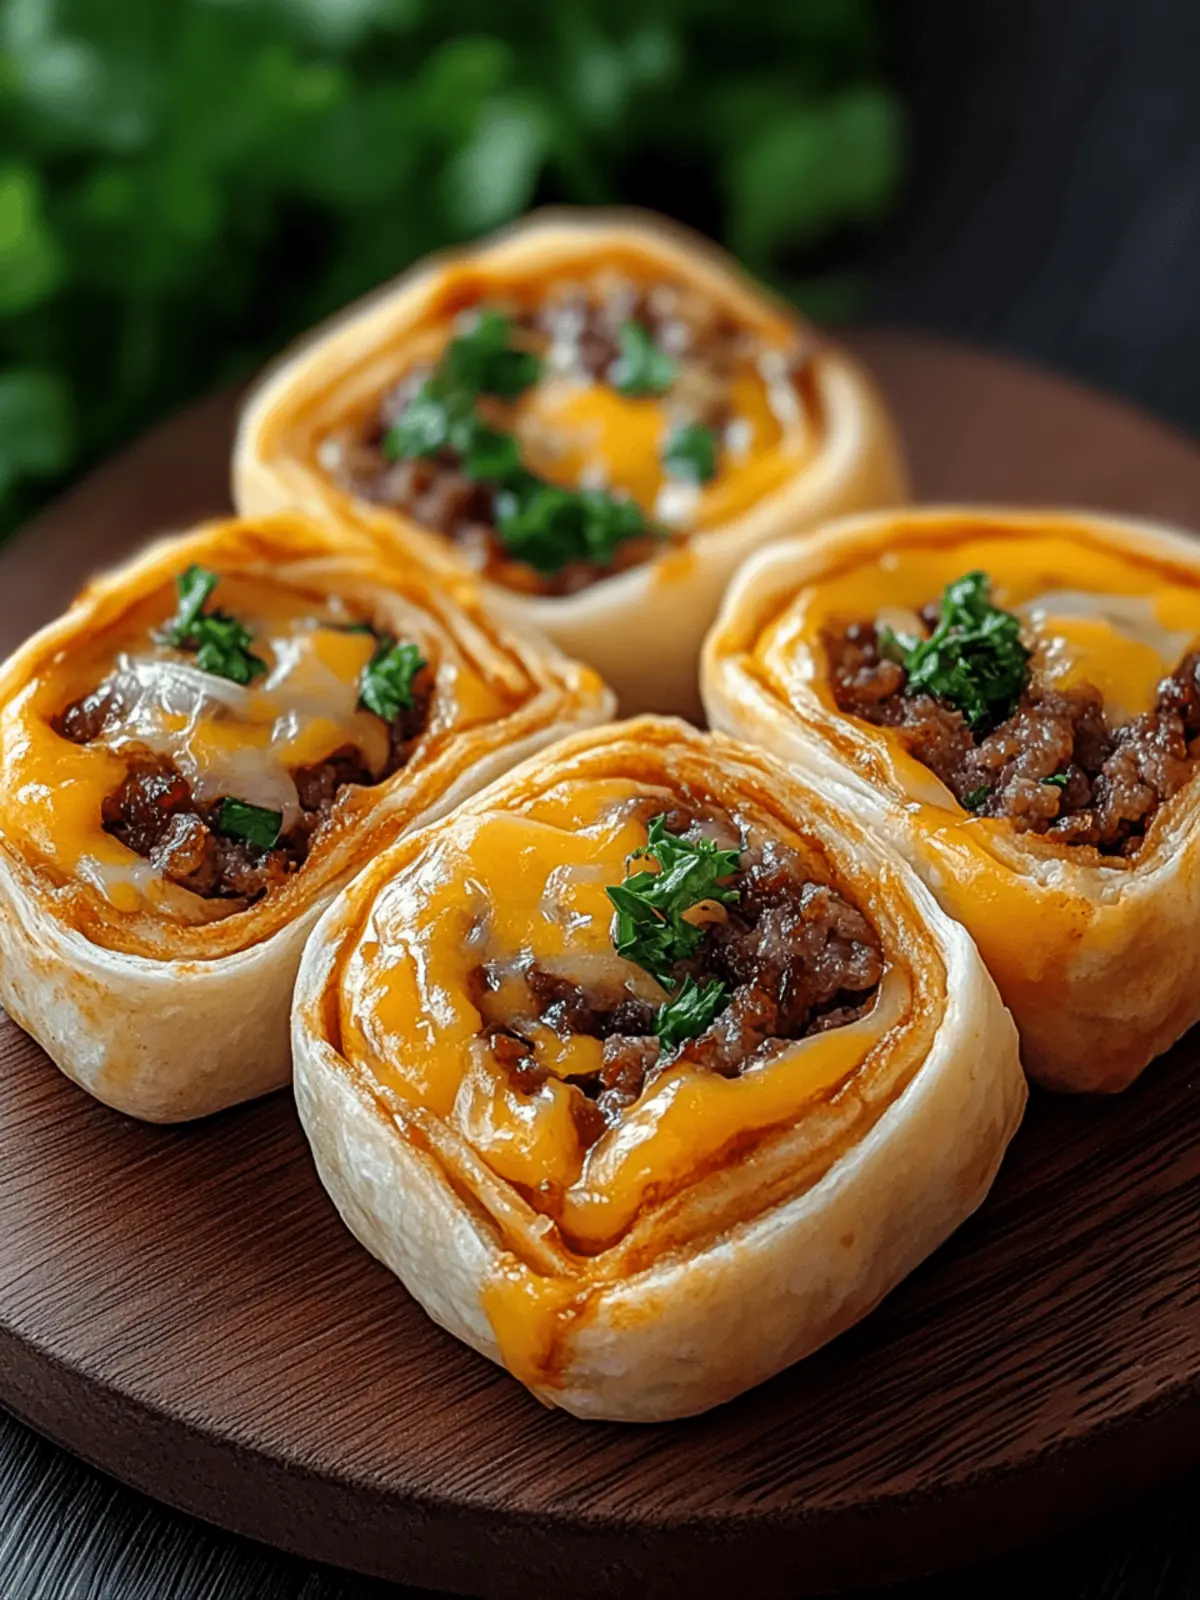
Flavor Packed: Each bite offers a burst of juicy beef and melted cheese, enveloped in a buttery crescent that’s simply irresistible.
Customizable Delight: Loved by adults and kids alike, you can easily personalize them with your favorite spices, cheeses, or toppings, ensuring there’s something for everyone.
Game Day Essential: Perfect for serving at parties, they make excellent finger foods that will keep guests coming back for seconds—and thirds!
Quick to Bake: With just 12-15 minutes in the oven, you’ll be able to whip these up and have them on the table before any game kick-off.
Make-Ahead Friendly: Prepare the filling ahead of time and assemble before guests arrive for stress-free entertaining.
Cheeseburger Rollups Ingredients
For the Beef Filling
- Lean Ground Beef – Provides the savory protein base; can substitute with turkey or plant-based meat for a lighter option.
- Salt – Enhances flavor; use kosher salt for ease of measurement.
- Black Pepper – Adds warmth and depth; adjust according to your taste.
- Garlic Powder – Imparts a robust garlic flavor; fresh minced garlic can also be utilized.
- Smoked Paprika – Adds a smoky undertone; regular paprika works but lacks smokiness.
- Worcestershire Sauce – Introduces umami; soy sauce can be a gluten-free substitute.
- Shredded Cheddar Cheese – Offers melty goodness; feel free to swap for mozzarella, pepper jack, or Swiss for variations.
For the Rollup Base
- Refrigerated Crescent Roll Dough – A convenient base with a flaky texture; homemade dough works but takes longer to prepare.
- Unsalted Butter – Adds richness and moisture; can replace with olive oil for a lighter version.
- Garlic (minced) – Enhances the garlic butter brushing for added flavor; use powder if fresh isn’t available.
- Fresh Parsley (chopped) – Offers freshness and garnishing; dried parsley is an acceptable substitute.
Optional Serving Suggestions
- Pickles – Add tangy bites for that iconic burger flavor.
- Dipping Sauces – Serve with mustard, ketchup, or ranch dressing for a customizable experience.
How to Make Cheeseburger Rollups
-
Preheat Oven: Start by preheating your oven to 375°F (190°C). Line a baking sheet with parchment paper to prevent sticking and make cleanup a breeze.
-
Cook Beef Mixture: In a skillet over medium heat, brown the lean ground beef until it’s fully cooked. Season it with salt, black pepper, garlic powder, smoked paprika, and Worcestershire sauce. Cook for 1-2 minutes, stirring to ensure the flavors meld beautifully.
-
Assemble Rollups: Unroll the refrigerated crescent roll dough and separate it into triangles. Place a heaping tablespoon of the savory beef mixture and a sprinkle of shredded cheddar cheese at the wide end of each triangle. Roll it up securely, seam-side down, and arrange them on the prepared baking sheet.
-
Brush with Garlic Butter: Melt the unsalted butter in a small bowl and mix in the minced garlic and chopped parsley. Gently brush this delicious garlic butter mixture generously over each rollup for an extra layer of flavor.
-
Bake: Slide the baking sheet into the preheated oven and bake for 12-15 minutes. Keep an eye on them until they turn golden brown and are puffed up—this is when the magic happens!
Optional: Serve with a side of tangy pickles or your favorite dipping sauces for an irresistible upgrade.
Exact quantities are listed in the recipe card below.
Expert Tips for Cheeseburger Rollups
- Beef Precaution: Drain excess fat from the cooked beef to avoid soggy rollups, ensuring each bite is flavorful and delightful.
- Flavor Boost: Let the seasoned beef mixture cool slightly before rolling; this enhances flavor depth and prevents the dough from getting too warm.
- Watch the Oven: Every oven is different; check the rollups at the 12-minute mark. They should be golden brown and puffed to perfection.
- Creative Fillings: Don’t hesitate to experiment! Add diced jalapeños or pickles directly to the beef mix for a personal touch in your cheeseburger rollups.
- Crescent Dough Handling: Be gentle when unrolling the crescent dough to keep it intact, allowing for a smooth wrap around your tasty filling.
What to Serve with Cheeseburger Rollups?
These delightful rollups are not just a snack; they can elevate your entire gathering! Imagine the table spread buzzing with colorful sides that complement their savory richness.
- Crispy French Fries: The ultimate companion; their golden crunch perfectly balances the soft, buttery texture of the rollups.
- Tangy Coleslaw: This refreshing side adds a vibrant crunch, cutting through the richness for a well-rounded bite.
- Potato Wedges: Season them with herbs or spices for a cozy, hearty addition that pairs wonderfully with cheesy rollups.
- Zesty Pickle Spears: The bright acidity of pickles elevates the flavor, creating that classic burger experience in every bite.
- Classic Potato Salad: Creamy and cool, it’s a familiar favorite that complements the warm, gooey rollups.
- Homemade Ranch Dip: A rich and creamy dip that enhances the flavor while providing a cool contrast to warm rollups.
- Sweet Corn on the Cob: Grilled or boiled, it adds a touch of sweetness that brings the meal together splendidly.
- Iced Tea or Lemonade: Refreshing beverages that cleanse the palate and add a touch of brightness to your game day spread.
- Chocolate Chip Cookies: Cap off the meal with these classics for that perfect sweet ending to a savory feast.
Cheeseburger Rollups Variations
Make these Cheeseburger Rollups your own with a few simple twists that add flavor and flair!
-
Spicy Twist: Toss in diced jalapeños or a drizzle of hot sauce for a kick that’ll awaken your taste buds. The heat pairs wonderfully with the richness of the beef and cheese.
-
Cheesy Goodness: Swap out the cheddar cheese for pepper jack, mozzarella, or even a tangy blue cheese for a flavor adventure. The melty variety brings a different creamy experience with every bite.
-
Add Pickles: Mix in finely chopped pickles to the beef filling to capture that classic burger taste. Not only do they add crunch, but they also bring a tangy surprise that elevates the flavor.
-
Bacon Boost: Crumble crispy bacon bits into the beef mixture for that irresistible smoky essence. It harmonizes perfectly, transforming your rollups into next-level indulgence.
-
Veggie Blend: For a veggie-forward option, incorporate finely chopped bell peppers, onions, or mushrooms into the beef mixture. This adds extra nutrition and color, making the rolls even more delightful.
-
Garlic Lovers Delight: Intensify the garlic flavor by adding fresh minced garlic into the beef mixture. This will create a savory explosion that garlic aficionados will adore.
-
Crunchy Toppings: Top your rollups with crispy fried onions or crushed tortilla chips before baking for an added crunch that makes each bite more exciting.
Feel free to experiment, let your culinary creativity shine, and tailor these amazing Cheeseburger Rollups to suit your and your guests’ cravings!
How to Store and Freeze Cheeseburger Rollups
Fridge: Store Cheeseburger Rollups in an airtight container for up to 3 days. They stay tasty and can be enjoyed as convenient leftovers!
Freezer: For longer storage, freeze the rollups individually wrapped in plastic wrap or in a freezer bag for up to 2 months.
Reheating: To enjoy leftover rollups, reheat in the oven at 350°F (175°C) for about 10-12 minutes until warm and crispy. Avoid microwaving to keep them flaky!
Make-Ahead Tip: Prepare the beef filling in advance and refrigerate it. Assemble the rollups just before baking for a fresh-out-of-the-oven treat at your next gathering!
Make Ahead Options
These Cheeseburger Rollups are a fantastic choice for meal prep, allowing you to save valuable time during busy weeks. You can prepare the beef filling up to 3 days in advance; just cook it as directed, then let it cool completely before transferring it to an airtight container in the refrigerator. The rollups can be assembled and stored unbaked, covered tightly with plastic wrap, up to 24 hours ahead of time. To maintain their flaky texture, avoid pre-baking them. When you’re ready to serve, simply brush with the garlic butter mixture, bake as instructed, and enjoy the same delicious, comforting flavors with minimal hassle!
Cheeseburger Rollups Recipe FAQs
How can I choose the best ground beef for my Cheeseburger Rollups?
Absolutely! Look for lean ground beef, around 80% lean to 20% fat. This ratio provides enough fat for flavor without making the rollups greasy. If you’re looking for a lighter option, feel free to substitute with turkey or a plant-based meat alternative for those seeking a healthier or vegetarian twist.
What’s the best way to store Cheeseburger Rollups?
For sure! Store your Cheeseburger Rollups in an airtight container in the refrigerator for up to 3 days. Make sure they are completely cooled before placing them in the container to avoid condensation, which can make them soggy.
Can I freeze Cheeseburger Rollups for later?
Yes, you can! To freeze, wrap each rollup individually in plastic wrap or store them in a freezer-safe bag. They can be kept for up to 2 months. When you’re ready to enjoy them, simply reheat from frozen in the oven at 350°F (175°C) for about 15-20 minutes until warmed through and crispy again.
What if my crescent roll dough tears while assembling?
Very common! If you encounter any tears while working with the crescent roll dough, don’t worry. Simply pinch the edges together to seal it up. If you continue to have trouble, roll out the dough gently to create a seam that holds. Just make sure to keep it intact as much as possible to ensure your fillings stay snug!
Are Cheeseburger Rollups suitable for kids with allergies?
Of course! Knowing about allergies is essential. For kids with gluten intolerance, you can use gluten-free crescent dough. Be cautious with cheese selections—some brands have casein, which can trigger dairy allergies. Always check labels, and when in doubt, ask their parents to help adjust ingredients for safety.
How can I customize my Cheeseburger Rollups?
The more the merrier! You can easily adjust the flavor profile of your Cheeseburger Rollups to suit personal tastes. Try adding diced jalapeños for a spicy kick, or mix in chopped pickles within the beef filling for that classic cheeseburger taste. Experiment with different cheese varieties as well for a fun twist!
Cheeseburger Rollups: Easy, Flavorful Game Day Treats
Ingredients
Equipment
Method
- Preheat your oven to 375°F (190°C). Line a baking sheet with parchment paper.
- In a skillet over medium heat, brown the lean ground beef until fully cooked. Season with salt, black pepper, garlic powder, smoked paprika, and Worcestershire sauce. Cook for 1-2 minutes.
- Unroll the crescent roll dough and separate it into triangles. Place a tablespoon of the beef mixture and a sprinkle of shredded cheese at the wide end. Roll them up securely, seam-side down.
- Melt unsalted butter and mix in minced garlic and chopped parsley. Brush this garlic butter mixture generously over each rollup.
- Bake for 12-15 minutes until golden brown and puffed.