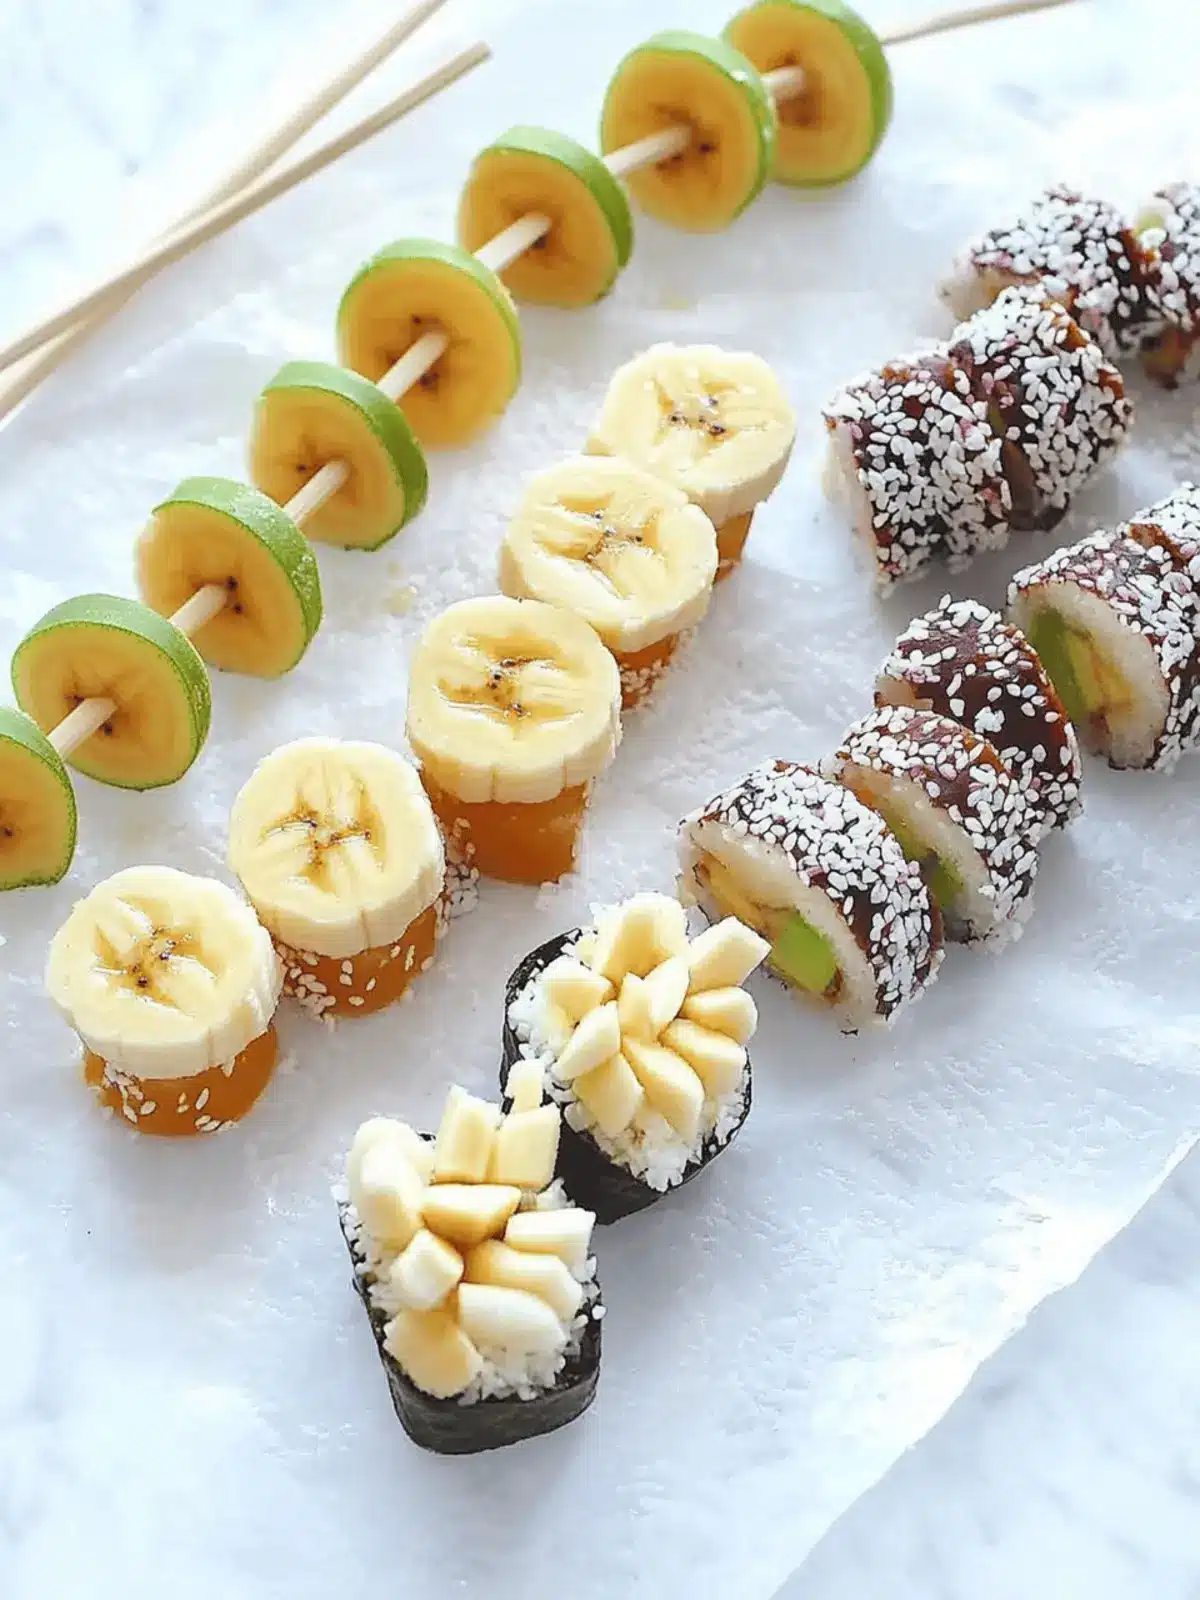
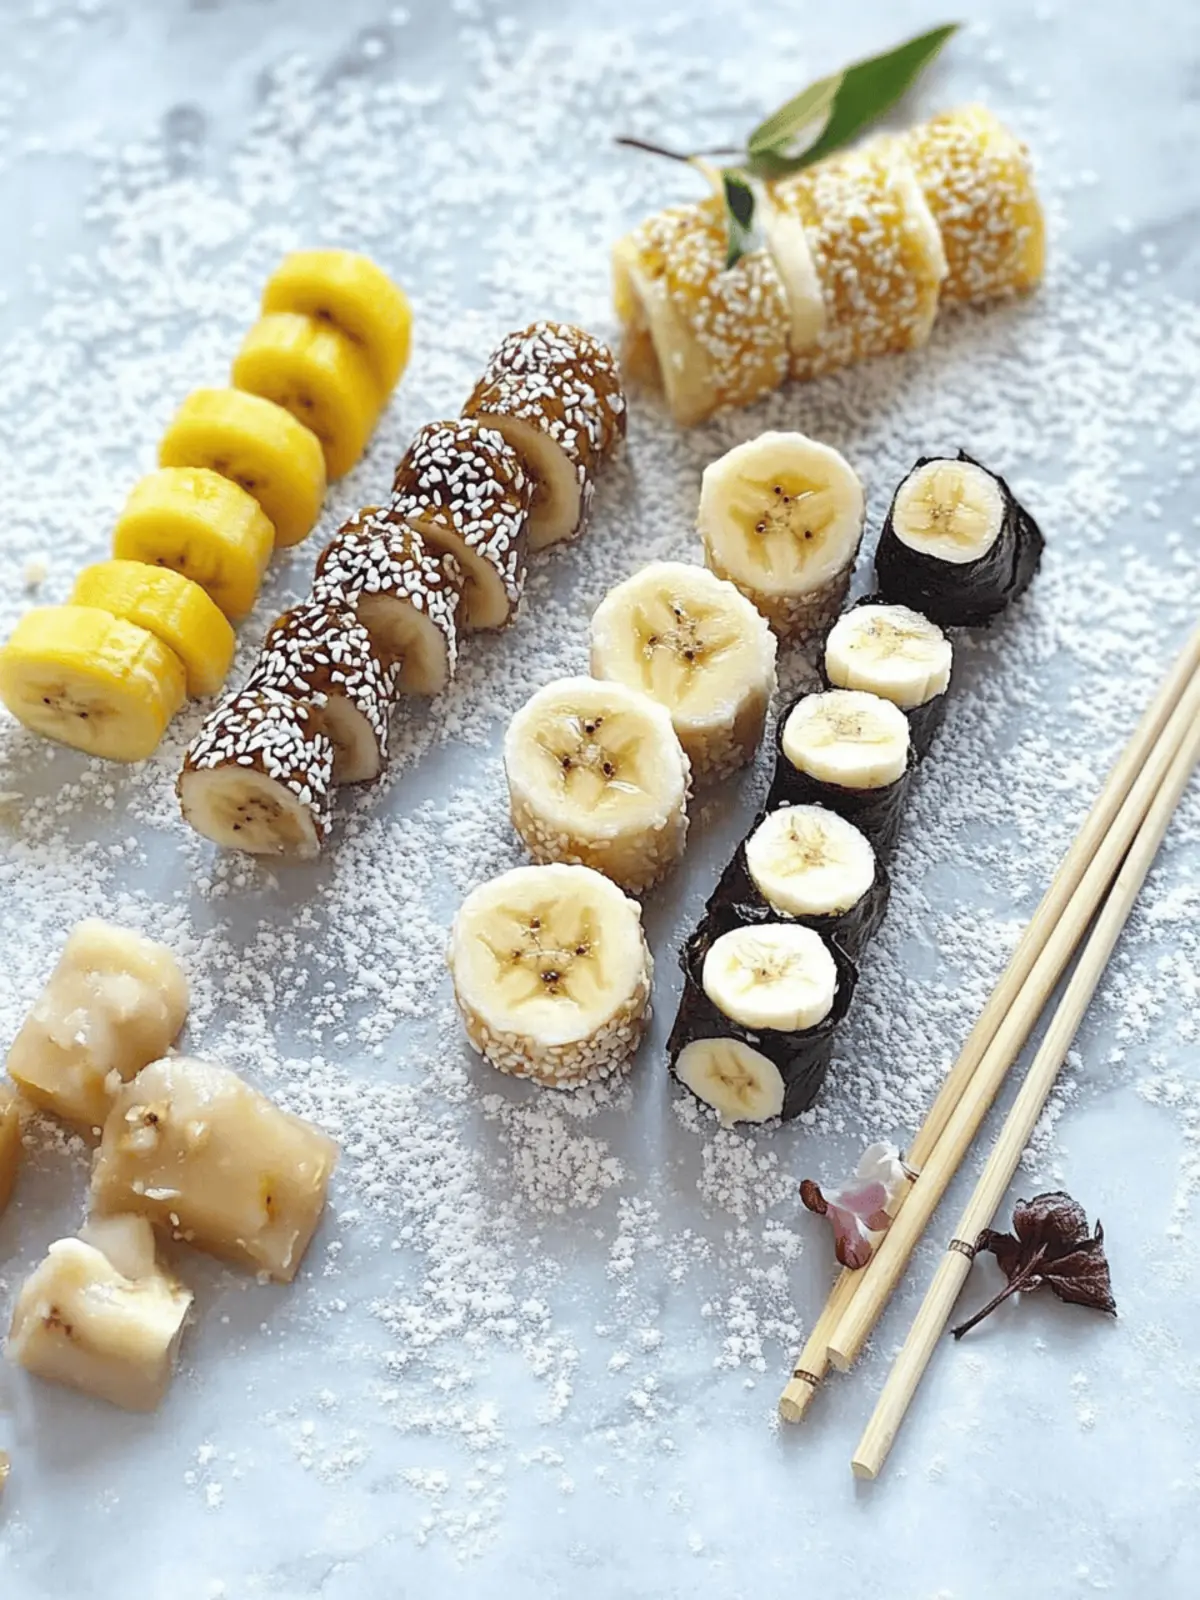
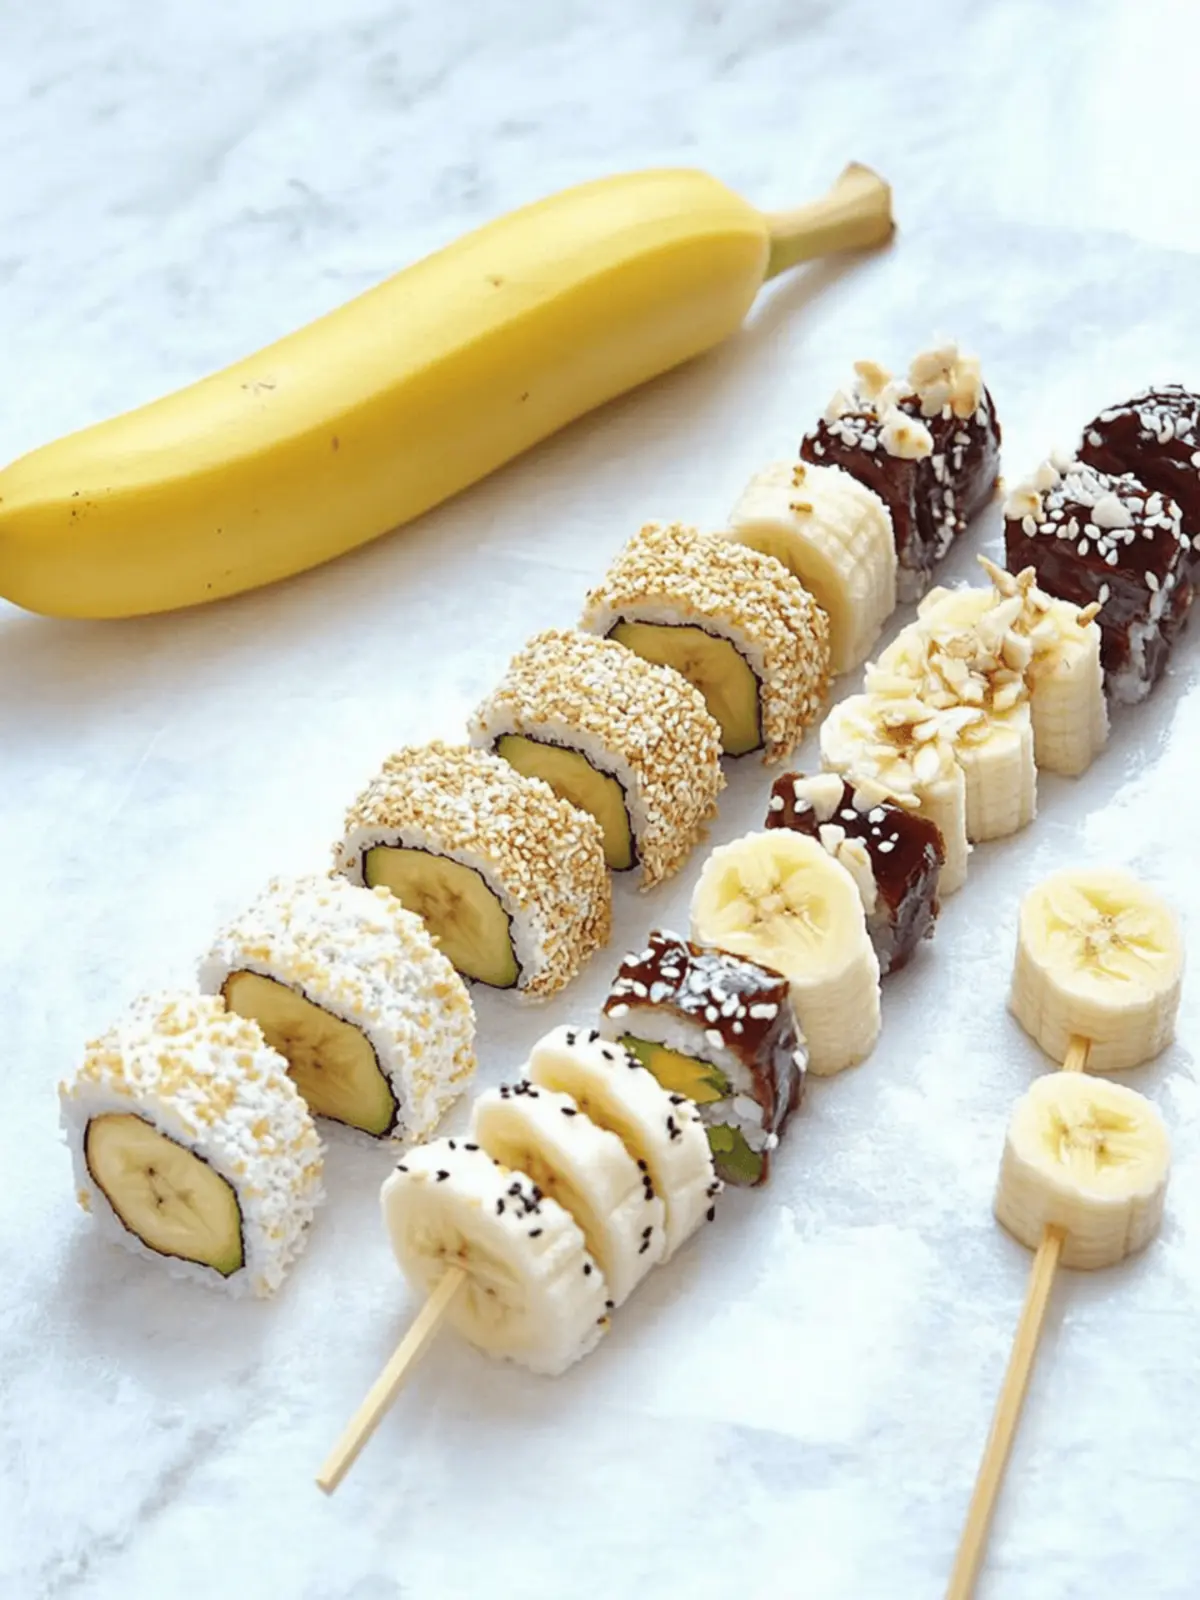
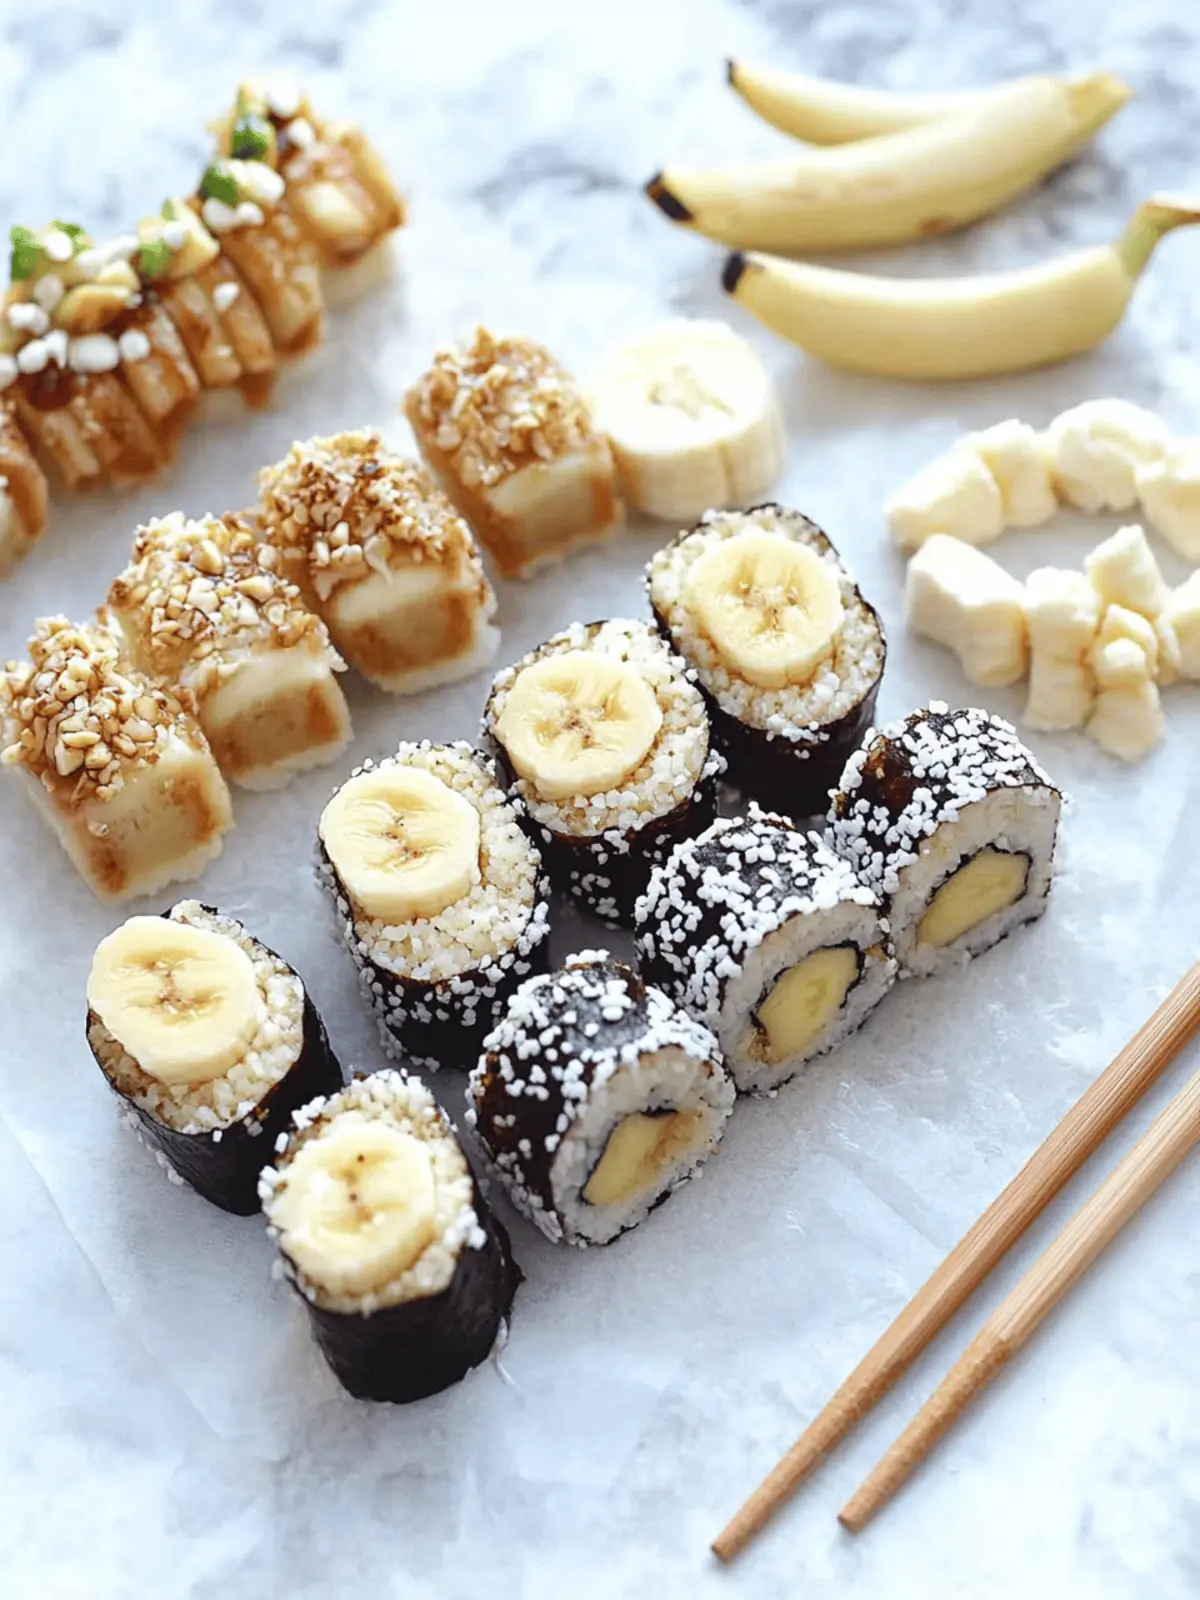
When the afternoon slump hits and you’re caught between a craving for something sweet and a desire to keep it healthy, Banana Sushi swoops in like a superhero! This delightful treat transforms a simple banana into a playful and nutritious snack that kids (and adults) will adore. Picture the creamy banana wrapped in a layer of melted chocolate or a dollop of peanut butter, then rolled in colorful toppings like sprinkles or crunchy rice krispies. It’s as much about the fun as it is about the flavor!
This no-cook wonder can be whipped up in just five minutes, making it a fantastic solution for busy families looking to inject some creativity into snack time. Not only does it encourage healthier eating habits, but it’s also a wonderful way to get the little ones involved in the kitchen. Let them choose their favorite toppings—after all, who wouldn’t want to unleash their inner sushi chef with fruit? Get ready for a colorful, tasty adventure that packs a nutritional punch!
Why is Banana Sushi a Must-Try?
Banana Sushi brings excitement to snack time! This no-cook recipe is quick and easy, perfect for busy families. Healthier option: packed with natural sweetness and essential nutrients. Customizable toppings: kids can unleash their creativity, ensuring every bite is different. Fun for everyone: a playful twist on traditional sushi that appeals to all ages. Great for gatherings: ideal for birthday parties or after-school snacks, it’s sure to impress!
Banana Sushi Ingredients
For the Base
• Banana – A naturally sweet fruit that provides energy; choose ripe ones for the best flavor.
For the Sticky Topping
• Melted Chocolate – A rich topping that adds indulgence; feel free to use dark, milk, or dairy-free options.
• Peanut Butter – Creamy and nutty, it adds healthy fats and helps toppings stick; almond butter is a great alternative for nut-free diets.
For the Coatings
• Sprinkles – Adds a fun, colorful crunch; choose your favorite varieties to make it festive!
• Chia Seeds – A nutritious option that boosts fiber and omega-3s; sprinkle liberally for added health benefits.
• Shredded Coconut – Offers a tropical flair and pleasant chewiness; unsweetened coconut is perfect for a healthier choice.
• Rice Krispies – Provides a satisfying crunch; they are perfect for added texture and fun.
Get ready to roll up some delicious Banana Sushi and enjoy a fun, healthy snack that everyone can appreciate!
How to Make Banana Sushi
-
Peel the Banana: Start by carefully peeling the banana and placing it on a clean cutting board. The riper the banana, the sweeter and creamier it will taste, so choose wisely!
-
Spread the Sticky Topping: Using a knife or spatula, evenly spread a layer of melted chocolate or peanut butter all over the banana. This is the adhesive that will hold your delightful toppings in place.
-
Add the Coatings: Roll or sprinkle your chosen toppings—like sprinkles, chia seeds, or shredded coconut—over the coated banana. Have fun with this step and get creative with your combinations!
-
Cut into Pieces: With a sharp knife, slice the banana into bite-sized pieces. Aim for about 1-inch thick rounds to make it easy for little hands (or big ones!) to enjoy.
-
Serve Immediately: Present your colorful Banana Sushi on a plate and dive in! For the best flavor and texture, it’s best to enjoy these treats right away.
Optional: For an extra crunch, try adding a sprinkle of crushed nuts on top!
Exact quantities are listed in the recipe card below.
Banana Sushi Variations
Get ready to elevate your Banana Sushi experience with exciting twists that add delicious flair to this already fun treat!
- Nut-Free: Swap peanut butter for sunflower seed butter or tahini to make sure everyone can enjoy without concern.
- Fruit Fusion: Try using sliced apples or strawberries instead of bananas; this introduces a refreshing, crisp texture.
- Flavor Boost: Drizzle honey or maple syrup over the banana before adding toppings for an extra sweet touch.
- Chocolate Delight: Experiment with flavored chocolates like caramel or mocha for a decadent twist on the classic.
- Dairy-Free: Use avocado instead of banana for a creamy, nutrient-rich alternative that’s perfect for those avoiding dairy.
- Savory Kick: Sprinkle chili powder or a hint of sea salt on top to contrast the sweetness, creating an unusual, yet tasty combination.
- Crunchy Coatings: Swap rice krispies for crunchy granola or crushed nuts for an exciting texture that gives a delightful bite.
- Coconut Craze: Instead of shredded coconut, use toasted coconut flakes for an added depth of flavor and crunchiness.
Each variation invites you to get creative and tailor the Banana Sushi to your taste, ensuring that snack time is always an adventure!
Expert Tips for Banana Sushi
-
Choose Ripe Bananas: The sweeter and creamier the banana, the better your Banana Sushi will taste. Look for a few brown spots for optimal flavor.
-
Get Creative with Toppings: Let kids choose their own combinations! Mixing toppings not only boosts fun but also improves taste, making each piece unique.
-
Even Layering: When spreading your sticky topping, make sure it’s even. This ensures all toppings stick well and gives every bite a delightful flavor experience.
-
Prevent Browning: If you’re prepping in advance, drizzle a little lemon juice on any cut banana surfaces to keep them looking fresh and bright.
-
Serve Fresh: For the best texture and taste, serve your Banana Sushi immediately after making. If stored, consume within a day for optimal enjoyment!
What to Serve with Banana Sushi?
Create a delightful snack experience that’ll have everyone coming back for more!
- Fresh Fruit Salad: A mix of colorful fruits like berries and melons adds a refreshing balance to the sweetness of Banana Sushi.
- Yogurt Parfait: Layer with creamy yogurt and granola for a satisfying contrast of textures that satisfies both kids and adults alike.
- Nutty Trail Mix: Crunchy nuts and seeds complement the creamy banana, providing extra protein and flavor to round out the snack.
- Coconut Water: Hydrate with this tropical drink that mirrors the coconut toppings, enhancing the overall flavor harmony of your snack.
- Chocolate Milkshake: A rich, indulgent pairing that mirrors the chocolate topping, providing a deliciously sweet refreshment.
- Mini Pita Pockets: Stuff these with savory fillings for a savory balance to the sweet treat, making an exciting snack platter.
- Veggie Sticks with Hummus: This combination brings a healthy crunch and different flavor profile, ensuring variety in your snack time.
Storage Tips for Banana Sushi
-
Room Temperature: Best enjoyed fresh, but if left out, consume within 2 hours for optimal taste and texture.
-
Fridge: If prepared in advance, store Banana Sushi in an airtight container for up to 1 day. This helps to retain freshness but may slightly alter the texture.
-
Freezer: You can freeze Banana Sushi pieces for a fun frozen treat! Wrap each piece tightly in plastic wrap and store in a freezer-safe bag for up to 1 month.
-
Reheating: There’s no need to reheat, as Banana Sushi is best enjoyed chilled! Just take it out of the fridge or freezer and dive into the refreshing taste.
Make Ahead Options
These delightful Banana Sushi are perfect for busy home cooks wanting to save time! You can prepare the bananas with their sticky toppings (like melted chocolate or peanut butter) up to 24 hours ahead. Simply assemble the bananas, coat them in your chosen sticky topping, and store in an airtight container in the refrigerator. To maintain their quality and prevent browning, it’s best to keep the toppings separate until you’re ready to serve. When it’s snack time, roll the prepped bananas in toppings like sprinkles or chia seeds, slice into bite-sized pieces, and enjoy a quick, fun treat that’s just as delicious as when you made them fresh!
Banana Sushi Recipe FAQs
How do I choose the best bananas for Banana Sushi?
Absolutely! Look for ripe bananas that have a few brown spots on the skin. These spots indicate the banana is sweet and soft, making it perfect for your Banana Sushi. Avoid bananas with dark spots all over or ones that are overly green, as they won’t have the same delightful flavor and texture.
What is the best way to store Banana Sushi?
Banana Sushi is best enjoyed fresh, but if you need to prepare it in advance, store it in an airtight container in the fridge for up to 1 day. Keep in mind that the banana may start to brown and lose its vibrant look, but it will still be tasty! If you want to enjoy it later, you can freeze the pieces.
How do I freeze Banana Sushi properly?
To freeze your Banana Sushi, first, slice the finished rolls into bite-sized pieces. Wrap each piece tightly in plastic wrap, ensuring no air is trapped. Place the wrapped pieces in a freezer-safe bag or container and store them in the freezer for up to 3 months. When you’re ready to enjoy, just take a piece out and eat it frozen or let it thaw in the fridge.
Can I make Banana Sushi for kids with food allergies?
Very! For peanut allergies, replace peanut butter with sunflower seed butter or almond butter, ensuring they’re convenient for various diets. For dairy sensitivities, choose dairy-free chocolate. Always check labels for potential allergens in toppings like sprinkles or pre-mixed coatings, making it a safe and delicious snack for everyone!
What should I do if my toppings don’t stick?
If your toppings aren’t sticking well, that usually means there isn’t enough sticky topping on your banana. Go ahead and add another layer of melted chocolate or peanut butter to the banana and sprinkle your toppings again. Additionally, pressing the toppings gently into the sticky layer can help secure them better, ensuring a delightful crunch in every bite.
How can I prevent the bananas from browning?
To keep your bananas looking fresh, gently drizzle a touch of lemon juice over the cut surfaces right after preparing. This natural acidic treatment slows down the browning process and adds a hint of flavor, keeping your Banana Sushi visually appealing and delicious for longer!

Delicious Banana Sushi: Fun, Healthy Snack for Everyone
Ingredients
Equipment
Method
- Peel the Banana: Start by carefully peeling the banana and placing it on a clean cutting board.
- Spread the Sticky Topping: Evenly spread a layer of melted chocolate or peanut butter all over the banana.
- Add the Coatings: Roll or sprinkle your chosen toppings over the coated banana.
- Cut into Pieces: Slice the banana into bite-sized pieces, about 1-inch thick.
- Serve Immediately: Present your colorful Banana Sushi on a plate and dive in!


