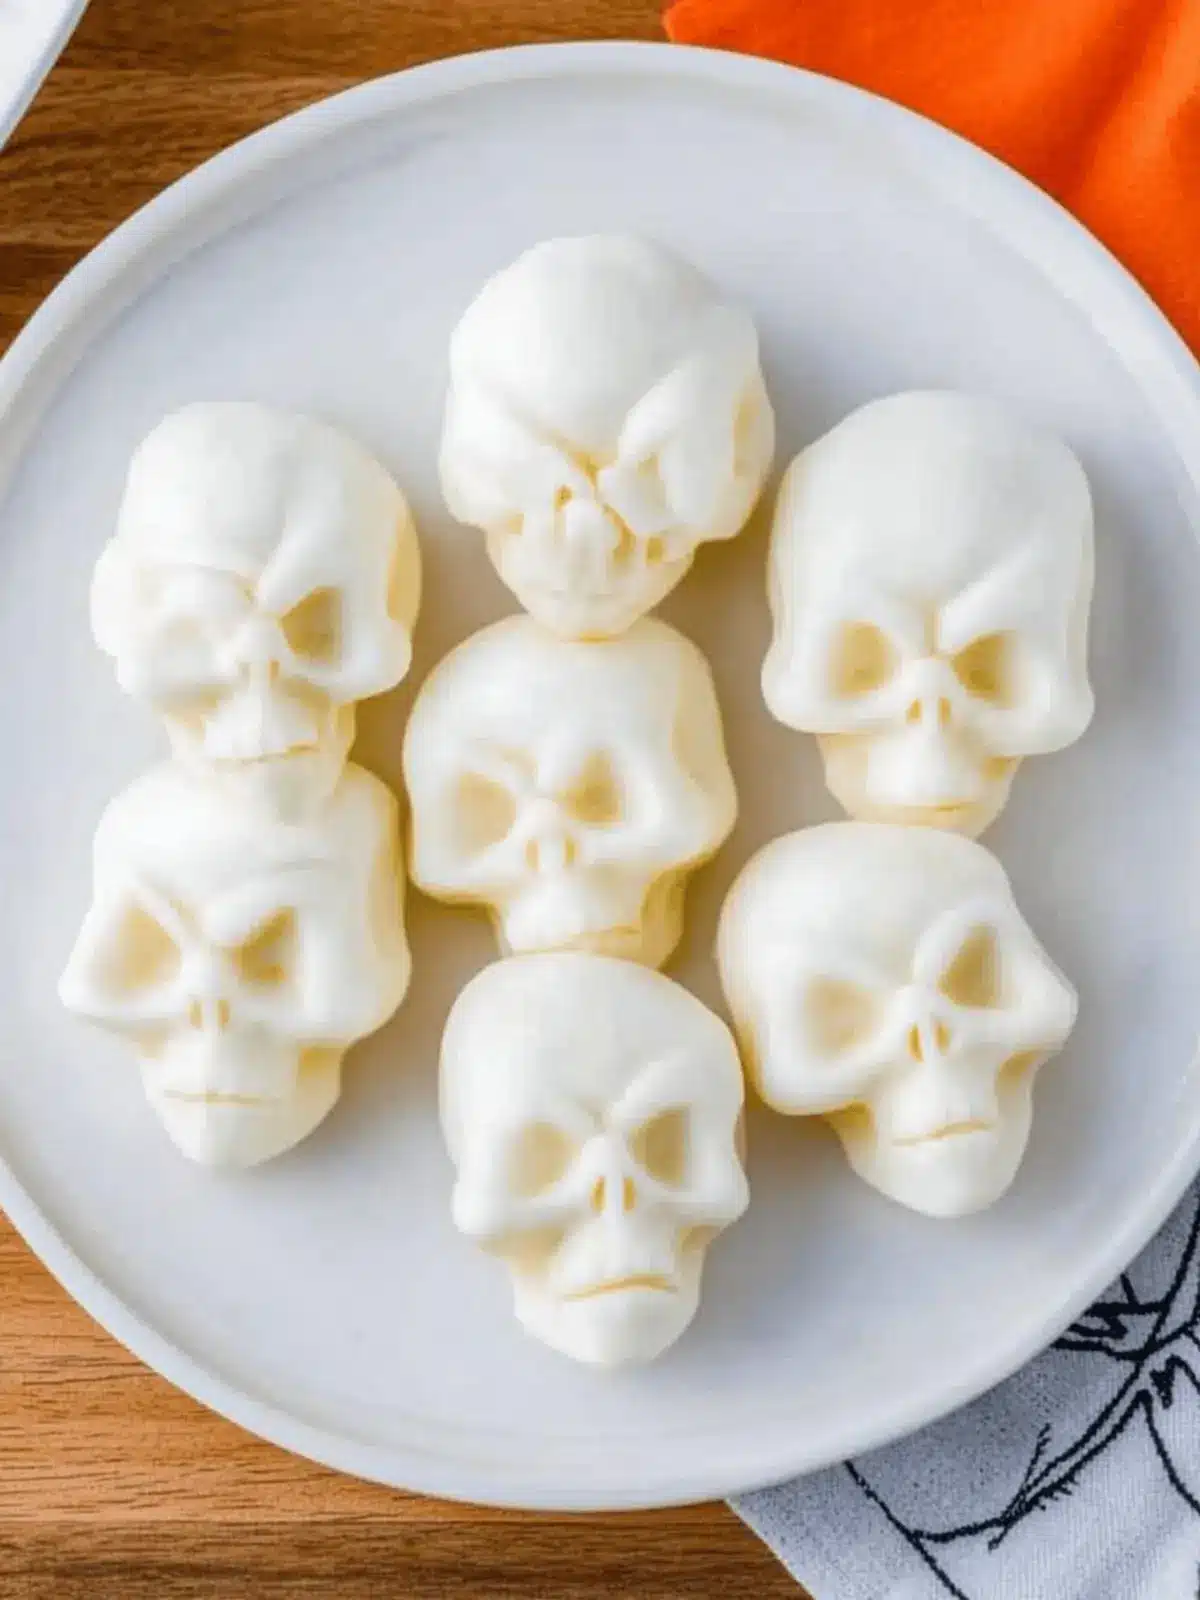
As the days grow shorter and the leaves begin to crunch underfoot, a familiar excitement fills the air—Halloween is right around the corner! This season, I’m ditching the usual party snacks and am instead turning to a delightfully spooky treat: Mozzarella Cheese Skulls. Picture this: creamy, soft mozzarella shaped into eerie skulls that not only look impressive but also pack a savory, delicious bite. They’re perfect for adorning a festive charcuterie board or as a fun treat during your Halloween dinner.
What I love about these mozzarella skulls is how quickly they come together, yet they look utterly professional. Whether you’re hosting a gathering or just looking to impress your family with some whimsical fare, these little gems are bound to steal the show. So, let’s roll up our sleeves and get ready to create these creamy, cheesy works of art that are sure to be the highlight of your Halloween festivities!

Why make Mozzarella Cheese Skulls this Halloween?
Spook-tacular Presentation: These mozzarella cheese skulls are not just appetizers; they’re conversation starters! Creamy Texture: Each bite delivers a delightful softness that melts in your mouth. Quick and Easy: Even novice cooks can whip these up in no time, making them a stress-free addition to your party spread. Versatile Serving Options: From charcuterie boards to salads, they fit seamlessly into any Halloween feast. Make-Ahead Magic: Prep them a day in advance for efficient hosting—just refrigerate! Your guests will be enchanted by this festive twist on a classic cheese treat.
Mozzarella Cheese Skulls Ingredients
For the Skulls
• Mini Mozzarella Balls – Small, cherry-tomato-sized mozzarella that forms the base of the skulls. Substitution: Use regular mozzarella if mini is unavailable, though shaping may be difficult.
• Silicone Skull Mold – Used to shape the mozzarella into skulls; ensure it is oven-safe. Substitution: Other silicone molds can be used as long as they can withstand heat.
Optional Add-ins
• Herbs or Spices – Consider adding your favorite herbs for extra flavor before pressing into molds, enhancing the taste of these mozzarella cheese skulls.
• Olive Oil – Drizzle with flavored olive oil or a balsamic glaze for a gourmet touch when serving.
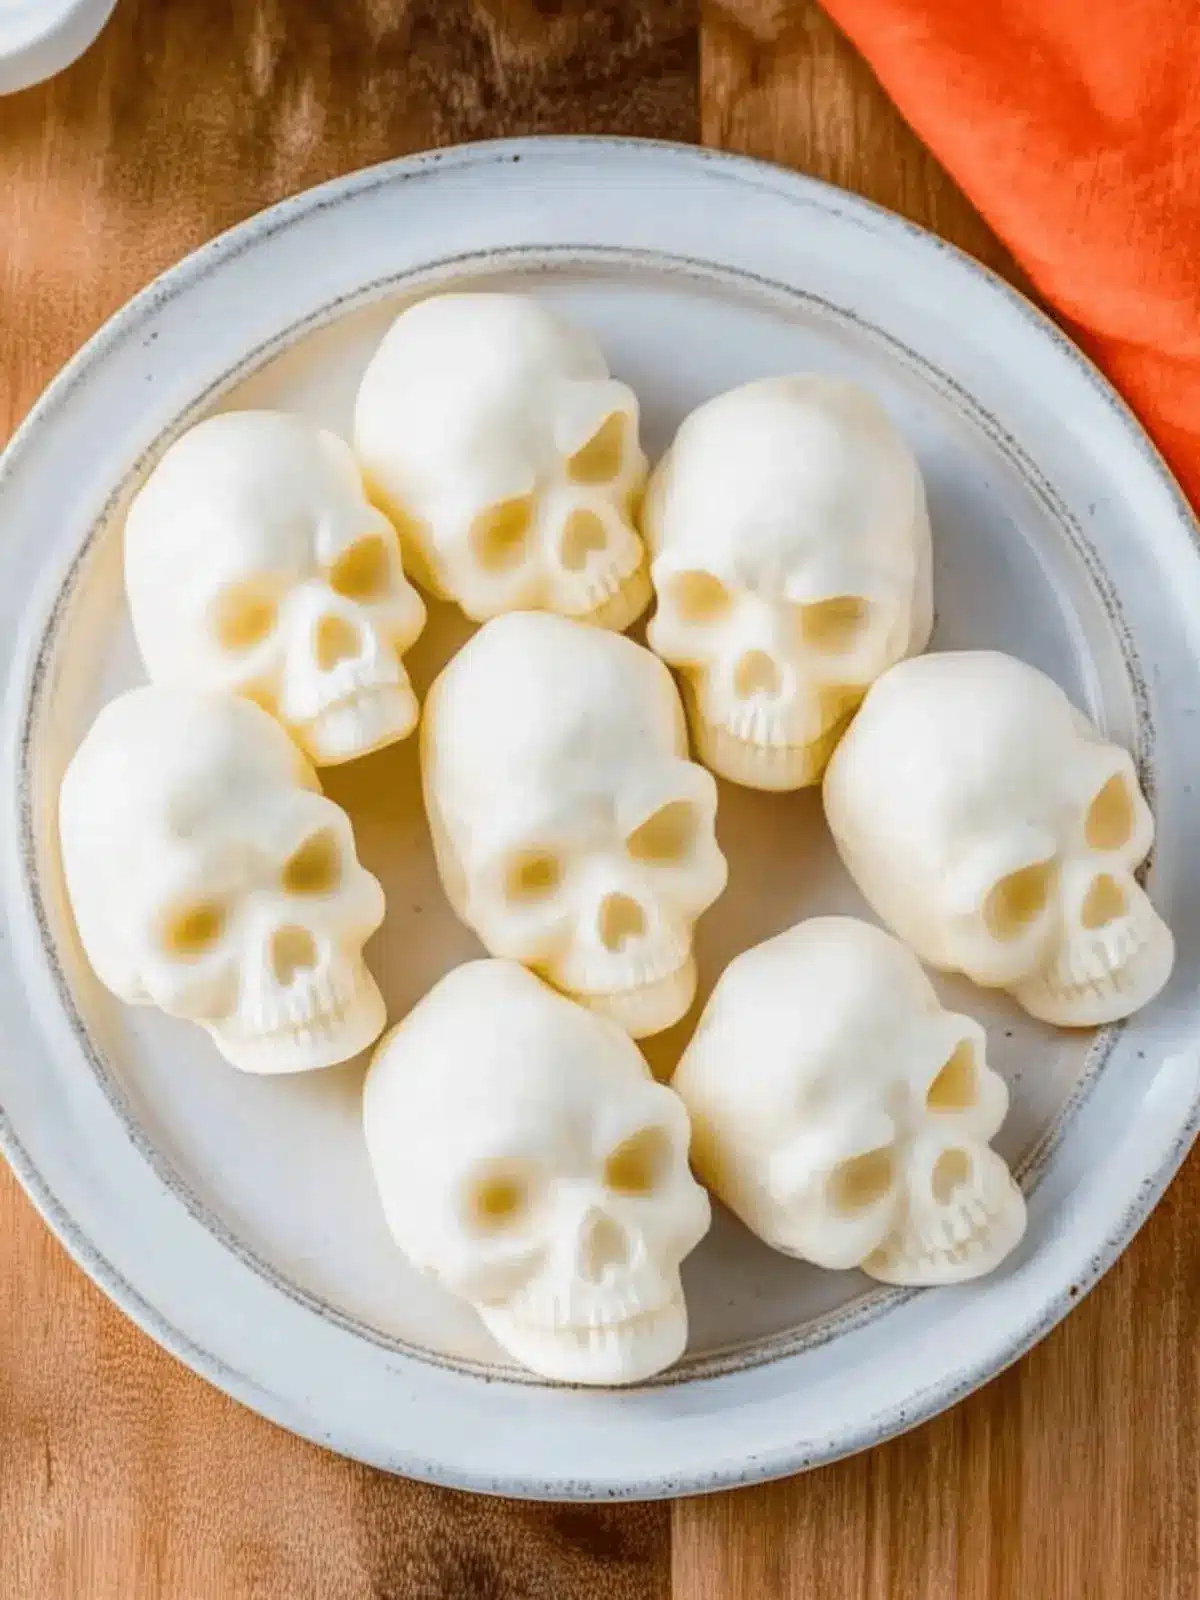
How to Make Mozzarella Cheese Skulls
-
Preheat your oven to 350°F (175°C). This is the perfect temperature to soften the mozzarella without melting it completely.
-
Blot each mini mozzarella ball with a paper towel to remove excess moisture. This will help them maintain their shape when placed in the molds.
-
Bake the mozzarella balls in the preheated oven for 8-10 minutes. You want them softened but not melted; the goal is a pliable texture to work with.
-
Press the softened mozzarella gently into the skull mold using the back of a spoon. Remove any excess moisture as needed to achieve the desired shape.
-
Refrigerate the molded mozzarella for about 10 minutes until firm. Carefully unmold the skulls for a spooky, cheese-filled masterpiece!
Optional: Drizzle with balsamic glaze for an extra touch of flavor!
Exact quantities are listed in the recipe card below.
What to Serve with Mozzarella Cheese Skulls?
Elevate your Halloween festivities by pairing these whimsical mozzarella treats with delicious accompaniments that delight both the eyes and the palate.
- Garlic Breadsticks: Soft and warm with a hint of garlic, these breadsticks offer a savory contrast to the creamy mozzarella, making each bite memorable.
- Spiced Pumpkin Soup: A rich and satisfying autumn classic that complements the skulls’ texture; it’s the perfect cozy companion on a chilly Halloween night.
- Mixed Green Salad: Fresh greens tossed with a light vinaigrette create a crisp, refreshing balance, adding brightness to the rich mozzarella flavors.
- Herbed Olive Oil Dip: Olive oil infused with herbs creates a flavorful dip, enhancing the mozzarella’s creaminess while adding a touch of decadence.
- Balsamic Glaze: Drizzle this sweet tangy glaze over the mozzarella skulls for an extra layer of flavor that contrasts beautifully with their softness and adds visual flair.
- Spooky Mocktails: Serve a fun drink like a blood orange soda or spooky punch to quench thirst and keep the festive spirit alive while complementing your cheese appetizer.
- Pumpkin Spice Brownies: As a sweet finish, these fudgy treats echo the flavors of fall and send guests home with a delightful combination of sweets after a savory feast.
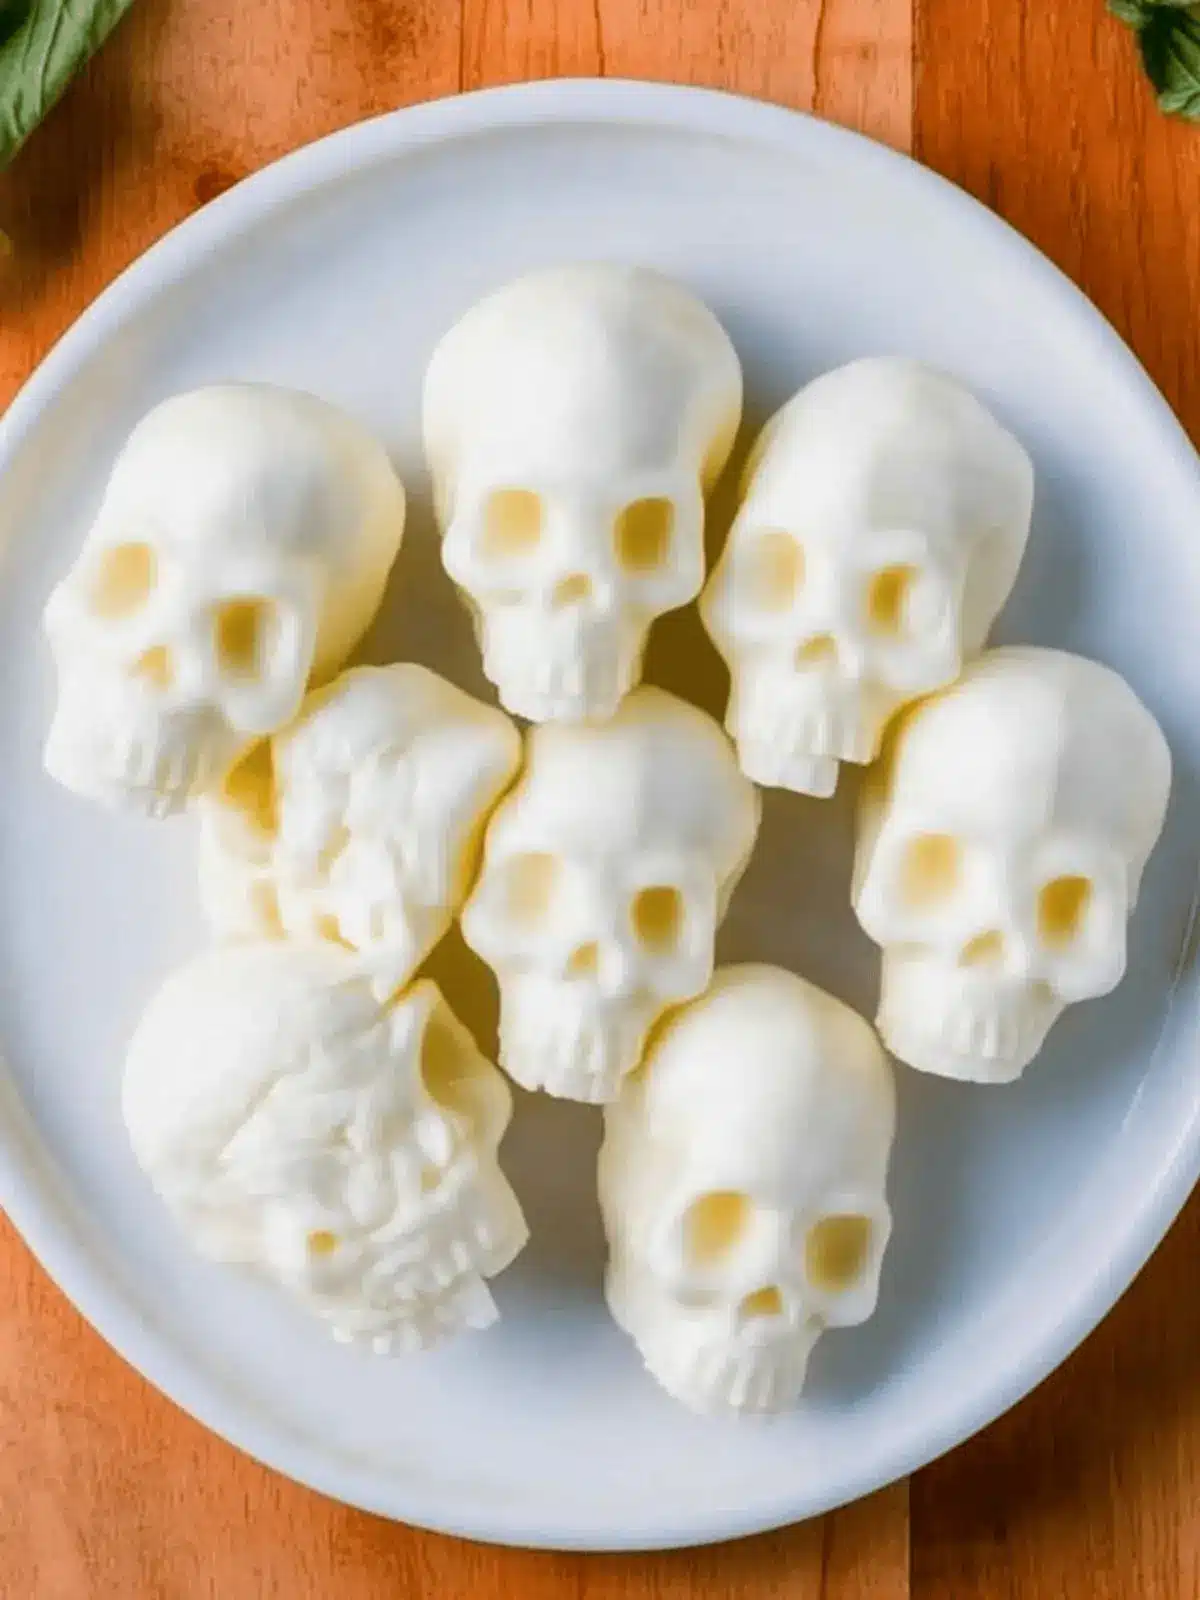
How to Store and Freeze Mozzarella Cheese Skulls
-
Fridge: Store mozzarella cheese skulls in an airtight container in the refrigerator for up to 3 days. This keeps them fresh and maintains their creamy texture.
-
Freezer: These skulls can be frozen for up to 1 month. Wrap them individually in plastic wrap and place them in a zip-top bag. Thaw in the fridge before serving.
-
Reheating: If you’d like to enjoy them warm, preheat your oven to 350°F (175°C) and bake for about 5 minutes until heated through. This way, they’ll retain their delightful softness!
-
Make-Ahead Tip: You can make mozzarella cheese skulls a day in advance, allowing you to enjoy the party stress-free while still serving a festive appetizer!
Make Ahead Options
These Mozzarella Cheese Skulls are perfect for meal prep enthusiasts looking to save time during busy Halloween festivities! You can prepare the mozzarella skulls up to 24 hours in advance—after unmolding, simply store them in an airtight container in the refrigerator to preserve their creamy texture. To maintain their quality, it’s best to blot any excess moisture before packaging them, which helps prevent sogginess or separation. When you’re ready to serve, you can drizzle them with your choice of flavored oil or balsamic glaze right before placing them on your platters. With a little planning, you’ll have a show-stopping appetizer that’s just as delicious and visually appealing, making your Halloween gathering a breeze!
Expert Tips for Mozzarella Cheese Skulls
-
Use Quality Ingredients: Choose fresh, high-quality mini mozzarella balls for the best flavor and texture. Avoid any that are past their expiration date.
-
Mind the Mold: Ensure your silicone skull mold is oven-safe. Trying to use non-heat-resistant molds can lead to melting and a kitchen disaster.
-
Temperature Check: Keep a close eye on the baking time. Overbaking can result in a rubbery texture that won’t hold shape. Aim for softening, not melting!
-
Flavor Boosters: Incorporate your favorite herbs or spices into the mozzarella before molding to outshine the typical blandness of cheese.
-
Refrigeration is Key: Allow the shaped mozzarella to chill thoroughly before unmolding to maintain the spooky skull shape. Warm mozzarella can lose its definition.
Mozzarella Cheese Skulls Variations
Feel free to have fun and personalize your mozzarella cheese skulls with these delightful twists!
-
Herbed Infusion: Add your favorite dried herbs like oregano or basil to the cheese for a burst of flavor. Your guests will appreciate the aromatic touch!
-
Smoked Flavor: Use smoked mozzarella instead of regular for an unexpected depth of flavor. This twist offers a rich, savory taste that’s simply irresistible.
-
Spicy Kick: Mix in a pinch of red pepper flakes or cayenne for those who like a bit of heat. These spicy skulls will add some excitement to your Halloween table!
-
Colorful Glaze: Drizzle with a beetroot or spinach puree before serving to add vibrant colors and an extra layer of flavor. Each skull becomes a canvas for creativity!
-
Cheesy Mix: Blend in cream cheese or goat cheese for an ultra-creamy texture that’s sure to please any cheese lover. The smoothness creates a delightful contrast to the mozzarella.
-
Pumpkin Twist: Incorporate pumpkin puree into the cheese mixture for a seasonal flair. The added richness and slight sweetness will charm your guests this Halloween!
-
Nutty Touch: Sprinkle some finely chopped nuts, like pecans or walnuts, on top for an added crunch! The contrast in texture can elevate your spooky snack from tasty to spectacular.
Mozzarella Cheese Skulls Recipe FAQs
How do I choose the right mozzarella balls?
Absolutely! For the best results, look for fresh mini mozzarella balls that are firm and free of dark spots or excess moisture. If you can only find regular mozzarella, that’s fine too; just know it may be a bit trickier to mold them into skulls.
How should I store mozzarella cheese skulls?
I recommend placing the mozzarella cheese skulls in an airtight container in the refrigerator. They will stay fresh for up to 3 days. Make sure they are well-packed to prevent them from drying out or absorbing other odors from the fridge.
Can I freeze mozzarella cheese skulls?
Certainly! To freeze your mozzarella skulls for later, wrap each skull individually in plastic wrap and then place them in a zip-top bag. They can be frozen for up to 1 month. When you’re ready to eat them, thaw them overnight in the refrigerator before serving.
What if my mozzarella melted too much when baking?
Very common! If you find that the mozzarella melted too much in the oven, try reducing the baking time next time. You want to soften it without letting it fully melt; that way, you can achieve a nice, sculptable texture. Keep an eye on it, and take it out when it’s pliable but still holds its shape.
Are these mozzarella cheese skulls suitable for gluten-free diets?
Absolutely! Since the primary ingredients are mozzarella cheese and optional herbs, these mozzarella cheese skulls are naturally gluten-free. Just be sure to check the specific brands of any add-ins, like oils or glazes, to ensure they fit your dietary needs.
How can I add flavor to the mozzarella skulls?
There are so many fun options! Before pressing the mozzarella into the molds, you can mix in fresh herbs like basil or oregano, or even spices like garlic powder or smoked paprika. Just sprinkle them lightly over the mozzarella, and then mold for an extra flavorful bite!
Spooky Mozzarella Cheese Skulls for Halloween Fun!
Ingredients
Equipment
Method
- Preheat your oven to 350°F (175°C). This is the perfect temperature to soften the mozzarella without melting it completely.
- Blot each mini mozzarella ball with a paper towel to remove excess moisture, which will help them maintain their shape.
- Bake the mozzarella balls in the preheated oven for 8-10 minutes until softened but not melted.
- Press the softened mozzarella gently into the skull mold using the back of a spoon, removing any excess moisture as needed.
- Refrigerate the molded mozzarella for about 10 minutes until firm. Carefully unmold the skulls for a spooky masterpiece!
- Optional: Drizzle with balsamic glaze for an extra touch of flavor!