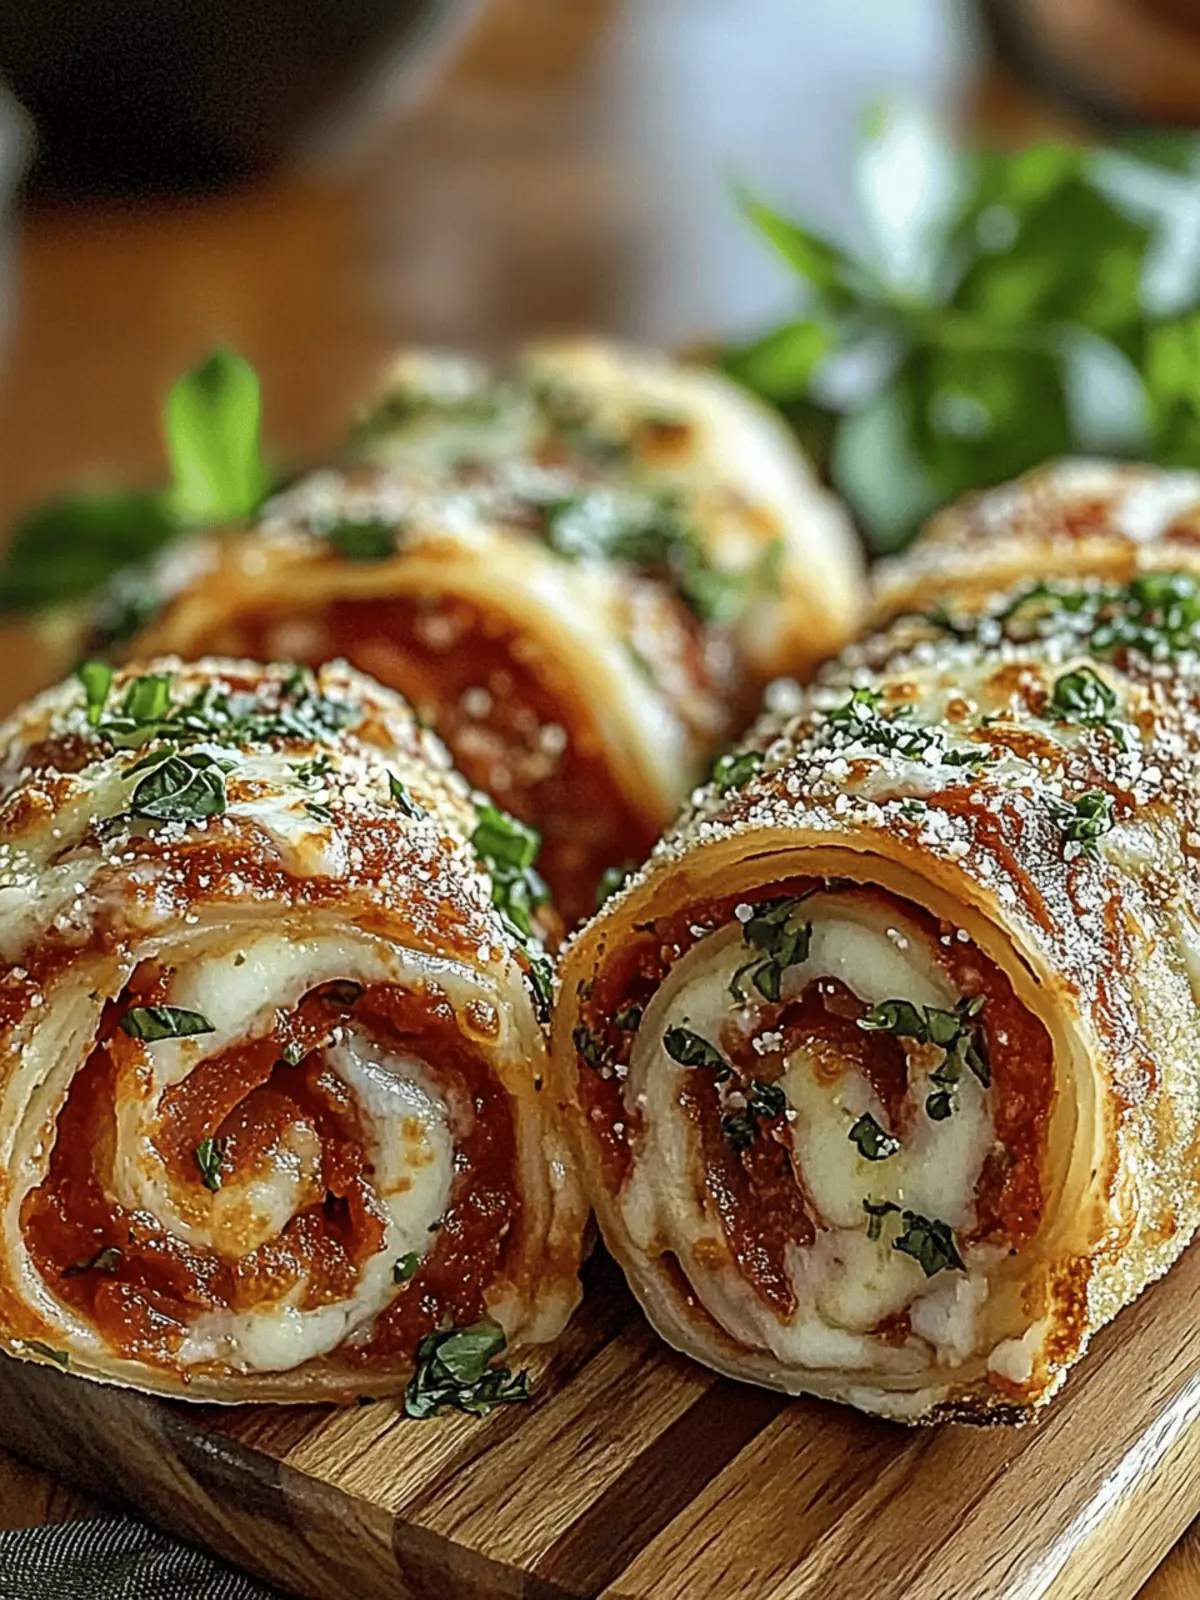
As autumn whispers its arrival and the back-to-school hustle begins, I find myself searching for the perfect quick snack that pleases both the kids and my taste buds. Enter these delightful Pizza Roll-Up Wraps—cheesy, customizable wonders that turn ordinary flour tortillas into a hand-held pizza paradise. I first whipped them up after a chaotic day filled with homework and sibling squabbles, and now they’ve become a staple in our home.
These roll-ups are not just a quick fix; they offer a canvas for culinary creativity. With endless filling possibilities—from classic pepperoni to vibrant veggies—everyone can enjoy a personal twist. Whether you’re packing lunchboxes or whipping up an after-school treat, these wraps are a family-friendly solution that’s ready in no time. Join me as we dive into this tasty recipe that combines comfort and convenience, ensuring your loved ones will be asking for seconds!

Why are Pizza Roll-Up Wraps a must-try?
Quick and Easy: This recipe is perfect for busy weeknights—ready in under 30 minutes!
Customizable Fun: Let everyone choose their favorite toppings, making meal prep a delightful experience for the whole family.
Kid-Approved: With gooey cheese and delicious flavors, these wraps are sure to become a lunchtime favorite for kids and adults alike.
Perfect for Meal Prep: Make a batch ahead of time and store them for quick snacks throughout the week.
Endless Variations: Transform these into BBQ Chicken or Mediterranean-style wraps for exciting new flavors that everyone can enjoy.
You can even enhance your culinary skills with additional tips, and discover the joy of creating delightful snacks together!
Pizza Roll-Up Wraps Ingredients
For the Wraps
• Flour Tortillas – A soft base that holds everything together; consider whole wheat for added nutrition.
• Pizza Sauce – The essential flavor foundation; homemade options with crushed tomatoes and garlic add a fresh kick.
• Mozzarella Cheese – Melts beautifully, giving that classic cheesy taste; try provolone for a new twist.
For the Fillings
• Pepperoni Slices – Rich and savory, a traditional favorite; swap for vegetables like bell peppers for a healthier choice.
• Italian Seasoning – Elevates the flavor profile, making your pizza roll-ups irresistible; a dash of crushed red pepper can add heat.
• Optional Fillings – Get creative with BBQ chicken, feta, or even scrambled eggs to personalize your wraps.
For the Finishing Touch
• Olive Oil – Brushing the tortillas gives them a delightful crispiness; cooking spray can work as a convenient alternative.
How to Make Pizza Roll-Up Wraps
-
Preheat Oven: Set your oven to 400°F (200°C). This ensures your roll-ups bake to a perfect golden brown, creating that delightful crispy texture.
-
Prepare Tortillas: Lay your flour tortillas out on a clean surface and brush one side lightly with olive oil. This step will help them turn crisp in the oven and add a lovely flavor.
-
Spread Sauce: Evenly distribute your pizza sauce over the oiled side of each tortilla, leaving a small edge around the perimeter. This is where the magic of flavor begins!
-
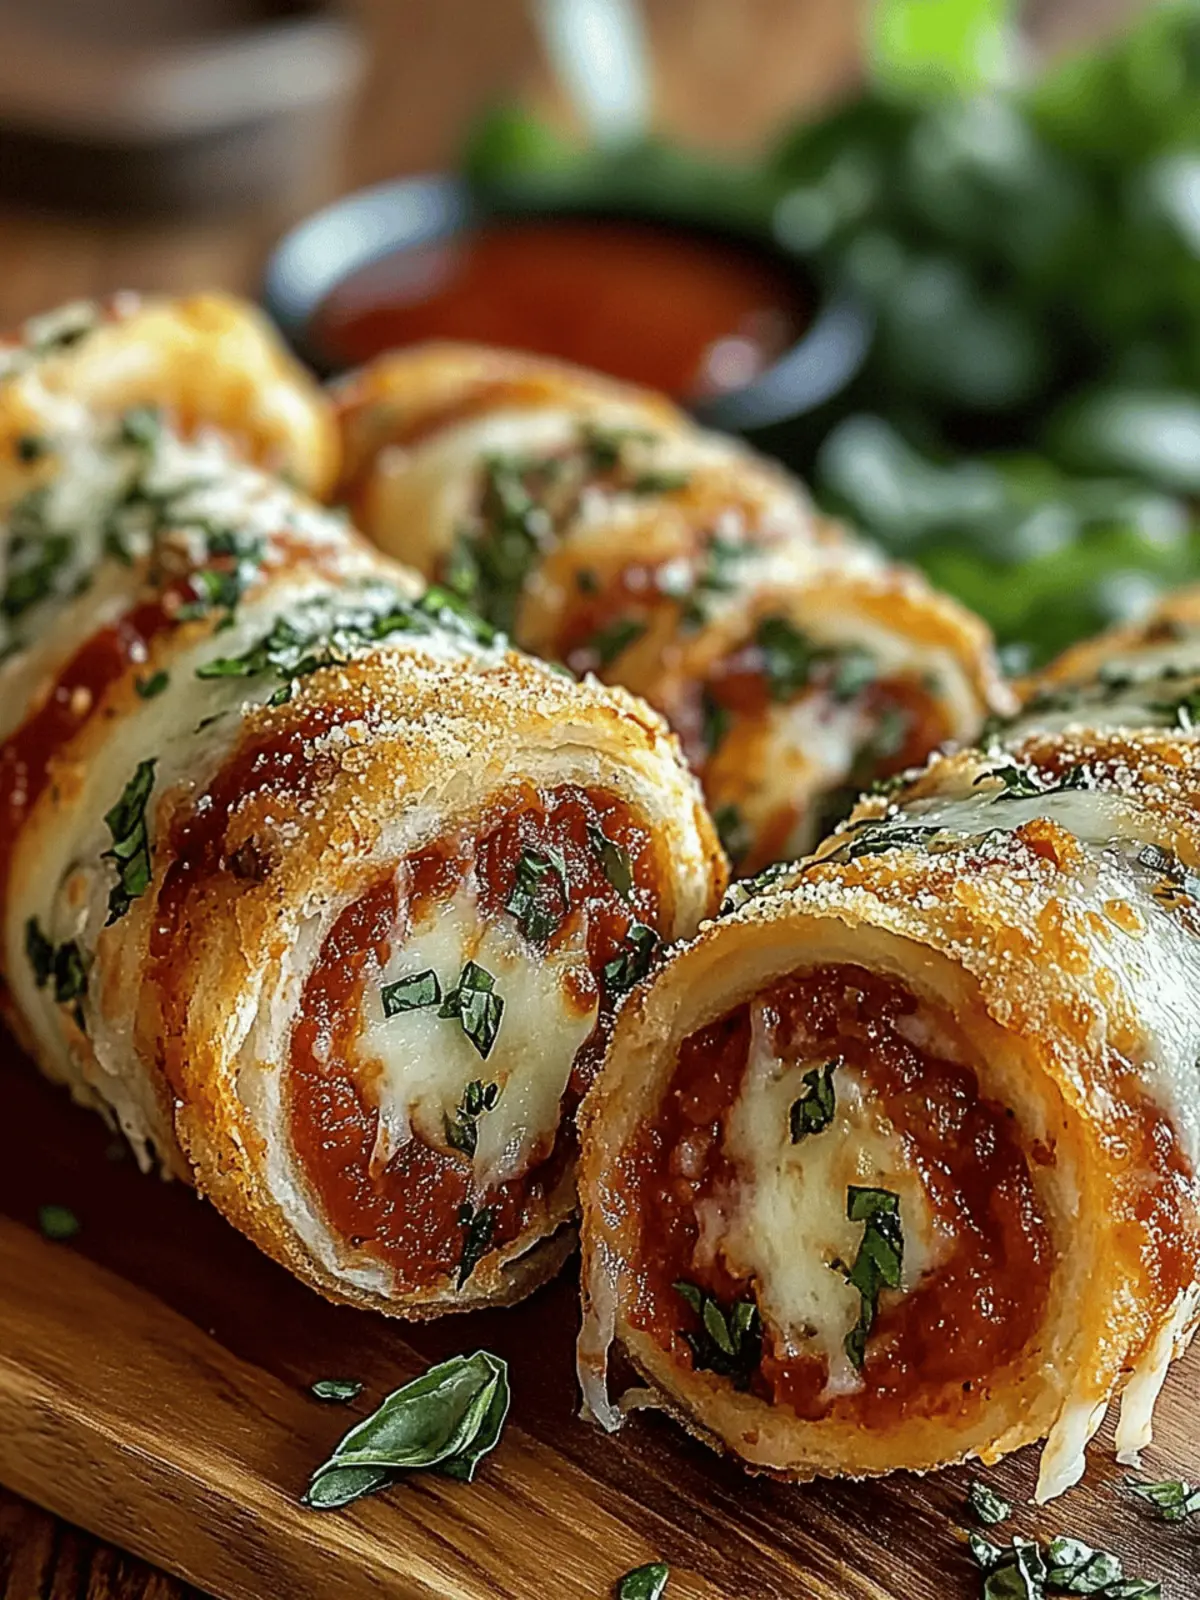
Layer Ingredients: Sprinkle mozzarella cheese onto the sauce, then add your choice of pepperoni slices or veggies evenly across the tortilla. This vibrant display of colors will get everyone’s taste buds excited!
-
Roll Up: Starting at one end, tightly roll the tortilla to secure the filling inside. Ensuring a snug roll helps keep all that tasty goodness from spilling out during baking.
-
Bake: Place the roll-ups seam-side down on a baking sheet, optionally brushing the tops with a bit more olive oil. Bake for 12-15 minutes until they’re golden and the cheese is bubbling—your kitchen will smell heavenly!
-
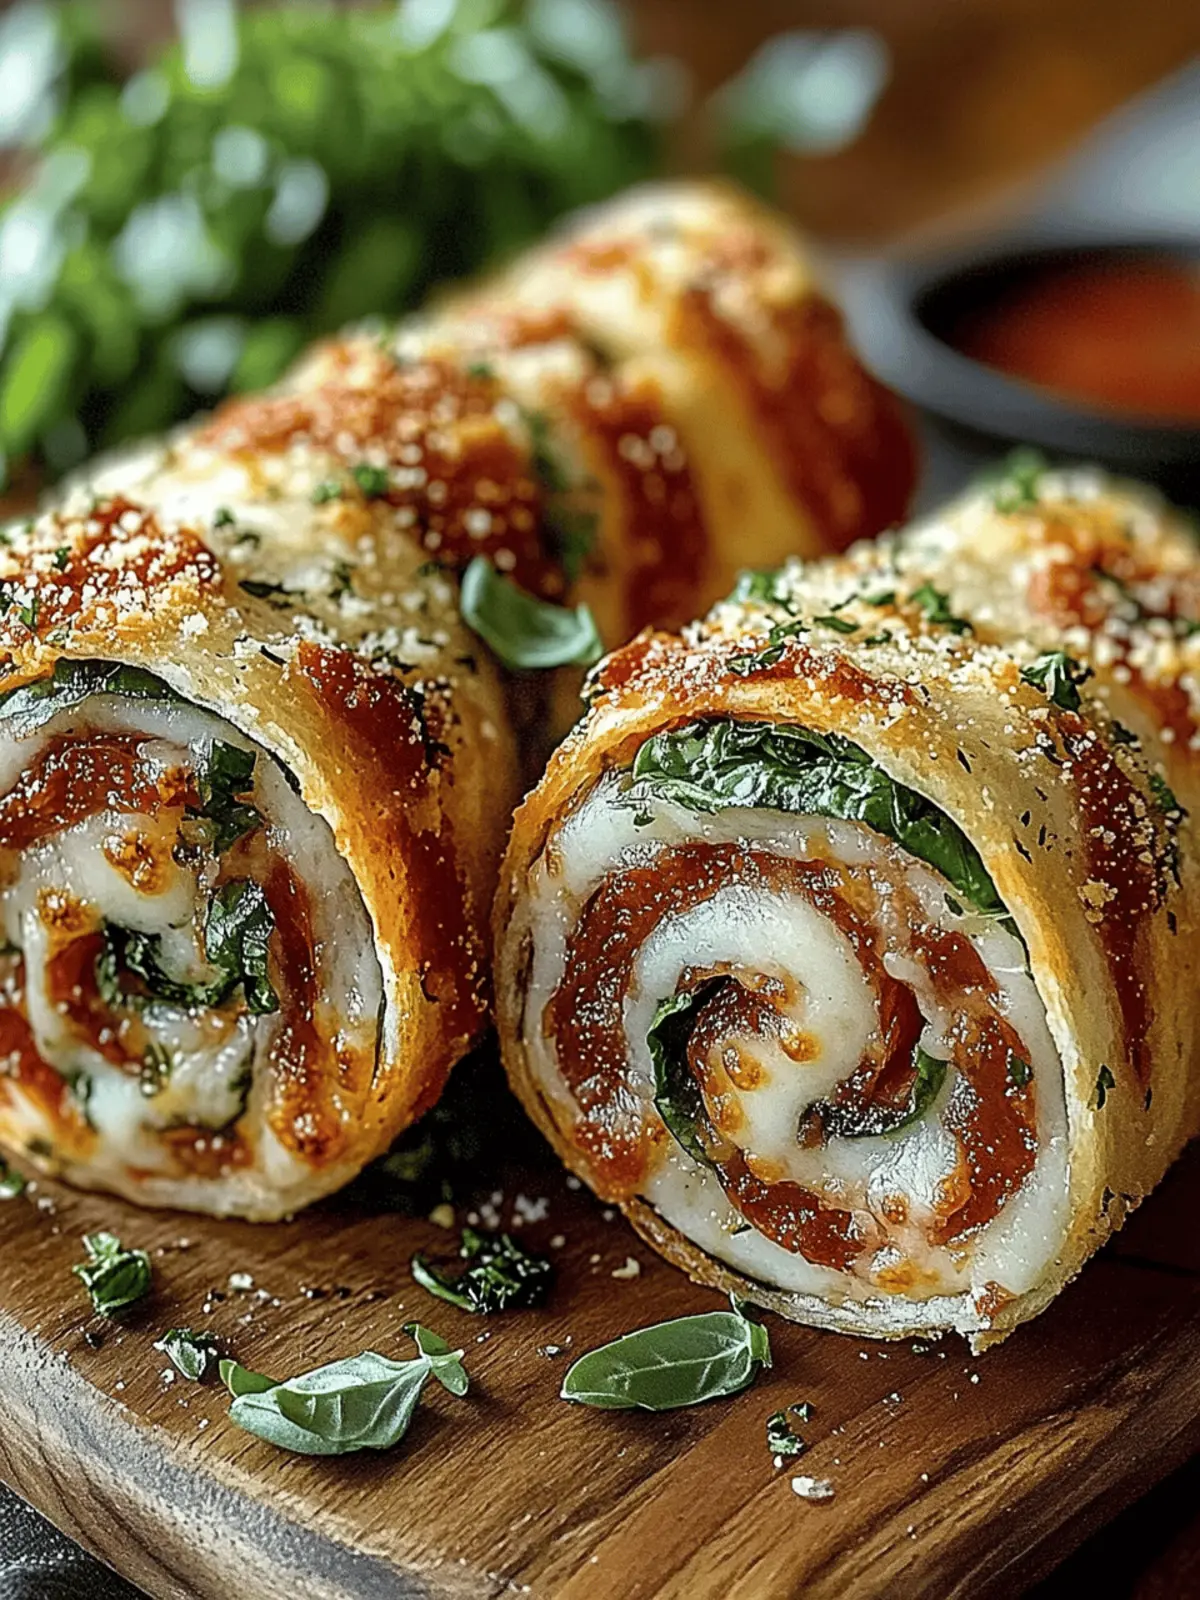
Cool and Cut: Allow the roll-ups to cool for a few minutes before slicing them into bite-sized pieces for serving. This wait is worth it for the ultimate cheesy experience!
Optional: Serve with marinara or ranch for dipping!
Exact quantities are listed in the recipe card below.
Pizza Roll-Up Variations
Get creative and personalize these delicious roll-ups to fit your cravings and dietary needs!
-
Whole Wheat Swap: Use whole wheat tortillas instead of flour for a healthier base packed with fiber.
-
Zesty BBQ Chicken: Replace pizza sauce with BBQ sauce and mix in shredded chicken for a savory twist that’s sure to please.
-
Mediterranean Delight: Fill with feta, olives, and sun-dried tomatoes for a fresh, flavorful twist that transports your tastebuds to the Mediterranean.
-
Veggie Supreme: Load up with a rainbow of veggies—think bell peppers, spinach, and mushrooms—for a hearty, nutrient-rich option everyone will love.
-
Breakfast Bliss: Transform into breakfast roll-ups by adding scrambled eggs, cheese, and seasonal veggies for a delightful morning treat.
-
Spicy Kick: Add a sprinkle of crushed red pepper or jalapeños to turn up the heat for those who love a bit of spice.
-
Cheese Twist: Experiment with different cheeses like pepper jack or gouda to create new flavors that keep things exciting.
-
Herb Infusion: Mix in some fresh basil or oregano into your fillings for an aromatic, flavorful richness that elevates your roll-ups.
Storage Tips for Pizza Roll-Up Wraps
Cool Before Storing: Allow your pizza roll-up wraps to cool completely before storing them to prevent condensation, which can make them soggy.
Fridge: Store in an airtight container in the refrigerator for up to 3 days. This keeps them fresh and ready for quick snacks.
Freezer: For longer storage, freeze the rolled wraps individually, wrapped tightly in plastic wrap, then in foil or an airtight bag, for up to 2 months.
Reheating: Reheat frozen roll-ups in the oven at 350°F (175°C) for 15–20 minutes until heated through, which restores their crispy texture.
What to Serve with Pizza Roll-Up Wraps?
These delightful roll-ups create a perfect canvas for a full and satisfying meal experience.
-
Marinara Sauce: A classic dipping option that adds extra flavor and moisture, enhancing the pizza experience with every bite.
-
Crunchy Side Salad: Tossed greens with cherry tomatoes and a zesty vinaigrette bring freshness and balance, complementing the richness of the wraps.
-
Fruit Skewers: Juicy pieces of seasonal fruit add a refreshing touch to your meal, providing a sweet contrast to the savory pizza flavors.
-
Garlic Breadsticks: These soft and buttery sticks resonate with the pizza theme while being perfect for dipping into marinara or your favorite sauce.
Pair these away from the pizza roll-ups for a colorful and engaging meal that will satisfy both kids and adults alike!
-
Cola or Lemonade: A fizzy drink refreshes the palate and pairs wonderfully with the cheesy, savory flavors of the roll-ups.
-
Brownie Bites: These fudgy treats offer a rich, chocolatey conclusion to your meal, ensuring a sweet finish after all that savory goodness.
Expert Tips for Pizza Roll-Up Wraps
• Choose Fresh Tortillas: Always opt for fresh, flexible tortillas to prevent tearing. Stale tortillas can lead to messy roll-ups.
• Avoid Overstuffing: Less is more! Fill your wraps but don’t overdo it. This keeps them structurally sound and easy to manage.
• Customize Wisely: Feel free to experiment with fillings, but balance flavors. Keep a mix of proteins and veggies to ensure delicious outcomes in your pizza roll-up wraps.
• Monitor Baking Time: Watch closely while baking. Roll-ups are ready when they’re golden brown and the cheese is delightfully bubbling—your cue for perfection!
• Let Them Cool: Allowing the roll-ups to cool slightly after baking helps firm up the cheese, making them easier to slice and serve!
Make Ahead Options
These Pizza Roll-Up Wraps are perfect for meal prep and can be made ahead to save valuable time during busy weeknights! Prepare the roll-ups up to 24 hours in advance by following the steps to assemble them, then tightly wrap each roll-up in plastic wrap before refrigerating. This keeps them fresh and prevents any sogginess. When you’re ready to serve, simply place them on a baking sheet and bake at 400°F (200°C) for 12-15 minutes until they are golden and crispy. This way, your family will enjoy a delicious, homemade snack with minimal effort at dinner time!
Pizza Roll-Up Wraps Recipe FAQs
What type of tortillas should I use for Pizza Roll-Up Wraps?
Flour tortillas are the traditional choice as they provide a soft and pliable base for filling, making them easy to roll. You can also opt for whole wheat or corn tortillas for added nutrients and flavor. Just ensure they are fresh and flexible to prevent tearing during the rolling process.
How should I store leftover Pizza Roll-Up Wraps?
Allow your pizza roll-up wraps to cool completely before placing them in an airtight container. They can be stored in the refrigerator for up to 3 days. This method keeps them fresh and makes them perfect for quick snacking anytime.
Can I freeze Pizza Roll-Up Wraps?
Absolutely! To freeze, individually wrap the roll-ups in plastic wrap and then in foil or place them in an airtight freezer bag. They will keep well for up to 2 months. When you’re ready to enjoy them, simply bake from frozen at 350°F (175°C) for 15-20 minutes until heated through and crispy.
What should I do if my roll-ups are soggy?
If your pizza roll-up wraps turn out soggy, it might be due to excess moisture from the fillings or not allowing them to cool before storing. To prevent this, avoid overstuffing your wraps and ensure they cool completely before sealing them for storage. If they have already become soggy, you can reheat them in the oven at a temperature of 375°F (190°C) for a few minutes, which can help restore some crispiness.
Are pizza roll-up wraps suitable for kids with allergies?
Yes! Pizza roll-up wraps are highly customizable, allowing you to adapt them for various dietary needs. For kids with dairy allergies, consider using a dairy-free cheese alternative. If gluten is a concern, gluten-free tortillas are widely available. Just ensure to check all ingredient labels for potential allergens when preparing these tasty treats.
How long should I bake Pizza Roll-Up Wraps?
Bake your pizza roll-up wraps for 12-15 minutes at 400°F (200°C). Keep an eye on them, as they are done when they turn golden-brown, and the cheese is bubbling. This ensures a deliciously crispy exterior with a gooey, warm center—just like a perfect slice of pizza!
Delicious Pizza Roll-Up Wraps for Quick Family Snacks
Ingredients
Equipment
Method
- Preheat oven to 400°F (200°C).
- Lay flour tortillas out on a clean surface and brush one side lightly with olive oil.
- Evenly distribute pizza sauce over the oiled side of each tortilla, leaving a small edge around the perimeter.
- Sprinkle mozzarella cheese onto the sauce, then add choice of pepperoni slices or veggies evenly across the tortilla.
- Starting at one end, tightly roll the tortilla to secure the filling inside.
- Place the roll-ups seam-side down on a baking sheet, optionally brushing the tops with more olive oil. Bake for 12-15 minutes until golden and cheese is bubbling.
- Allow roll-ups to cool for a few minutes before slicing them into bite-sized pieces for serving.